Quick guide for documents
The steps below will walk you through a few of the most common tasks when working with documents. We created these pointers to help you learn the basics so you can get going.
Creating documents
- Navigate to the organization where the document will be published.
- Click on Documents in the left-hand menu and navigate to the folder (or subfolder) where you want the new document to appear. Then, click on +New > Document to get started.
- In the first field, replace the New Document default text with a title of your choosing.
TIP A good document title will clearly identify the activity/task in the procedure and contain any relevant keywords. This makes searching for the document much more efficient.
- Optional: Click Expiration Date in the right side panel and use the calendar picker to select a date that the document will expire. For more details on this feature, refer to Document Expiration.
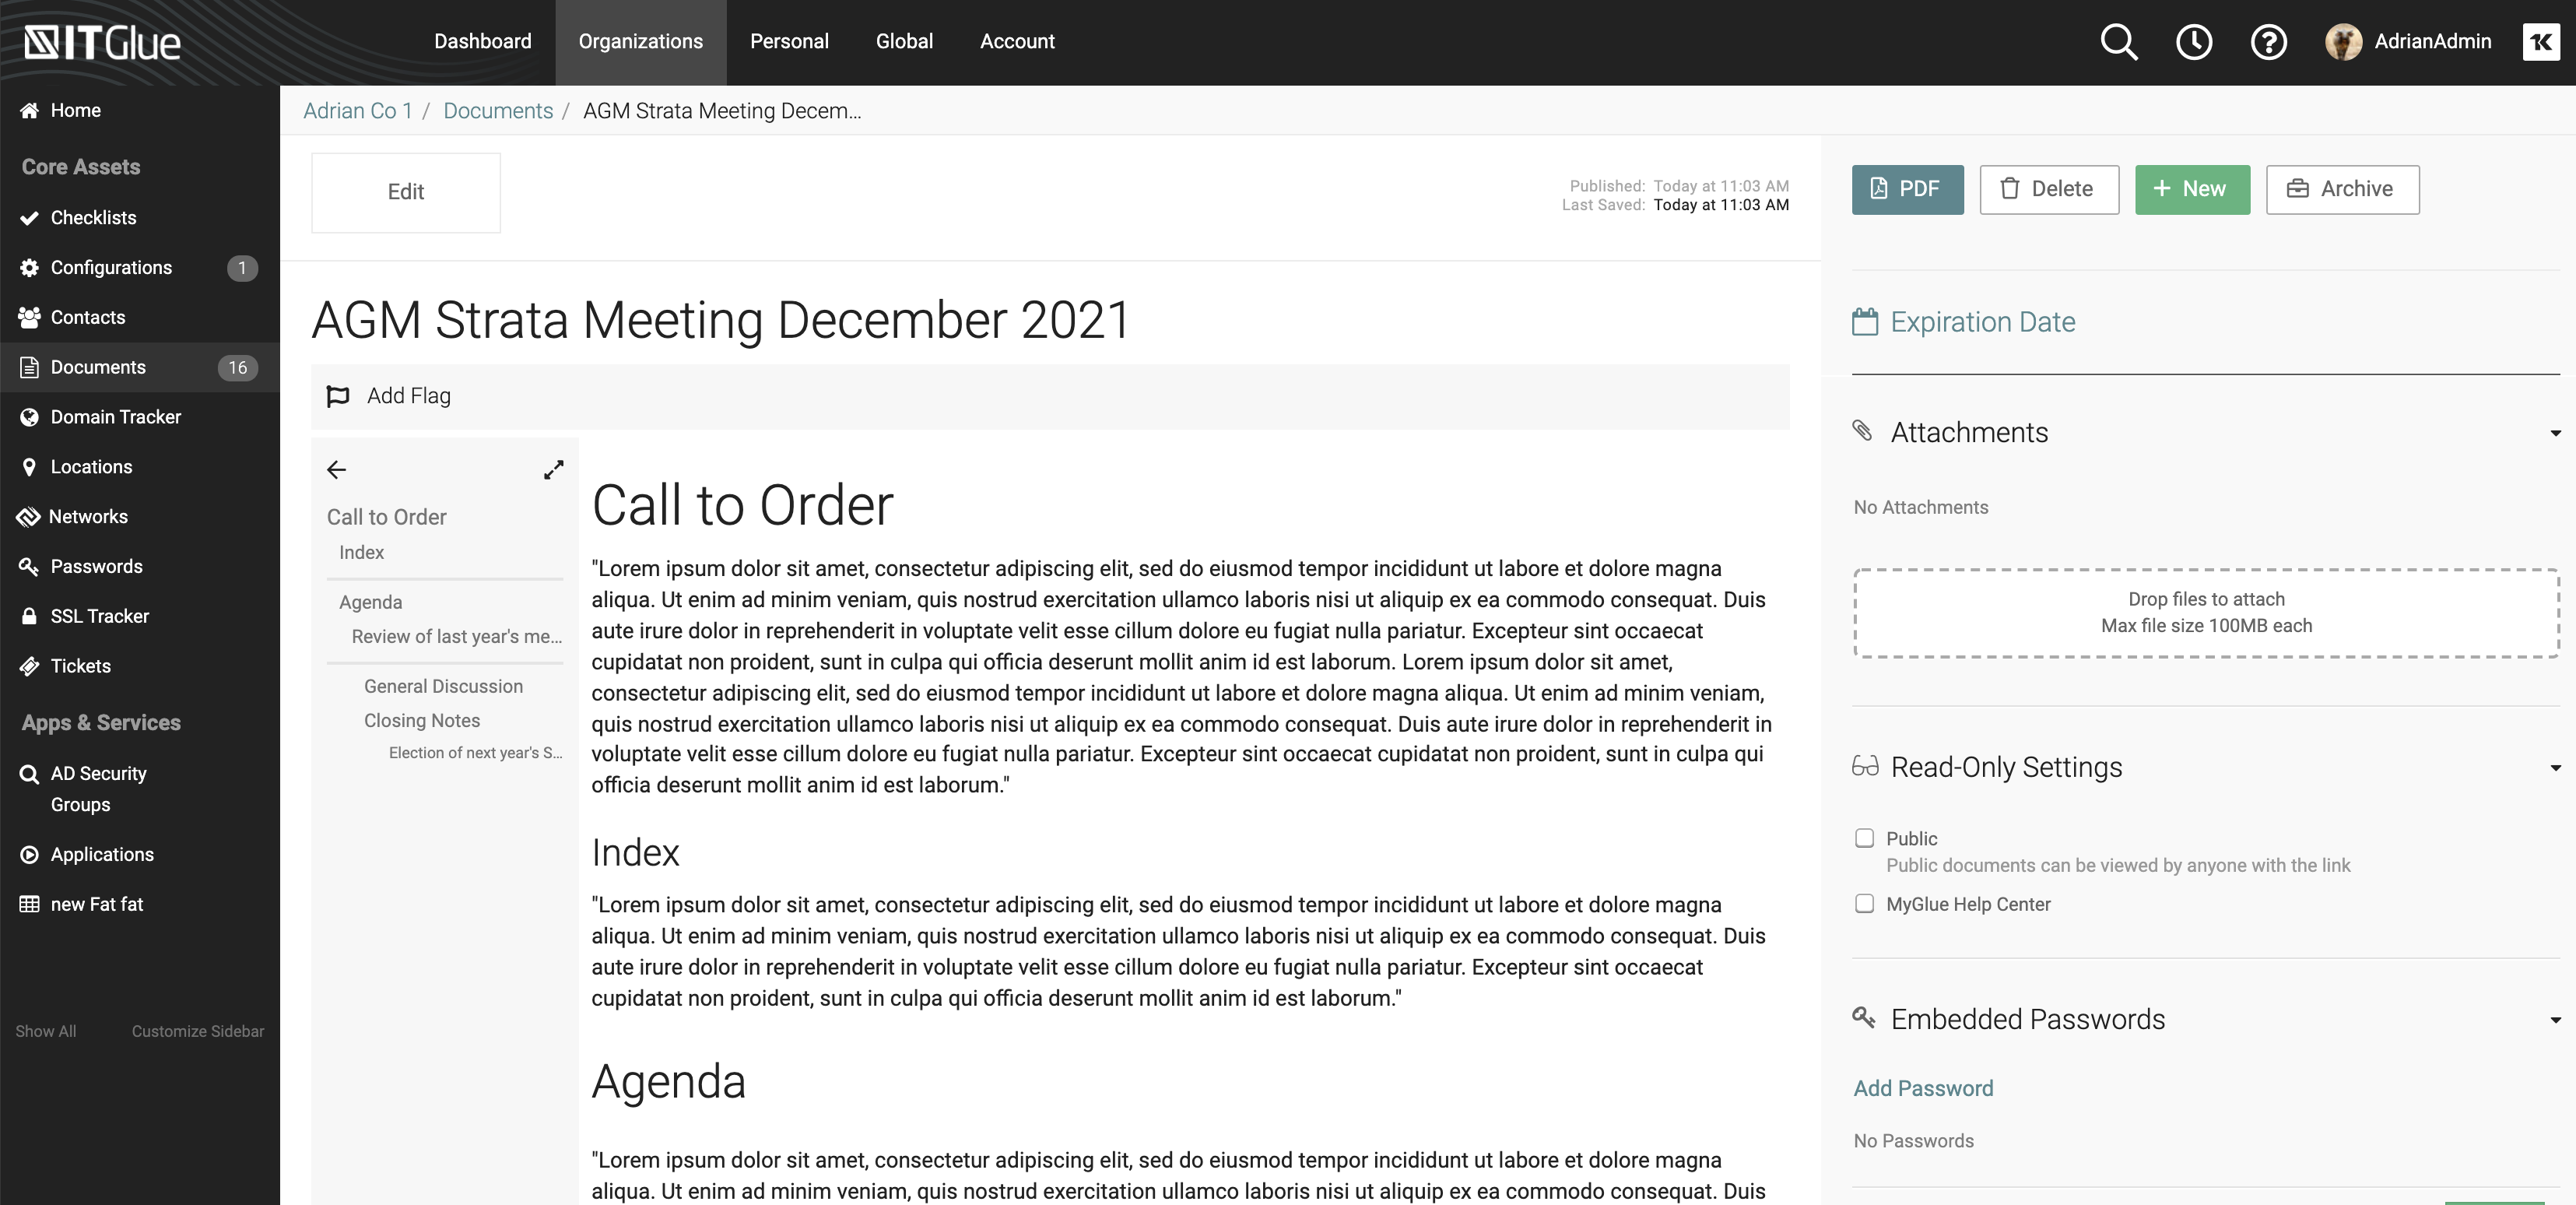
- Click on the Step button to start documenting the procedure. Use the formatting toolbar to adjust your text as needed (e.g. defining the heading style, bolding text, adding bullet points, inserting tables and hyperlinks, etc.)
- To preview your work, click Preview at the top of the page. Click Edit to resume your work.
- Click Publish in the upper-right corner of the page. Your new SOP will appear in the folder or subfolder that you navigated to in Step 2 above.
Note that all changes are auto-saved approximately every 20 seconds. Even if you forget to publish and then log out of your account, your changes will still be there in Edit mode when you return.
Using content blocks
At the top of the page, you will see the following options representing the four different content blocks:

|
Heading |
Used to create a heading for a new high-level section, for example, a prerequisites section that appears near the top of the document but that is separate from the instructions. |
|
Text |
Used to add free-form text, which can be fully formatted and include rich media, such as embedded videos, lists, tables, inline images, and various fonts. For more information on creating and editing tables, refer to A quick tour of editing. |
|
Step |
Numbered steps allow you to create a set of step-by-step instructions with minimal effort. Each Step has special features such as individual screenshots per step as well as estimated time to complete the step with a total "roll-up" at the bottom of the published document. NOTE If you prefer to add your own bulleted/numbered list, add a text content block instead of a Step. |
|
Gallery |
It can be useful to have a content block that is specifically designed for images. When the images are clicked, they'll open in a lightbox layer that fills the screen, and dims out the rest of the screen. The lightbox layer is perfect for larger images and images with lots of details. For other options for adding images, refer to Creating documents with inline images. |
TIP Don't forget about formatting your text. To learn how all the formatting options work, refer to A quick tour of editing.
Dragging and dropping
To reorder your document, content blocks can be dragged vertically within the document. Click and hold the top edge of the content block and move it wherever you'd like it to go. In a document that uses the Step content block, the numbers are updated automatically when you reorder steps.
Inserting a content block
A new content block can be inserted between two content blocks by clicking Add Section and selecting a content block type from the drop-down menu.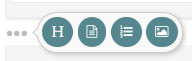
Using the Table of Contents
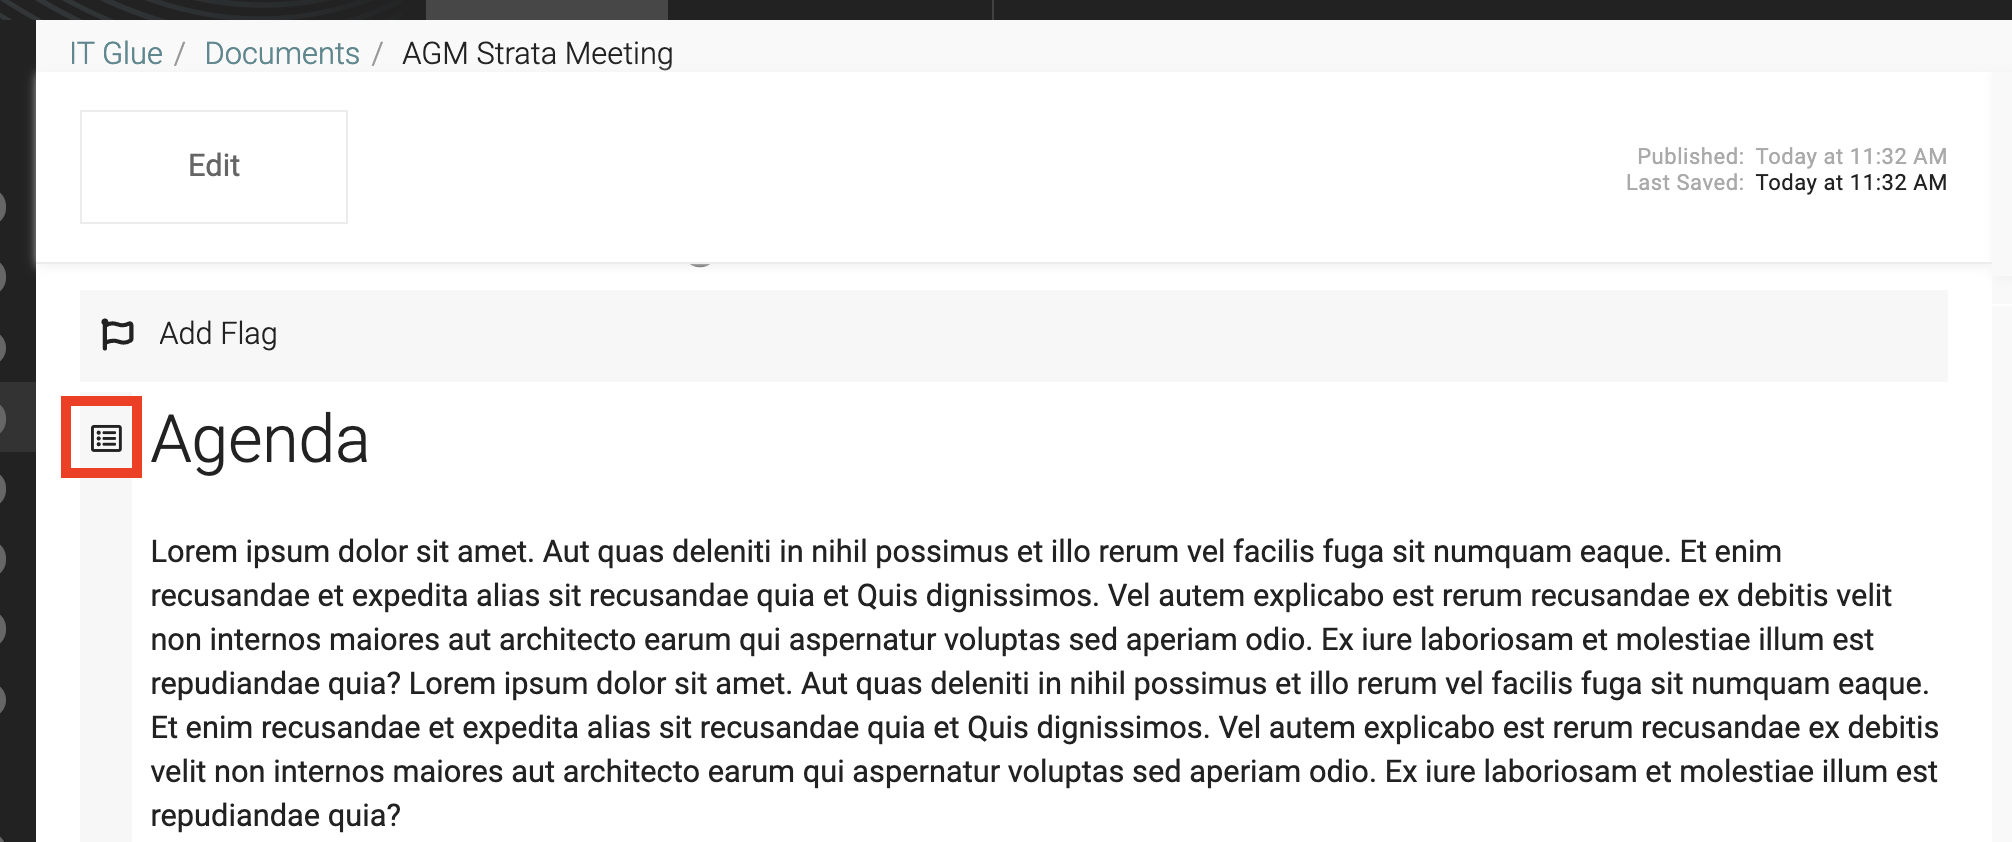
If your IT Glue documents have headings you will see a new Table of Contents panel on the left-hand-side of your document.
For new documents the table of contents will appear once a heading is added. The table of contents is automatically populated with any headings included inside a document. Headings can be added using the Heading sections, Text sections or via HTML. As you edit your document, the table of contents is automatically updated to reflect any change to the headings.
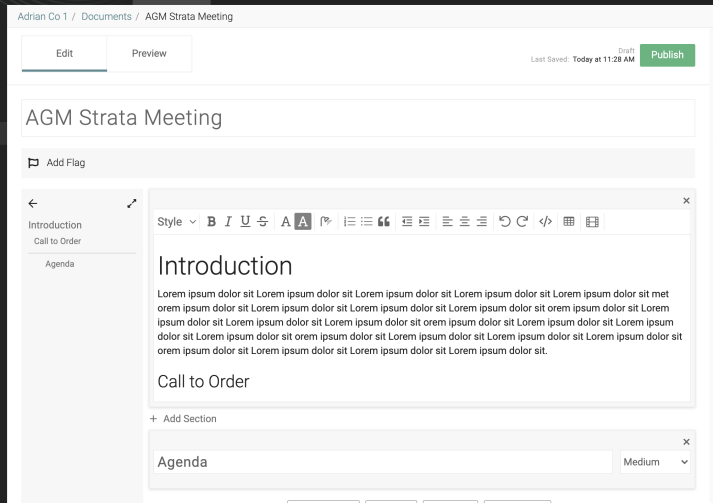
Headings in the table of contents appear differentiated by their size. Smaller headings are also indented farther right.
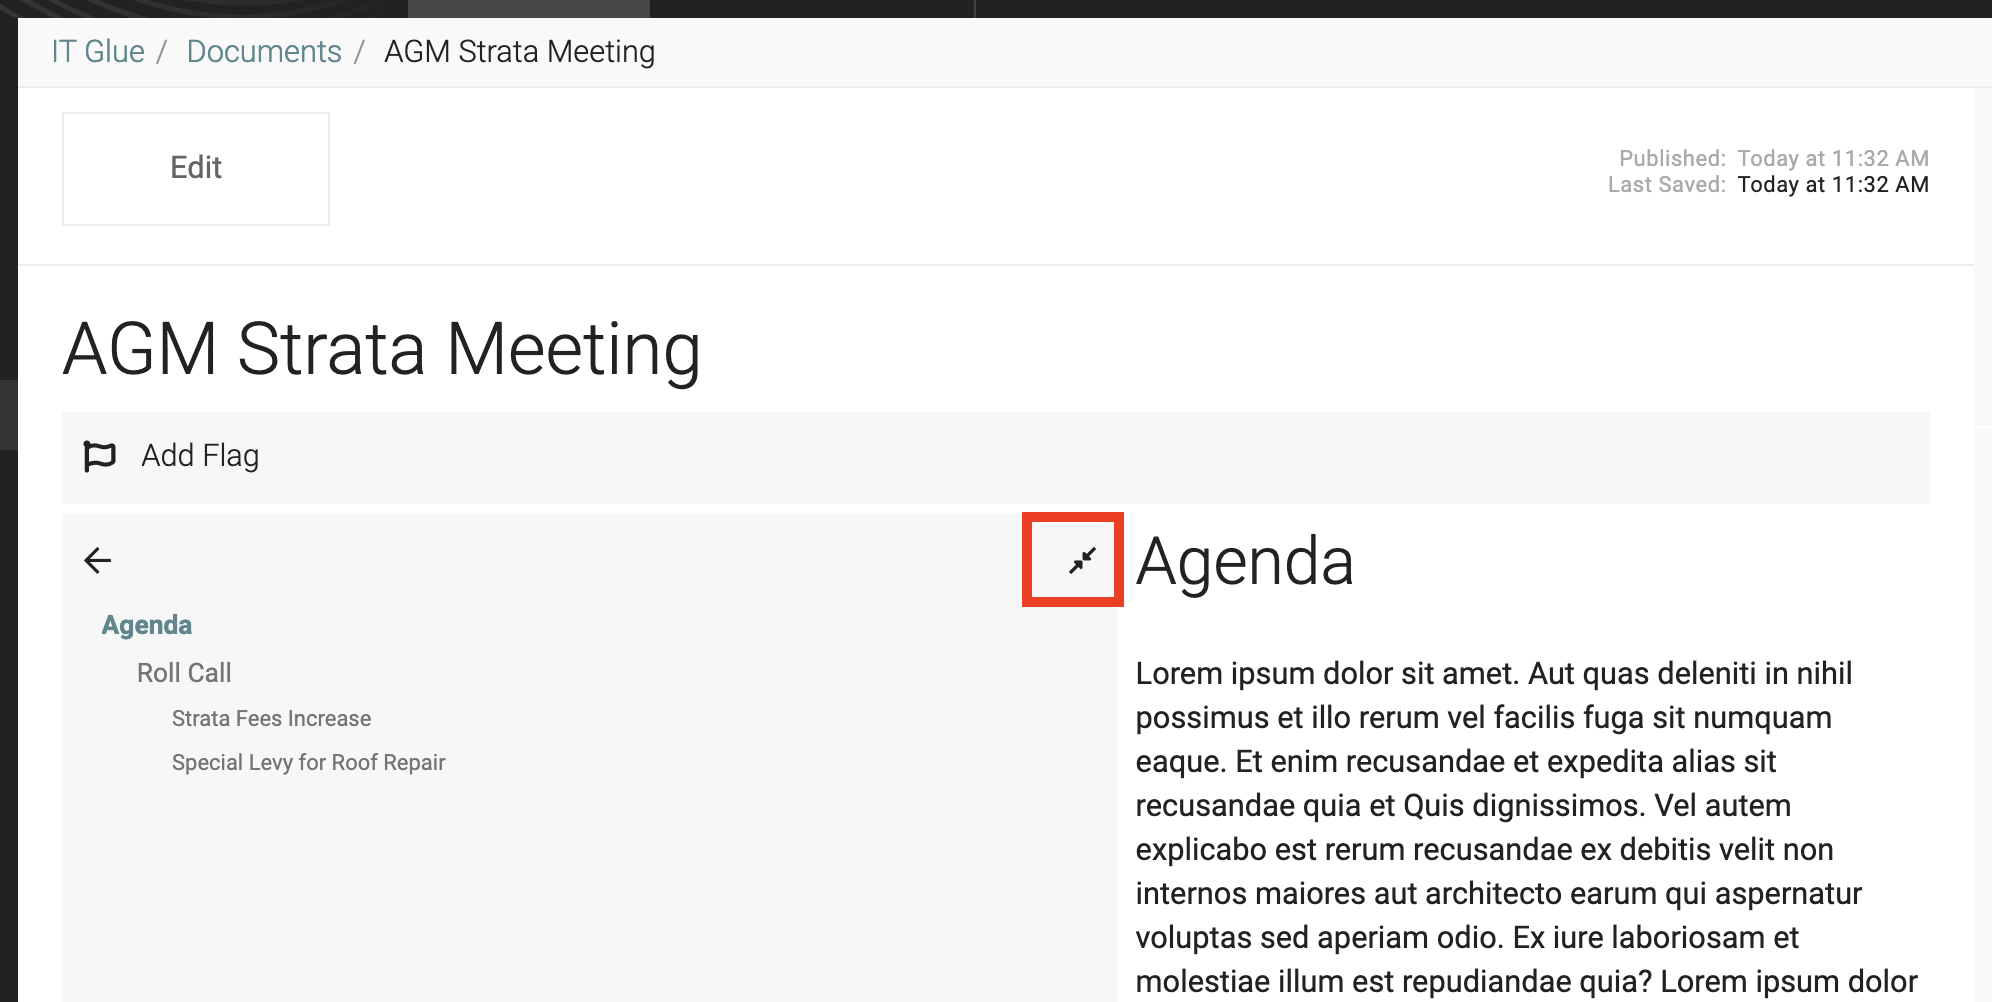
Clicking a heading in the table of contents automatically brings you to this section in the document. Headings in the table of contents will be highlighted as you scroll in the document over them.
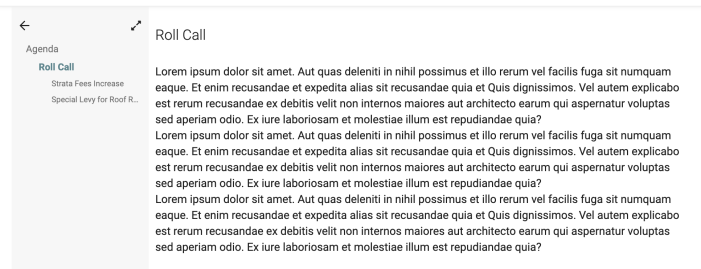
Collapse the table of contents panel by clicking on the arrow icon if you do not wish to use it or expand it by clicking on the two arrows in the top right to make it wider.
NOTE A table of contents will not appear for Microsoft Office documents.
Using the @relate functionality
Adding links to your documents makes them more dynamic and gives your team more options for navigating between documents or to places on the web.
IT Glue allows you to add the following two types of links to documents:
@relate links
@relate links make it possible for the reader to navigate from your document to another location in IT Glue. Rather than having to copy and paste URLs, complete the following steps to add an @relate link to a text box in a document:
- Type the @ symbol anywhere in your text.
- Start typing a document title or asset name.
- By default, documents and assets within the current organization are detected. In the drop-down list of possible matches, click the home icon
 to search globally or the globe icon
  to revert back to searching only within the organization.
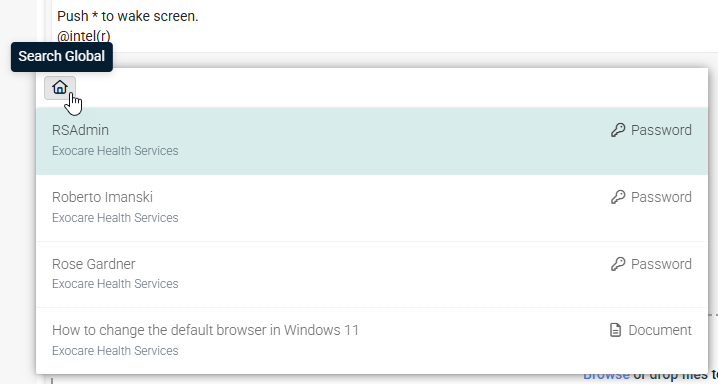

- The results are narrowed as you type. Select the document or asset you want to link to. Once you select the item, its name appears as a blue link, and a new Related Items entry is created automatically.
NOTE If the name of a document or asset is later changed, the link text will not change.
URL-type links
URL-type links make it possible for the reader to navigate from your document to any website. Start by highlighting the text you want to turn into a link, which opens a context menu with an option for inserting a link by typing or pasting the website URL.
Making the document public (anyone with the link can access)
Public documents are a great way to cut down emails and the inefficiencies associated with email. Instead of sending an email, you can share the link to the document with anyone who needs it, such as clients and others who may not be authenticated. This is a useful feature for sharing information with clients, for example, instructions for connecting to the office VPN.
Users with a Manager or Administrator role can perform the following steps:
- Open the desired document and click Edit.
- Select the Make This Document Public checkbox. The change takes effect immediately.
After that's done, anyone who has the link can view the content of the document, the attachments (if any), and any public sub-docs. But the document will not be found by Google or indexed.
NOTE When making a document public, remember to remove any @relate links. If you forget, unauthenticated users may click the link and be treated to an error message.
Sharing the document URL
After you publish a document, you may want your team to take a look at your document or allow them to share a link to a public document with clients. From the document list view, click the Copy to clipboard icon to grab the document URL.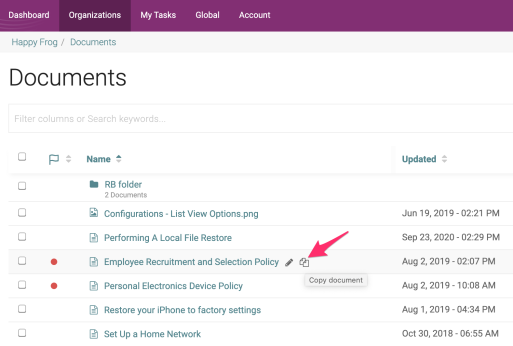
Adding documents to the MyGlue Help Center
For our partners using MyGlue to connect with clients, you can add read-only versions of your documents to the MyGlue Help Center. Users across your multiple MyGlue accounts can all automatically access the content you choose to publish to the Help Center. Not only is this type of information-sharing easy and direct, it also empowers your users to learn about and/or troubleshoot simple topics based on their specific needs and timelines. They are able to find instructions related to their IT infrastructure without having to wait for their ticket to be answered.
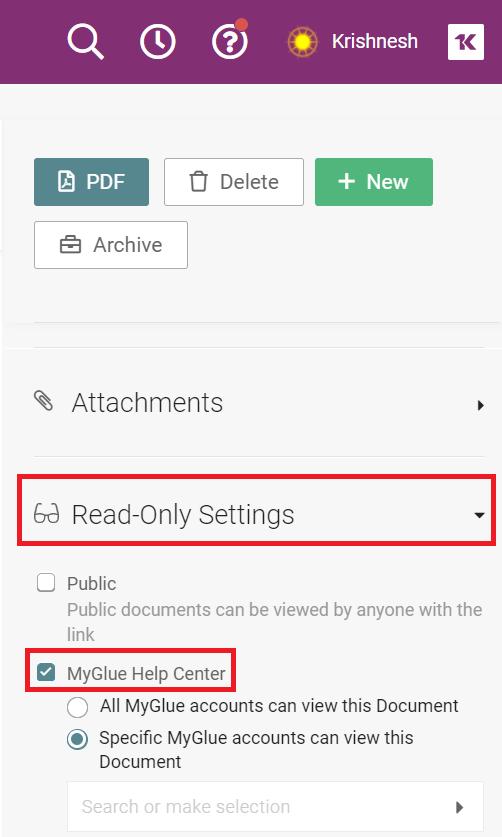
Users with a Creator role and above in IT Glue can perform the following steps:
- Create or open the desired SOP.
- In the right side panel under Read-only settings, click the MyGlue Help Center checkbox.
- Select if you want the document to be published to all MyGlue accounts, or to specific account(s) only. If publishing to specific account(s), then search and select the account names.
Your selections will take effect immediately. Review our Setting up My Glue Help Center topic for full details and instructions.
Copying, moving, and deleting documents
To copy, move, or delete one or more documents, use the actions in the "Select All" button located under the search box and above your documents, as shown here:
Avoiding accidental document deletions
Some user roles do not allow the user to delete data. For more information, see our roles and permissions article.
However, we do all we can to ensure that users do not accidentally delete important data. To delete a folder, you must first remove or delete everything inside of it. That means users can't accidentally delete folders that contain hidden items (only visible to users with the required access).
If a document is accidentally deleted, an Administrator can restore it. See How do I restore an item deleted by accident?
Archiving documents
As you create more documents, you may want to archive some inactive or old ones that are no longer in regular use. Follow our Archiving Assets topic for instructions.
Working collaboratively
Keep in mind that you will only see a revision history once you start publishing. Therefore, if you are making major revisions or working with other collaborators, make sure you publish the document. A full change history will help you in case you need to revert back to an earlier version. For information on recovering earlier versions of a document, see our Revisions to core and flexible assets article.
Also note that if you edit a document that is still being edited, IT Glue will display a message informing you that you are editing an outdated page and giving you the option to load the more up-to-date version or resume editing your current draft.


