MyGlue Scenario 3 - Full Documentation Access for Key Stakeholders
If you'd like to know more on how to deploy MyGlue, please view the MyGlue Deployment Guide.
Scenario Purpose
Deploy a MyGlue account as a value-added solution that provides a client with structured documentation, and structured, field-driven documentation templates that are customized to their needs.
Scenario
In a world with so much information and data, help your clients structure their data in a meaningful way, based on their unique business requirements. Consult your clients and design structured, field-driven documentation templates (Flexible Assets) that are customized to their needs. Having information presented in a structured and professional way, your customers can find information easily, simplify document creation process, save time and money, and enhance consistency.
In this scenario, you will first consult your clients on their documentation requirements, then design a Flexible Asset Template customized to their needs. You will then set up a MyGlue account where client users will be able to create new flexible assets based on the template you created for them. These assets will be viewable and actionable by you as the MSP.
Designing the Flexible Asset Template
In this step, you will design a flexible asset template form scratch.
Let's assume you've consulted with your client, and they require certain employees to have periodic VPN access to their office network from home. To configure this for them, you will need to whitelist their home IP on the company firewall. You would set up a flexible asset called VPN Access Request for your client to record their IP information. They would share this information with you for processing.
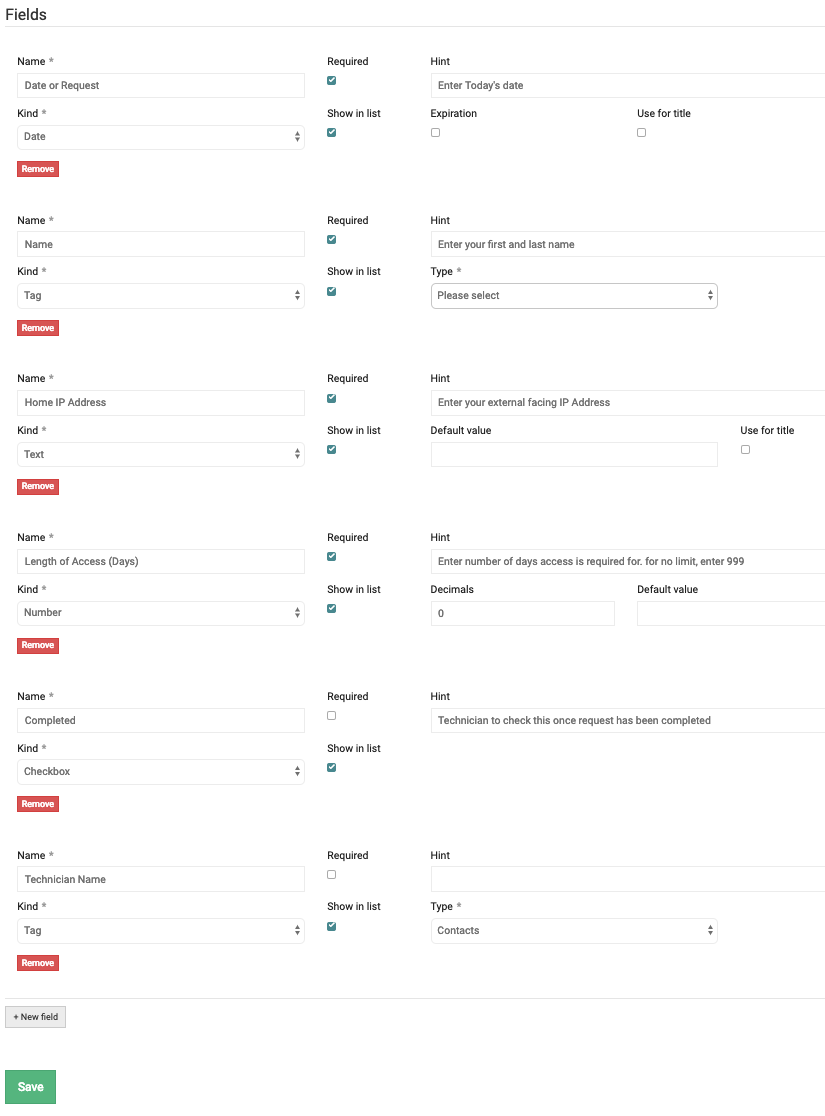
You would need them to record the date of the request, their name, home IP Address and the length of access required. You also decide to add a checkbox field to denote completion of the request, and a name field to show who completed the request.
- Log in to your IT Glue account and navigate to Admin > Flexible Asset Types. Click + New.
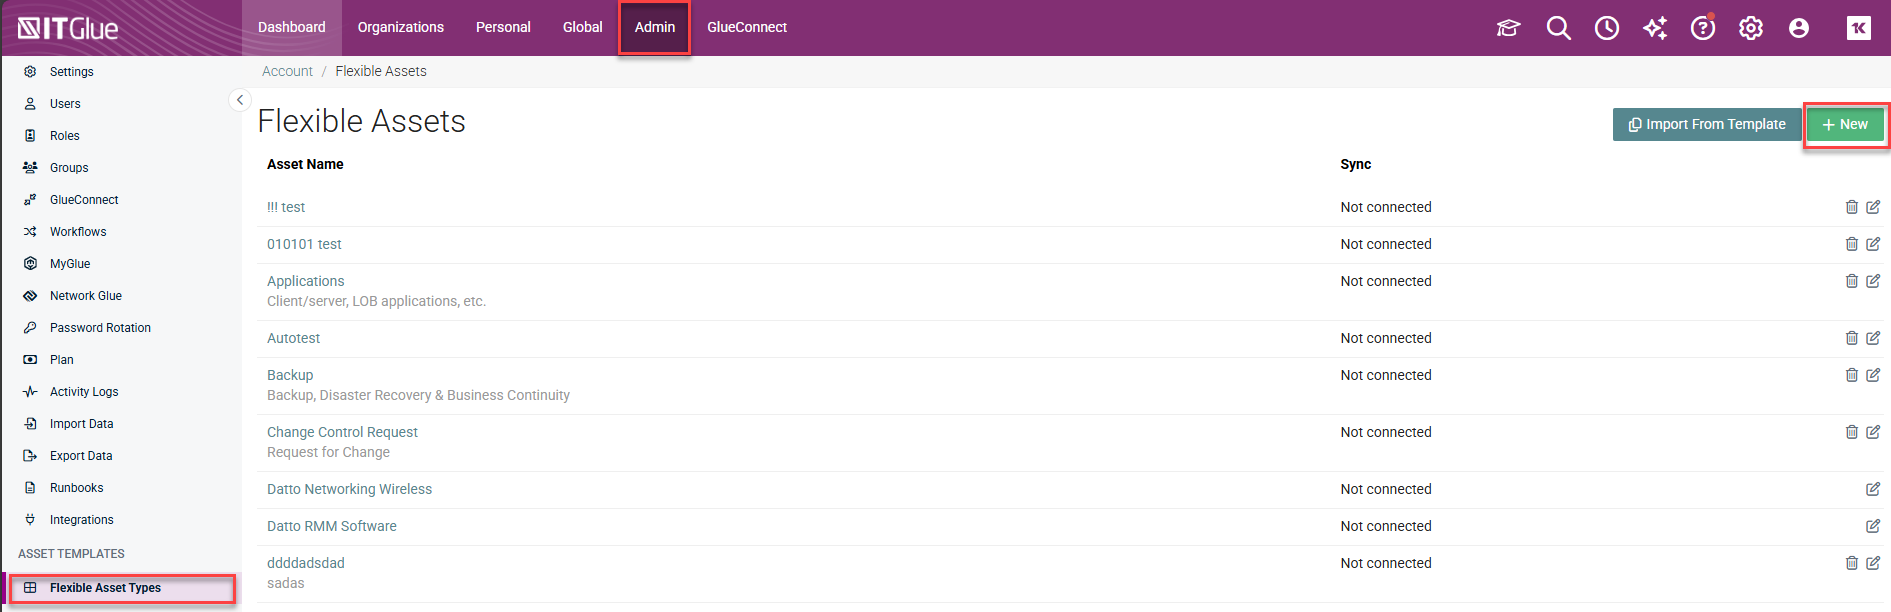
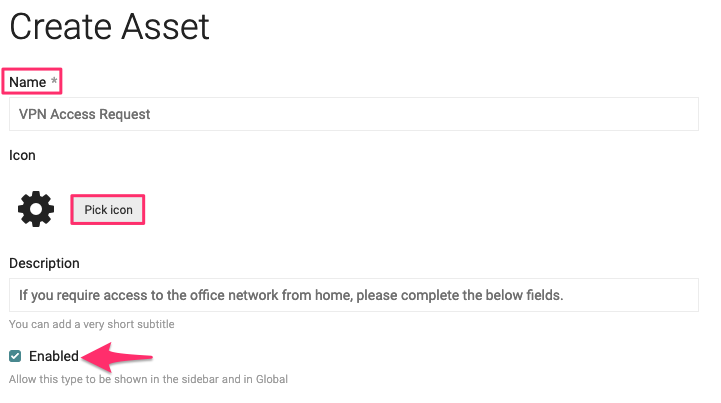
- Name your asset, set an icon (optional), and provide a description. Ensure the Enabled check box is checked to allow the flexible asset to be displayed.
- Pick the field names, and choose the field types. You can also add other options if you wish, per the screenshot below. For more information on the different field types, please see our Flexible asset field definitions KB article. Click Save once you are done.
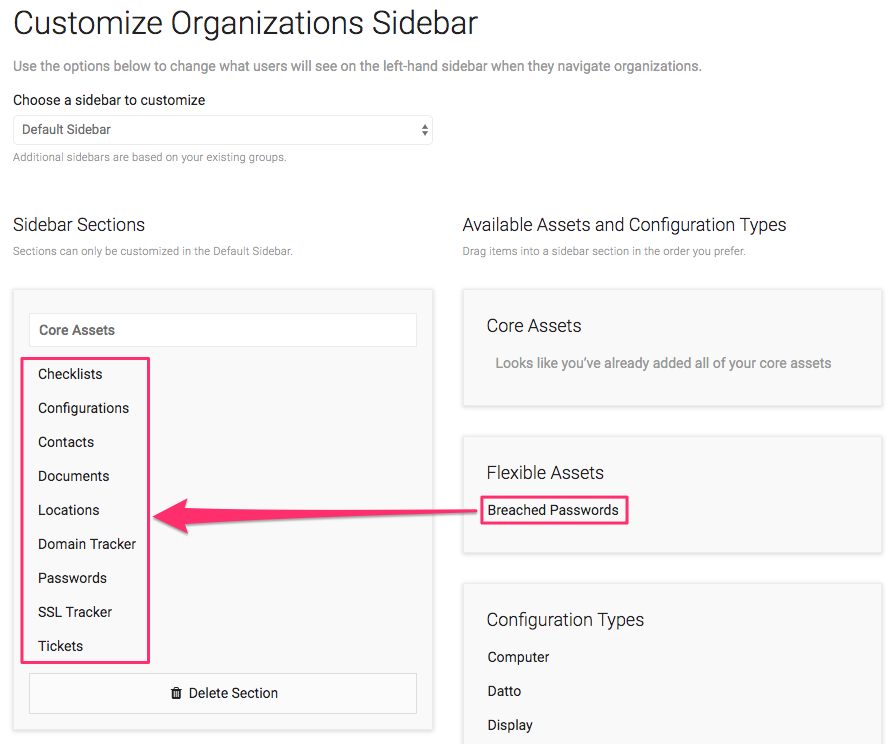
- You may need to add the flexible asset to your sidebar. Navigate to Admin > Customize Sidebar.
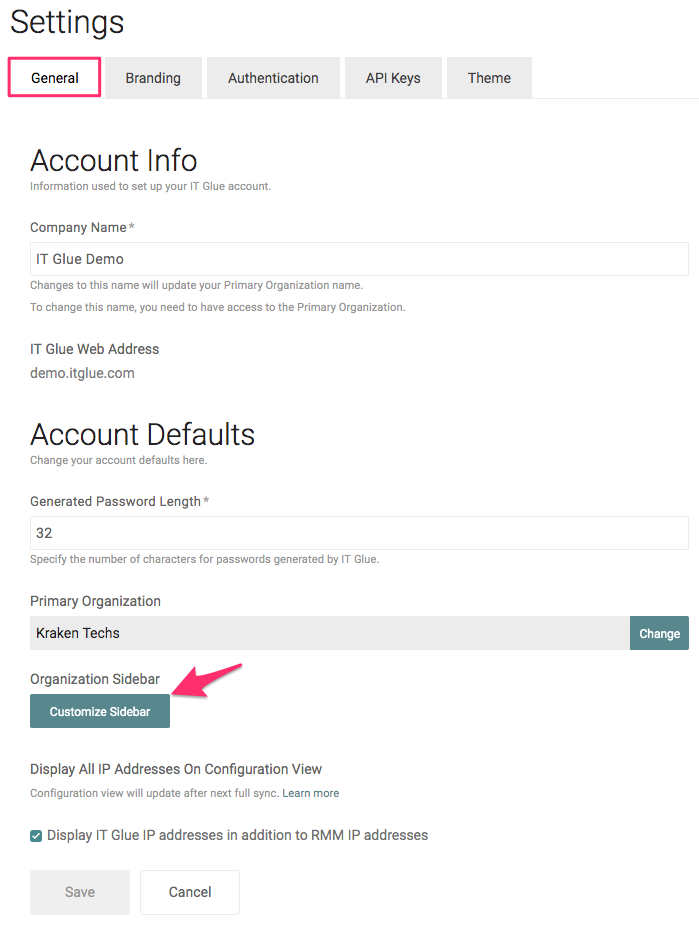
- Click and drag the Flexible Asset to the desired section in your sidebar, then scroll to the bottom of the screen and click Save. It will now be visible to all users unless you restrict access to the asset type through security groups.
MyGlue Deployment Steps
Next, you will need to deploy the MyGlue account for the client.
- Navigate to Admin > MyGlue then click + New.

If you have never set up a MyGlue account before, you will see the screenshot below when you click MyGlue from the sidebar.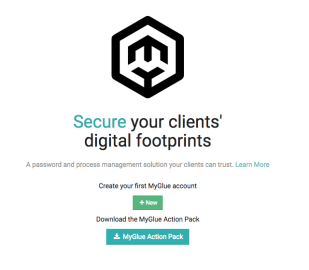
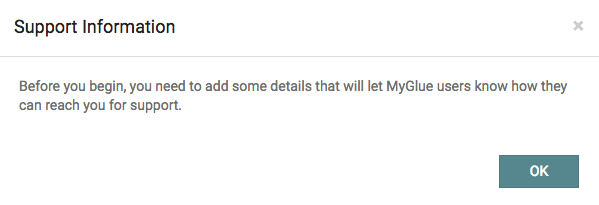
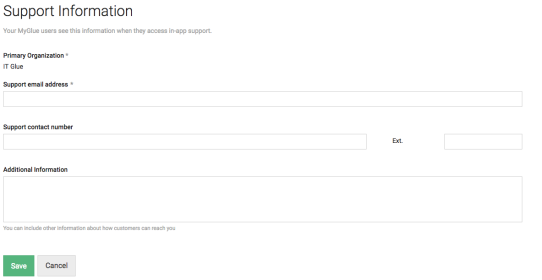
- If this is the first MyGlue account you are setting up, you will be prompted to enter support information. If not, please skip this step.
- In the New MyGlue Account page, complete the following:
- Enter a name for the new MyGlue account.
- Choose the existing IT Glue Organizations you’d like to assign.
- If you want to enforce MFA for the account, check Require MFA for access to this MyGlue account. Refer to our KB article here for details on prerequisites needed for this setting.
- Select a global default security permission for the account. There are three options:
- All MyGlue users with access to the organization have access by default - Passwords created by MyGlue users will be visible to all other MyGlue users with access to the same organization. This ensures that a low-risk and widely used password is easily accessible.
- Only the creator has access by default - Passwords created by MyGlue users are visible only to that user. This ensures that a password is not exposed to an entire group or organization upon creation.
- Specific groups and/or users with access to the organization can access by default - Passwords created by MyGlue users will be automatically shared to specifically chosen MyGlue groups/users or IT Glue groups. This means that MyGlue users don’t need to remember to set those permissions each time they create a password. The password creator will still have access.
Note: It is a pre-requisite that specific IT Glue groups should have been already created to use this option. If not, the list of IT Glue groups will not be listed under this option. You will be able to create and add MyGlue groups to the MyGlue account only after you create the MyGlue account.
- Click Save.
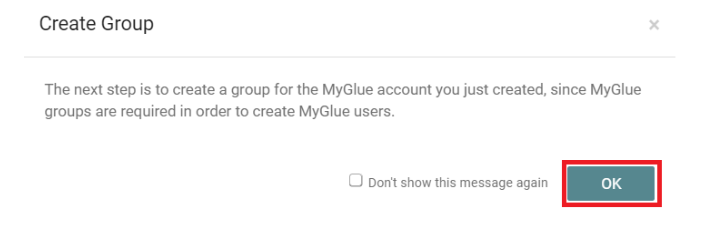
- You will be prompted to create MyGlue Groups as MyGlue groups are required to create MyGlue users. Click OK.
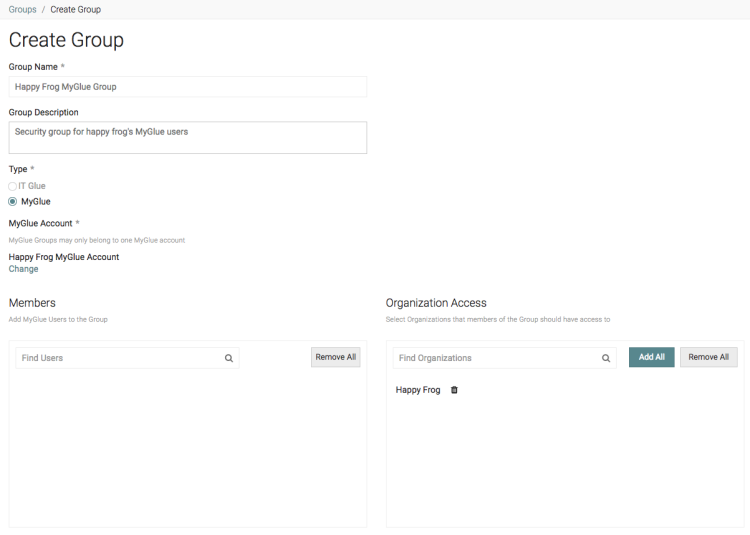
- Create a security group for this MyGlue account. Enter a name and an optional description for the group, and add all MyGlue users who should have access to the group. If you do not yet have MyGlue users in IT Glue, you can invite them on the next screen.
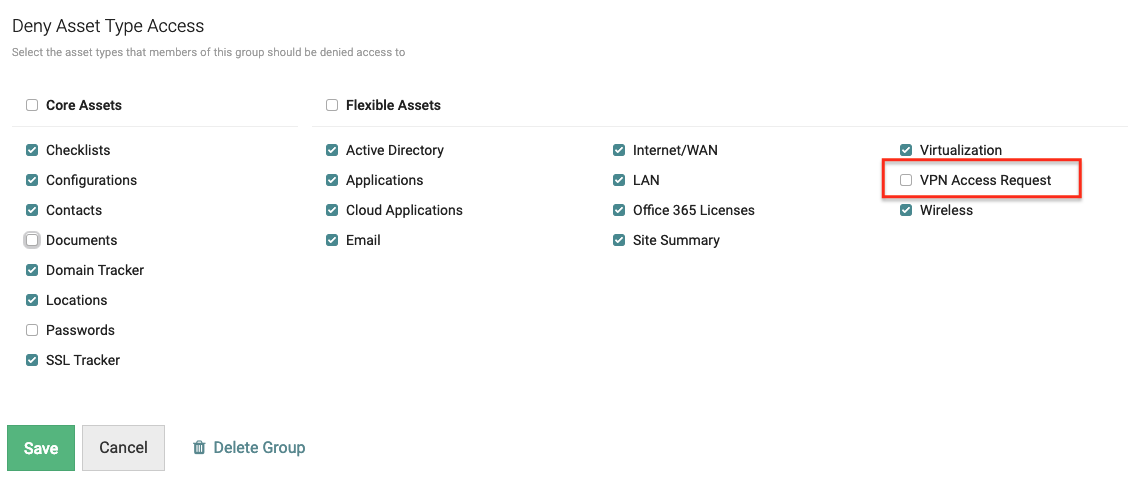
- MyGlue security groups are set to deny access to all assets by default. Uncheck the assets you want MyGlue users to have access to. In this example, we are giving MyGlue users access to Documents, Passwords, and the VPN Access Request we just created.
Creating a security group for MyGlue users to give you access to created assets
My Glue users will need to give you access to assets they create. You will need to create a security group that allows IT Glue users to access these assets.
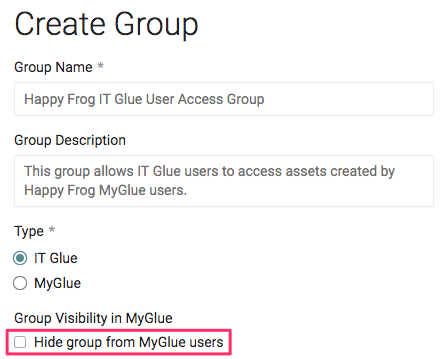
- Navigate to Admin > Groups > +New, and create a new group.

- Set the Group Type to IT Glue, and ensure thatHide group from MyGlue users is unchecked. Add the IT Glue users in your organization who should be able to see assets created by MyGlue users. Click Save.
Creating a VPN Access Request (Done by MyGlue Users)
The following steps would usually be completed by the MyGlue user at your client site. The steps are outlined here for visibility of the process from start to finish.
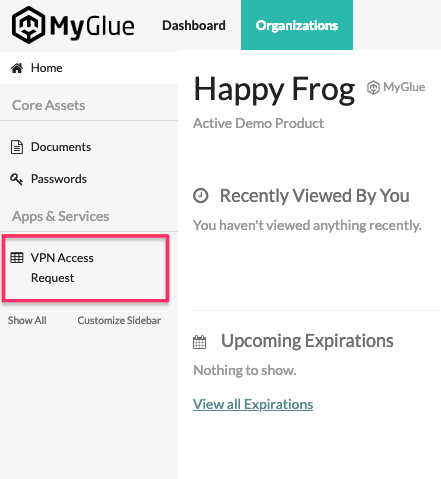
- From your organization home page, click VPN Access Request, then click New in the top right of the screen.
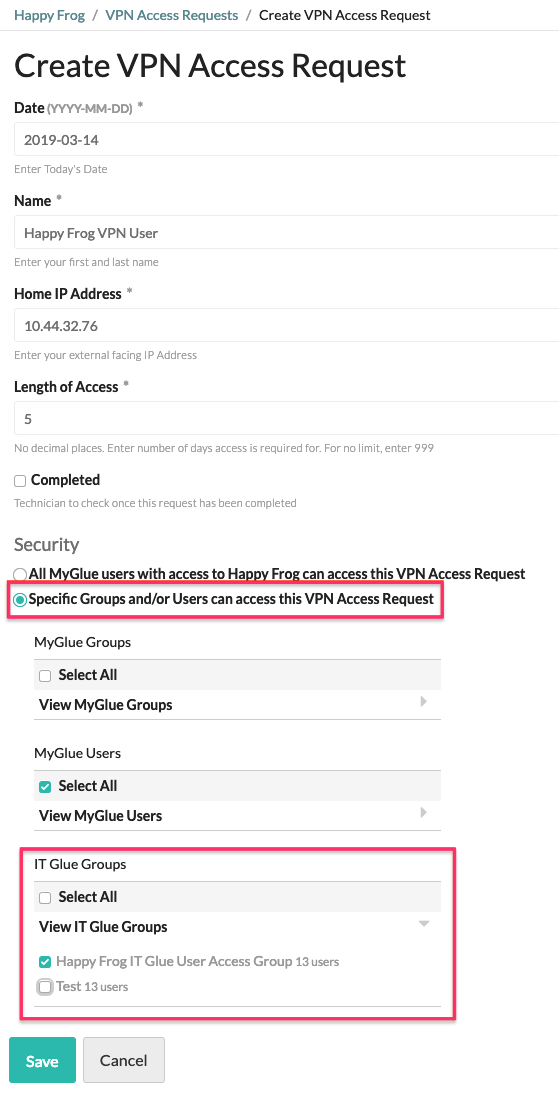
- Complete the access specific fields. Click Specific Groups and/or Users can access this VPN Access Request, then click the dropdown next to IT Glue groups, and select the group created to allow IT Glue users access to the asset. Click Save.
Please also see the below scenarios for other ways you can utilize MyGlue.


