Configurations
Introduction
IT Glue was designed to help you load most network devices through a PSA or RMM integration, rather than manually entering each and every device. In the most common setup, RMM agents are deployed and RMM device data pushes to your PSA and then from your PSA to IT Glue. However, there can still be a few printers, virtual servers, and other agentless devices that may need to be manually entered.
If you have a role that has permissions to create data, you can create and update all of the device information for Configurations. If you're not an Administrator, you can make these changes only if you have access to the organization the device belongs to.
Have a brand new account? Check out the IT Glue Deployment Guide to get it set up.
Prerequisites
- Configurations can only be created in an existing organization. If you do not yet have this organization created, read our Overview of client onboarding steps before going further.
- Make sure the client organization and all of the device information you want brought over from external data sources have propagated to IT Glue. If any device names are wrong or duplicated, they're usually best fixed from the original source.
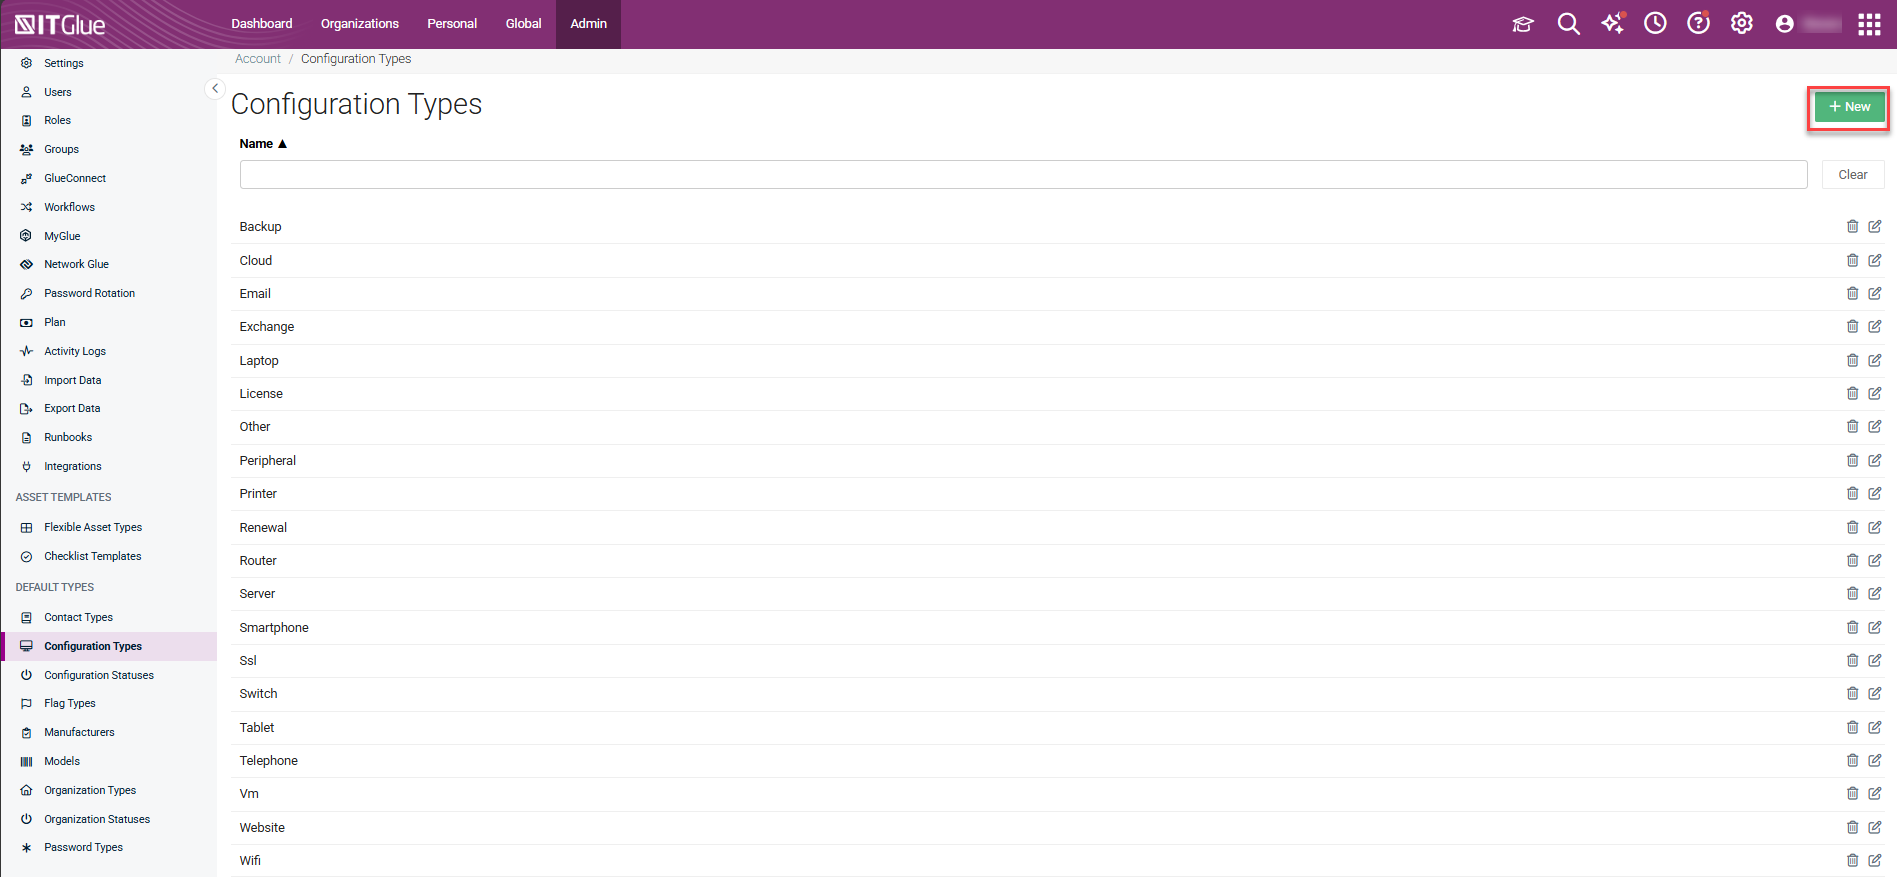
Configuration types
-
IT Glue supports UTF-8 3-byte Characters Chart , and it is recommended using characters from that list.
-
It is recommended to avoid using accented characters, like “é”, in configuration type names as they are outside of UTF-8 3-byte Characters Chart and not supported by IT Glue. Otherwise, it may cause the page to continually load without returning asset results.

Instructions
IT Glue has two-way sync capability with ConnectWise and Autotask. With two-way syncing enabled, you can add a configuration from within IT Glue and we also add the configuration to your PSA.
If you are two-way syncing, follow the below steps to add configurations:
- Verify that the configuration has not already been entered in the system. Use the search field at the top of any screen.
- Navigate to the organization that the device belongs to.
- From the Configurations list view, click + New.

- For each device, you can capture the following information:
- Name (required to save and sync the configuration)
- Type (required to save and sync the configuration)
- Status (required to save and sync the configuration - ConnectWise only)
- Serial Number
- Manufacturer
- Model
- Location
- Hostname
- Primary IP
- [Warranty] Expiration Date (check manufacturer's website)
- Primary MAC Address
- Default Gateway
- Platform
- Operating System
- Interfaces (secondary NICs, additional IP addresses, additional MAC addresses, management ports)
- Notes
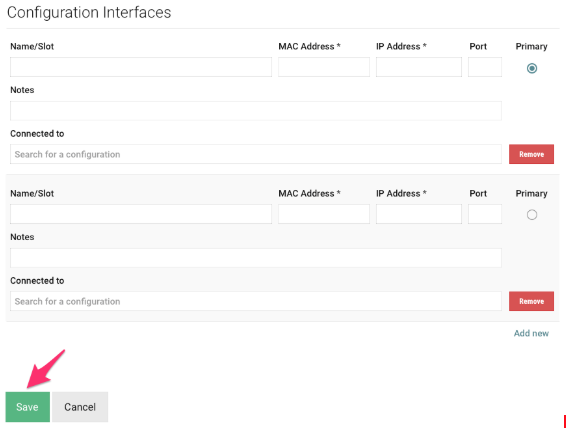
- In the Configuration Interfaces section, you can capture the following information:
- Name/Slot - Enter a name for the interface for easy identification.
- MAC Address - Enter a valid MAC address.
- IP Address - Enter a valid IP address.
- Port - Enter a valid physical port number.
- Primary - By default, the radio button is selected. If this is not the primary interface, click the radio button next to the primary interface.
- Notes - Add any additional notes if required.
- Connected to - Search for a configuration in the same organization that you have access to.
- Clicking on a search result will prompt you to select an interface the found confirmation is connected via.
- Specifying an interface will add the found configuration as a device connected to the original configuration. If the found configuration does not have the desired interface, you will need to navigate to the found configuration to add the interface first. A connection cannot be saved without an interface specified.
- Connected devices can be removed by clicking Remove Connection.
- Click Save.

After saving, only the IP address and MAC address of the primary interface will be synced back to the PSA tool.
Managing Configurations
In the Configuration show page, the Configuration Interfaces table will display one of IT Glue, Network Glue, or your RMM icon next to each interface. A Network Glue or RMM icon indicates that the record is overlaid from an external source.

Click the Add All button at the top-right corner of the table to add all external records to the configuration. Click the Add to button in the table cells to add individual external records to the configuration. Once you have performed one of these actions, the external interface data will be written into the IT Glue configuration and be available in the Edit mode.
Clicking the Add to button will add the external interface data to IT Glue permanently. As such, only the IT Glue record will be displayed. Should the data change in the external source, an additional external record will be displayed.
We recommend that you review the following best practices before using the Add to button:
- The Add to button is best employed if you want to modify the interface data.
- Example: If Network Glue did not bring in a port number that you know exists and want to add, use the Add to button.
- If Network Glue has already brought in the information that you require, then you do not need to employ the Add to feature.
- In IT Glue, connections work 'interface to interface' rather than 'configuration to configuration'. This means that interfaces are mandatory to document a Connected to device. So, ensure that interfaces between Network Glue and IT Glue are in place to establish the connection.
- Example: If Network Glue returns an IP address that is not documented in IT Glue, then the Connected to data will not appear.
NOTE If you are one-way syncing with your PSA, add the configuration to your PSA instead. It will be brought over in the next data load if its type and status are set to sync. See Syncing between IT Glue and PSAs overview. After that's done, you can add certain other pieces of data from IT Glue, including attachments, embedded passwords, and related items.
A few notes on adding configurations
- When choosing a configuration name, use a consistent naming convention. According to IT Infrastructure Library (ITIL) guidelines, hardware names should be short but meaningful, and not based on manufacturer device names.

You cannot enter free text in the Platform and Operating System fields. You must select a pre-configured value for these fields.
- Types, statuses, manufacturers, and models can be created at any time, but make sure you read this article before creating new data types in IT Glue.
- To preserve integrity with PSA and RMM integrations, the configuration form and fields are hard coded in IT Glue. You can create custom flexible assets to capture more information, or you have three places in a configuration to add more information:
- Notes Field - E.g. switch port usage notes
- Attachments - E.g. PDFs, manuals, config files
- Related Items - E.g. documents, directly connected devices
- ConnectWise configuration questions and Autotask user defined fields will be displayed in IT Glue. You'll see them in the configuration record view. It should be noted that this data is read only in IT Glue.
- As you document more of your client’s assets, you may want to archive some inactive or old ones that are no longer in regular use. Follow our Archiving Assets topic for instructions.
Configurations checklist
- Servers (physical, backup, virtual hosts, virtual guests)
- Firewalls
- Switches, routers
- Storage devices (SAN, NAS)
- Wireless access points
- Printers, scanners
- PBX devices
- Security camera controllers
- UPS devices
- Workstations
- Mobile devices (Optional)
- Any other device with an IP address
- Devices that need to be controlled and managed but that do not have IP addresses, such as a display, camera, security panel/alarm, or backup power supply


