Creating MyGlue groups and users
This article covers how to provision MyGlue groups and user accounts from IT Glue.
Prerequisites
- Looking for information about permissions? Read the MyGlue user roles, groups, and permissions introduction to MyGlue permissions.
- We recommend that an Administrator be responsible for creating new MyGlue users and groups, though most tasks can also be performed by a Manager who has access to all organizations.
- Moving existing IT Glue users to MyGlue? After creating MyGlue groups, see Changing an existing IT Glue user's access to MyGlue.
Instructions
Create your MyGlue groups
- Log in to your IT Glue account and navigate to Admin > Groups. Then, click on the + New button.

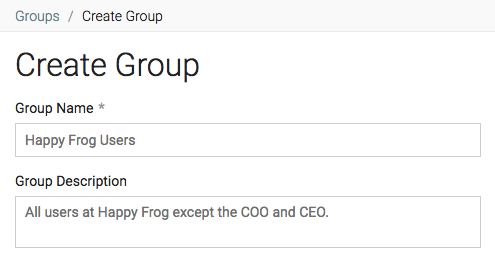
- On the next screen, enter the group's name and provide a description.
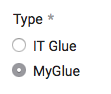
- Change the Type to MyGlue.
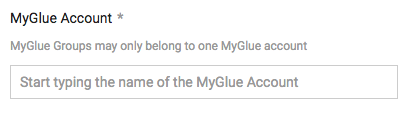
- Select the MyGlue Account the group will belong to.
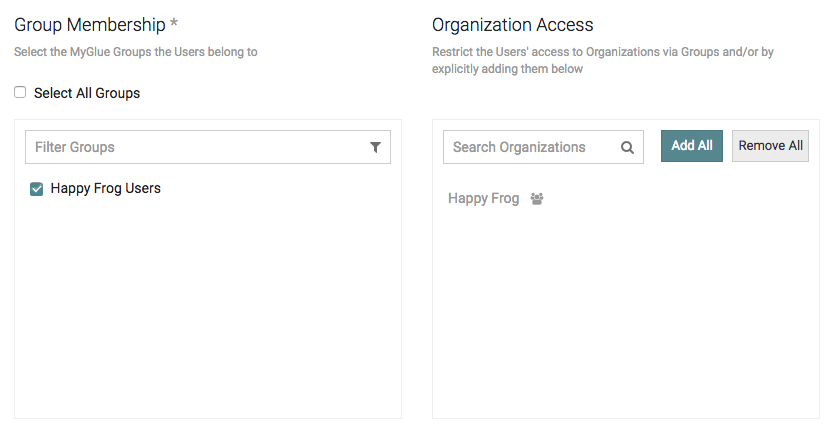
- Skip the Members section for now. Group membership can also be added from the Create Users screen, as explained further below.
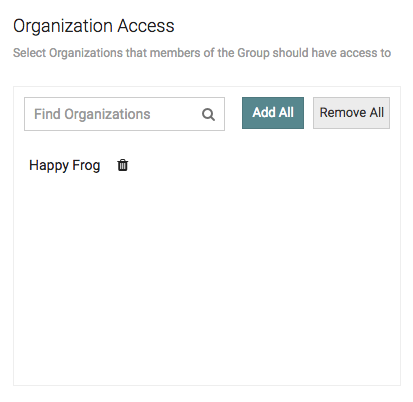
- In the Organization Access section, search for and select the organizations you want the members of the group to have access to. Typically, you will have just one organization to choose from.
- To give access to IT Glue assets that have not been given unique permissions, scroll down and select the Grant access to unrestricted ("All IT Glue Users") IT glue data within the allowed organizations checkbox. The default is not to grant access.

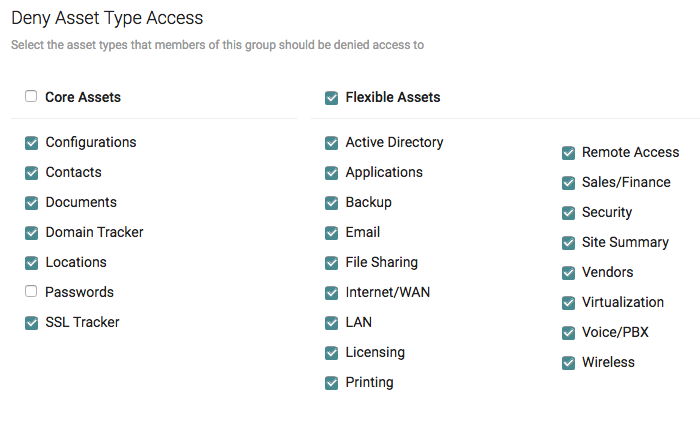
- In the Deny Asset Type Access section, select the asset types that members of this group should be denied access to. The default is to deny access to all asset types. It's recommended that you uncheck Passwords.
- Click the Save button to create the group.
Invite people to your MyGlue account
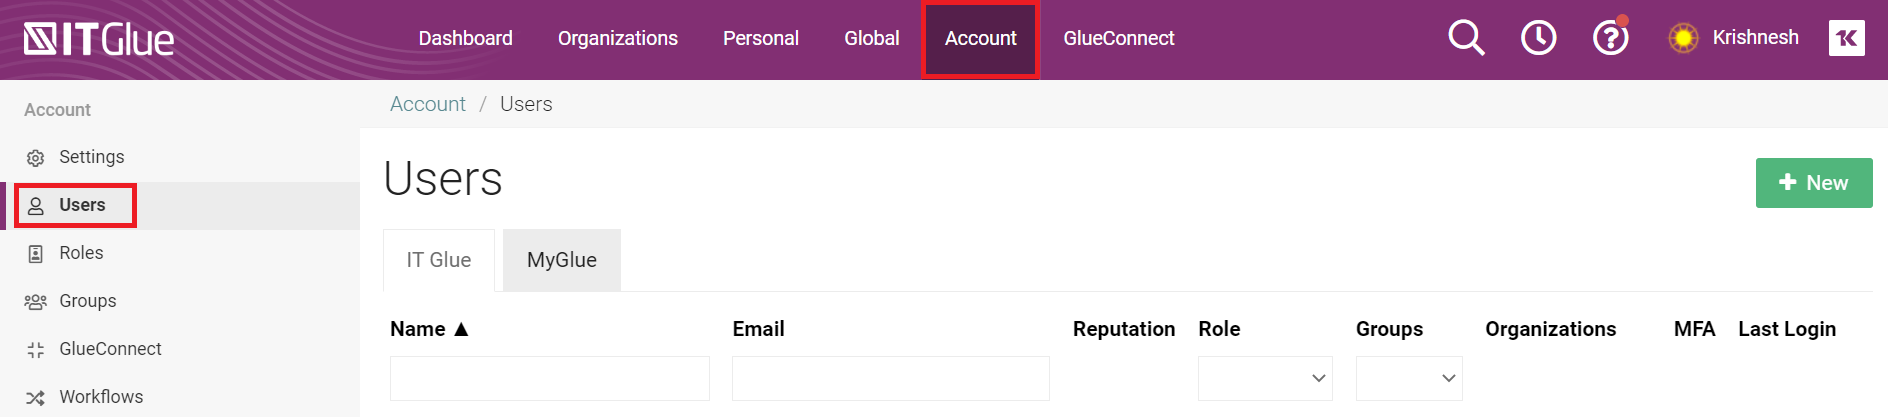
- Log in to your IT Glue account and navigate to Admin > Users. Then, click on the MyGlue tab and then on the + New button.
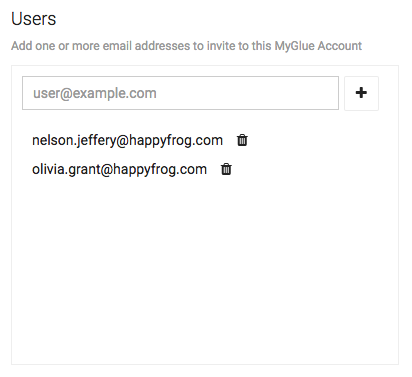
- In the Users section (top left), enter the user's preferred email address and then click on the plus sign to add it. To invite more than one user, enter as many email addresses as you want, clicking the plus sign or pressing enter after each one.
- Leave the Type set to MyGlue.
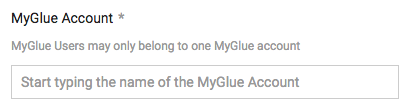
- Select the MyGlue Account the user will belong to.
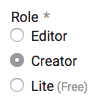
- Choose a role to define the actions the user is permitted to perform: Editor, Creator, or Lite.
- Select the MyGlue groups the user will be a member of and the organizations they can access, if not already populated by a group. Organizations names populated by a group are grayed out because the permissions are inherited.
- Click Save.
After you click Save, the user will get an email invitation with a preloaded invitation message. If an invitation link expires, you can Resending an invitation to a new user the invitation.
The new user will be listed in the Account > Users > MyGlue list by email address. Users with pending invitations display "Invited User" as their username. The  (Resend Invitation icon) is also shown. When the user accepts the invitation, "Invited User" is replaced with the user's name and the Resend Invitation icon disappears.
Removing a MyGlue user
- Navigate to Admin > Users > MyGlue.
- Click Delete (trash can icon) in the list view.
After you click Delete, the user will not be able to sign in.
IMPORTANT When assets are no longer relevant to any of your MyGlue users, they are automatically deleted. This means that when you delete MyGlue users, you are also deleting their personal passwords and other MyGlue assets that were not shared with anyone else.


