Deploying Network Glue Collector for an IT Glue organization
Network Glue Collector is a lightweight Windows service that can run on any server or workstation. It is uniquely configured per network and uses a number of protocols, including SNMP, ICMP, ARP, and WMI.
NOTE The collector agent does not support SNMP for Windows workstations, servers, VMs, and Hyper-V hosts. As a result, SNMP credentials cannot be added to any of these Windows devices.
Network Glue uses a vendor-agnostic method by using standard OIDs to collect SNMP data, so the SNMP will work only if a manufacturer makes the data available on the standard OIDs used. If some manufacturers of network devices do not make the required data available over SNMP, these devices may not be fully supported at this time.
This article shows you how to deploy Network Glue Collector for your IT Glue organizations either on site or through a remote monitoring and management (RMM) tool.
NOTE Datto RMM's Software Management does not support the Network Glue Collector. However you could use the component Download/Verify + Install File/EXE/MSI by URL from Datto RMM's ComStore to deploy it. Refer to List of ComStore components.
Data sent from the collector to IT Glue is encrypted using Transport Layer Security (TLS) and uses a secure authentication mechanism with backend systems.
Prerequisites
- Windows 10 Pro or Windows 2016 Server and higher
- 5 GB of free disk space
- Minimum of 2 GB RAM
- .NET Framework 4.8. For existing agents in the field, .NET Framework 4.6.2 is required.
Instructions
BEFORE YOU BEGIN IT Glue strongly recommends that you install Network Glue Collector on a server rather than a workstation. If the collector is installed on a workstation, collection services may stop running if the workstation is turned off or sent to sleep.
Deploying the Network Glue Collector on site:
To download and install Network Glue Collector, complete the following steps:
- From the top navigation menu, click Admin.
- Follow the steps outlined in Setting up Network Glue for an IT Glue organization.
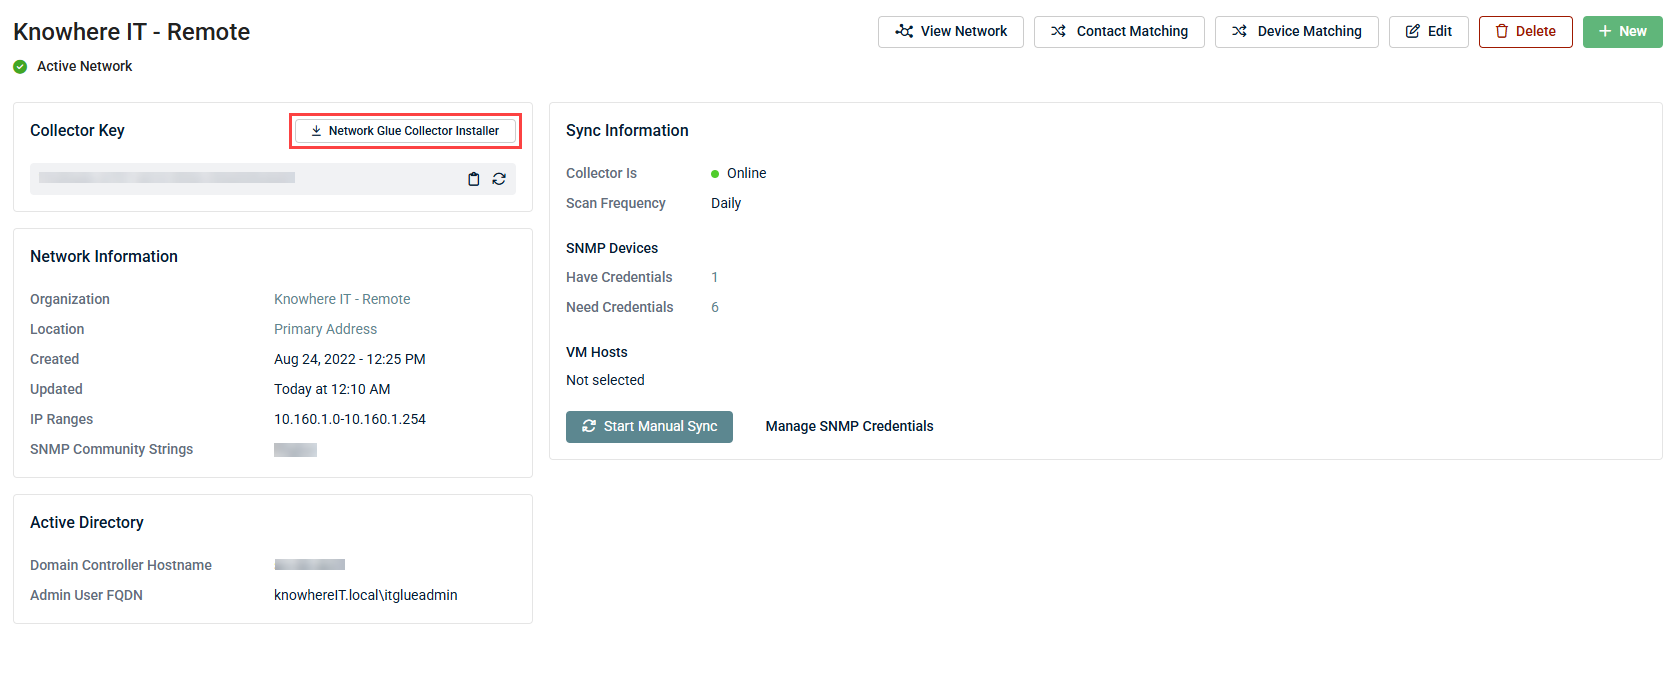
- Once you have completed the setup, download the Network Glue Collector installer file by clicking Network Glue Collector Installer.
- Open the file to initiate the wizard and click Next on each screen to complete the setup. You can change the install path if you prefer to install the collector somewhere other than the default location.

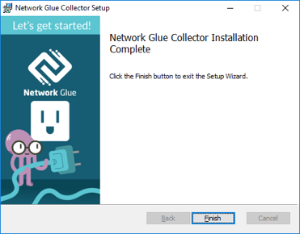
- Click Finish once the installation is complete.
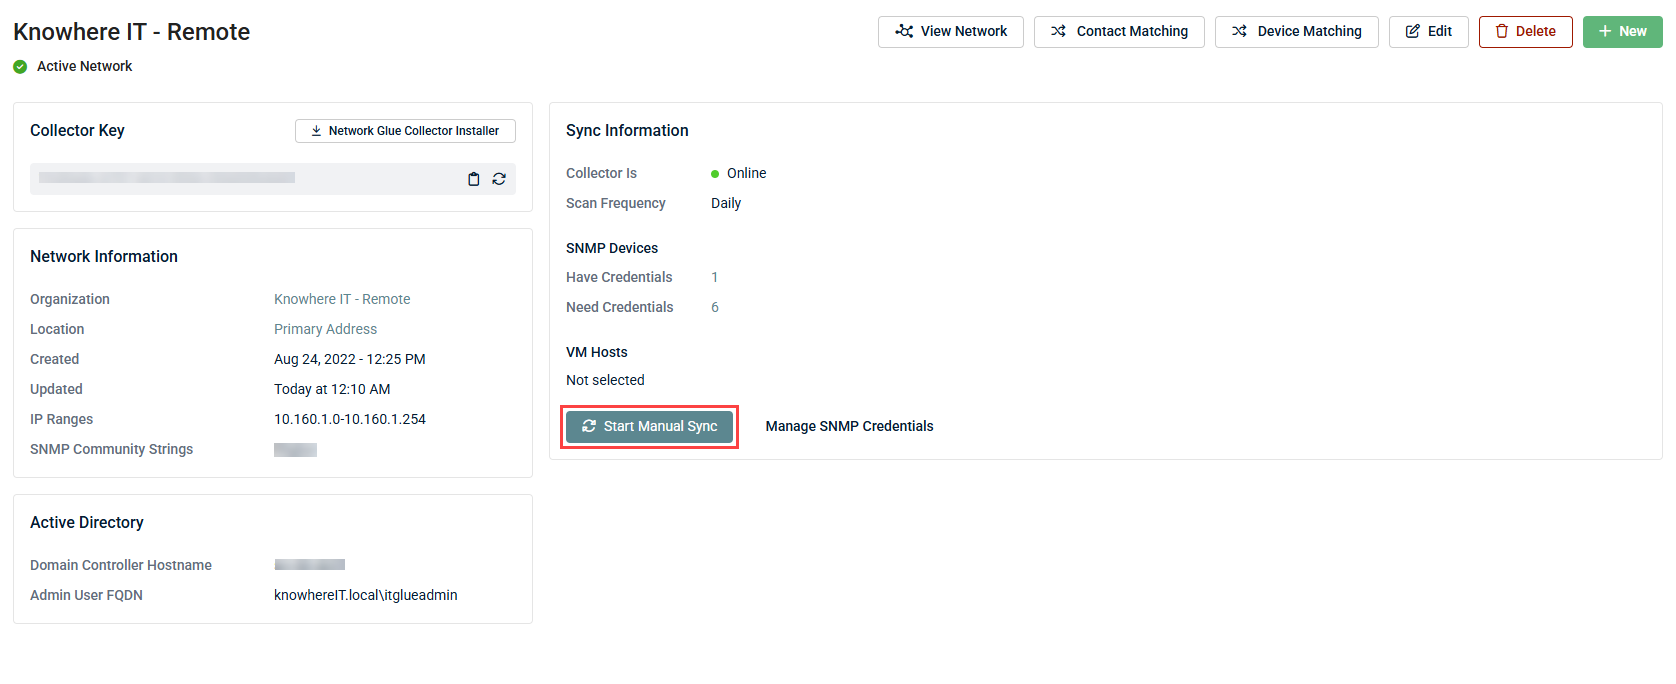
- A screen will appear asking you to enter an unused collector key. To obtain the key, navigate to the network in IT Glue and click the Copy to clipboard icon
 next to the key.
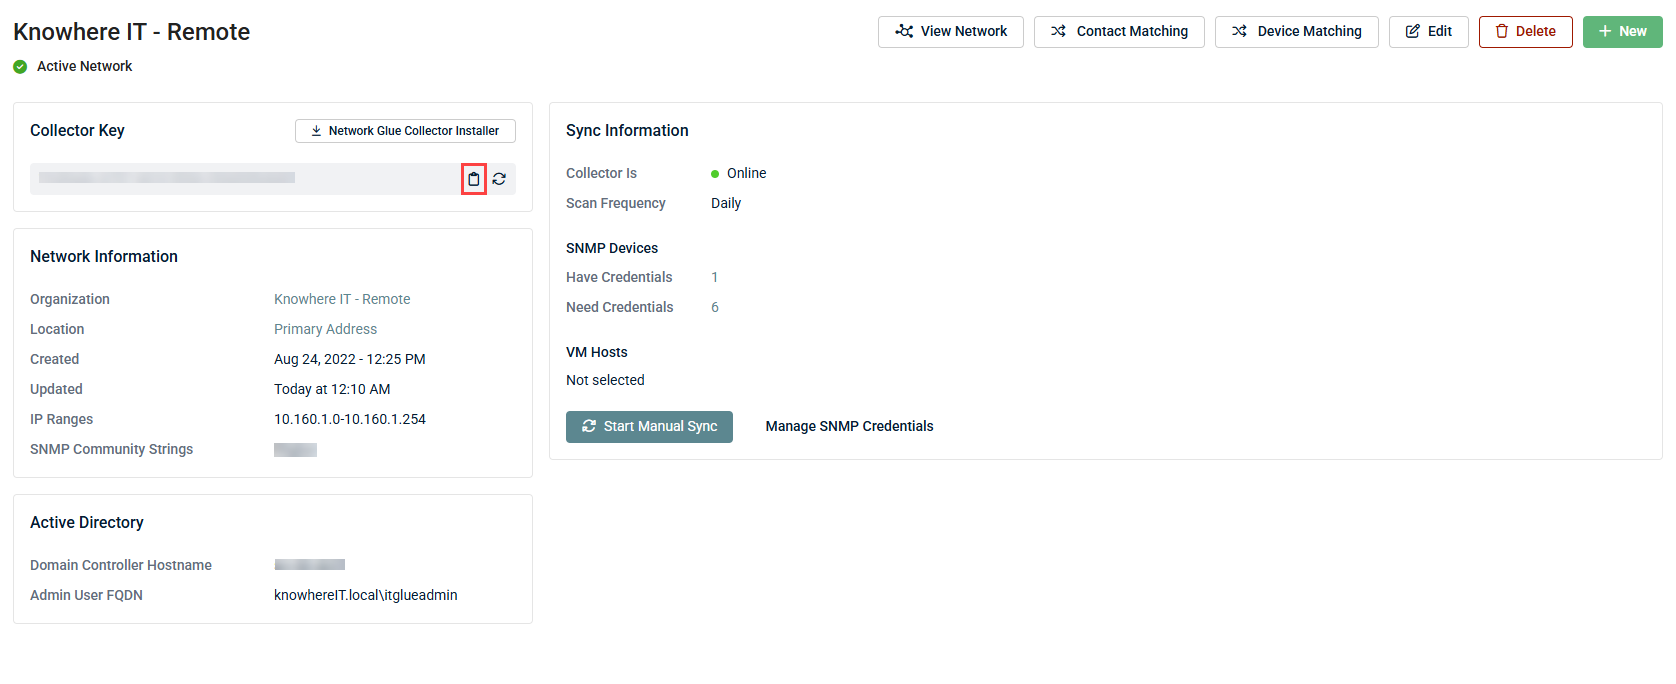
NOTE The Admin > Network Glue page is accessible only to IT Glue Administrators and Manager users. For Lite users and above, access Network Glue Collector by navigating to an organization and clicking Networks in the left navigation menu. If you do not see Networks in the organization left navigation menu, refer to Add assets to the Organization Sidebar.
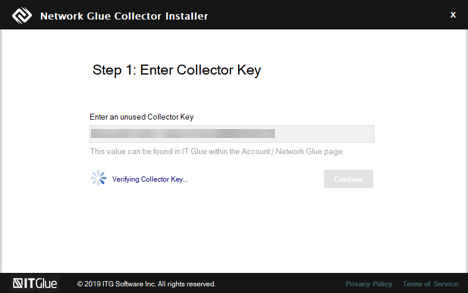
- Return to Network Glue Collector Installer, paste in the key, and click Continue. The Network Glue Collector will initiate the sync to your specified IT Glue organization.
- Verify all the details and click Confirm.

- Network Glue will initiate the sync to your specified IT Glue organization. When completed, click Finish.
- After Network Glue Collector has successfully installed, navigate to the network in IT Glue and click Start Manual Sync in the Sync Information section. Depending on the size and complexity of your network, it may take several hours to sync your network data.
- After the sync has completed, check the SNMP status on your scanned devices.
Deploying the Windows installer through your RMM tool
Most RMM tools support the ability to distribute application installation packages remotely to a managed machine on your client's site. If you would like to deploy Network Glue Collector remotely through your RMM tool, refer to the following links:
- Kaseya VSA
- Labtech Automate
- Datto RMM
- SolarWinds N-able N-central
Scripting the installation of Network Glue Collector
To install Network Glue Collector into the default location, refer to the following example script:
# Default Install Location:
# Install the Network Glue Collector
msiexec /qn /i NetworkGlueCollector.msi /L*V install-silent.log
# Configure the Network Glue Collector
"C:\Program Files (x86)\Network Glue\Collector\bin\register-device.exe" -i <Network Glue Collector Key>
The following images show two example commands: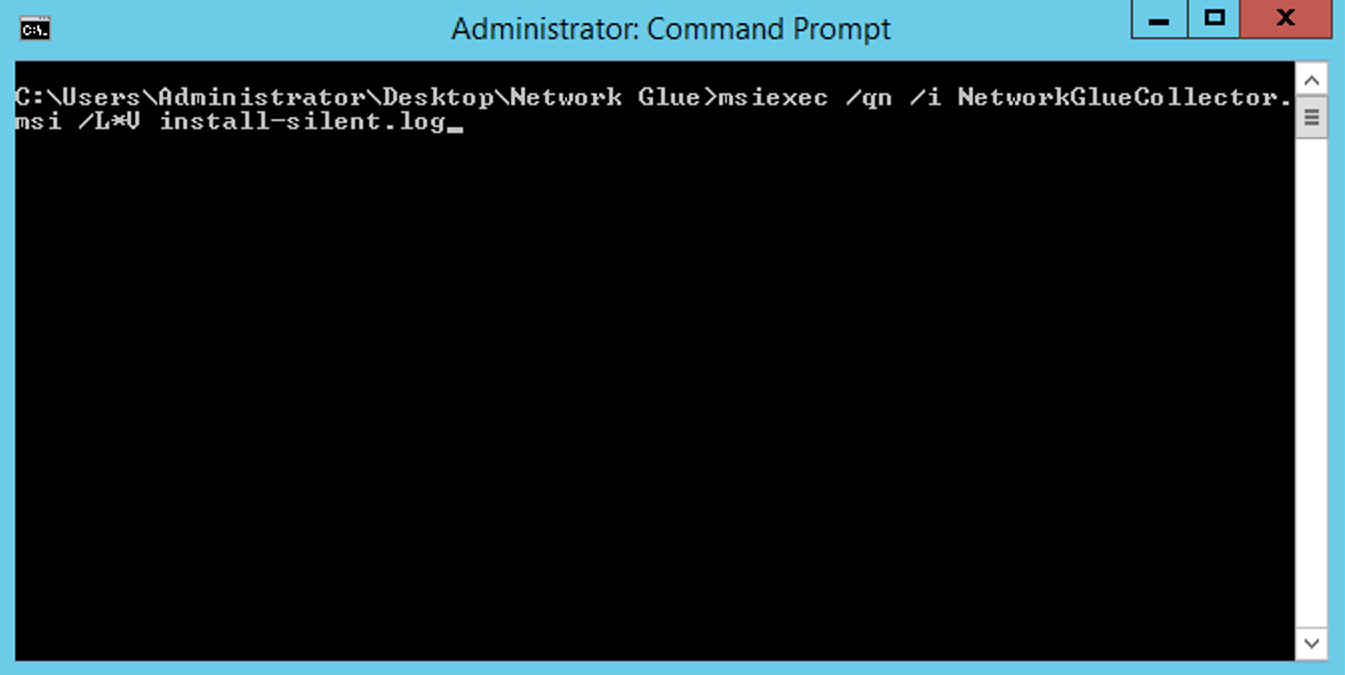

To install the Network Glue Collector into a custom location, refer to the following example script:
# Custom Folder Location:
# Install the Network Glue Collector
msiexec /qn /i NetworkGlueCollector.msi INSTALLFOLDER="C:\test msi" /L*V install-silent-custom.log
# Configure the Network Glue Collector
"C:\test msi\Collector\bin\register-device.exe" -i <Network Glue Collector Key>
To uninstall the Network Glue Collector, refer to the following example scripts:
Use the following script to silently uninstall the Network Glue Collector without any prompts or requiring a restart:
$AppName = "Network Glue Collector"
$ProductCode = (Get-WmiObject Win32_Product | Where-Object { $_.Name -eq $AppName }).IdentifyingNumber
Start-Process -FilePath "msiexec.exe" -ArgumentList "/x $ProductCode /qn /norestart" -Wait -NoNewWindow
Use the following script for a standard uninstallation process:
Get-Package -Provider Programs -IncludeWindowsInstaller -Name "Network Glue Collector"
Uninstall-Package "Network Glue Collector"
To start using the network diagram, refer to Guide to the Network Glue network diagram for more information on the Network Glue deployment process.


