Integrating with Tigerpaw
Use this article as a guide when you integrate with Tigerpaw. We currently one-way sync with accounts and active contacts only.
At any time, you can come back to the Active Integrations screen (Admin > Integrations) to make changes to the integration.
The field mappings are set up automatically when you follow the instructions below. For more information, take a look at Tigerpaw field mappings.
If you are migrating your PSA or merging to another instance, please contact your Account Manager. Guidance from our team is recommended to ensure this is completed successfully.
Prerequisites
- An SSL connection with a valid certificate (not self-signed) from a trusted authority is required.
- You must have Manager or Administrator access to IT Glue.
- To configure Tigerpaw to work with IT Glue, contact Tigerpaw directly and refer to their documentation for setting up the REST API. The REST API, separate from the built-in Tigerpaw (Mobile) API, must be installed to allow both systems to communicate with each other.
- Gather the public and private API keys from Tigerpaw.
- You also need the Fully Qualified Domain Name (FQDN) of your Tigerpaw server.
- System requirements: Tigerpaw version 16.1.7 or higher.
Instructions
These steps assume that the Tigerpaw API is already installed and configured.
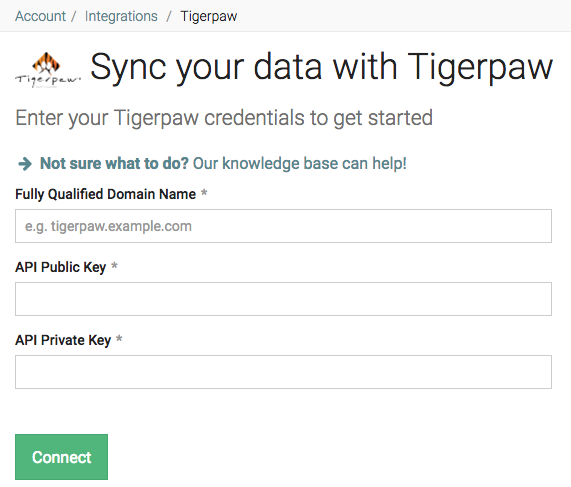
- From IT Glue, navigate to Admin > Integrations and create a new integration using the Tigerpaw option.

- Enter your FQDN and your API credentials, and then click Connect.
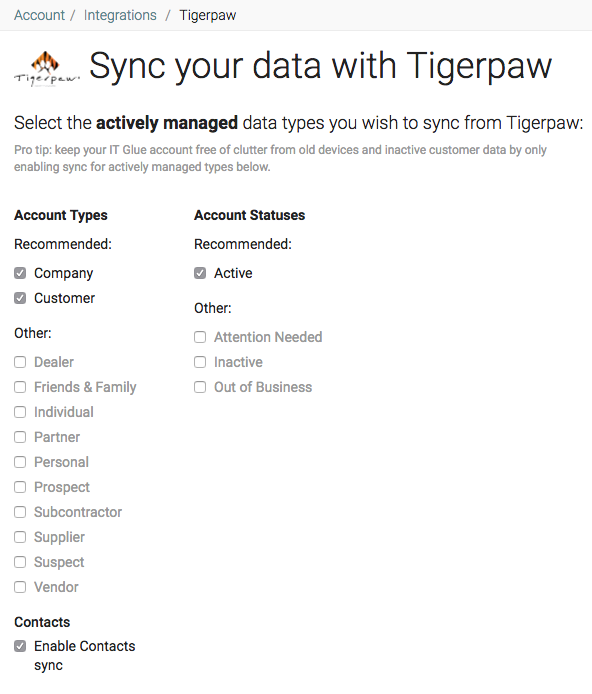
- From the Sync your data with Tigerpaw screen, tell us how much of your data to sync. By default, recommended options are listed first. Your recommended options may be different than in the screenshot below.
NOTE As a best practice, we recommend you only select the Accounts that you actively manage.
- Finally, click Save and Continue. The sync will be automatically queued.
- You can use the manual sync option to prioritize the sync to start sooner. To start a manual sync, navigate to Admin > Integrations, click Actions and then Start Manual Sync.
- From the Active Integrations screen, you can see the overall sync status. When the sync is complete, the status column changes from Syncing... to OK.
NOTE If you plan to sync with your RMM next, see the Sync methods article for more information about the different methods available. Note that option B is not currently supported for Tigerpaw.


