Setting up Slack webhook notifications
For partners subscribed to Select or Enterprise plans.
Introduction
This article will walk you through the steps for configuring IT Glue and Slack to send webhook notifications to a Slack channel when specific events occur. For an introduction to workflows, refer to our Quick guide for workflows.
In this article, we will refer to the JSON API - a universal connector for data on the internet. JSON API is a specification for how a client should request that resources be fetched or modified and how a server should respond to those requests. You don’t have to know anything beyond that to begin experimenting with this feature.
Prerequisites
- You must have Manager or Administrator access to configure IT Glue workflows.
Instructions
Enable Incoming Webhooks
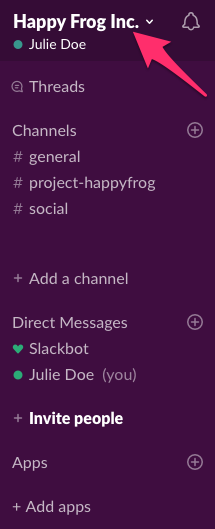
- In your main Slack screen, click on your company name at the top of the left-hand menu.
- Navigate to Administration > Manage apps.

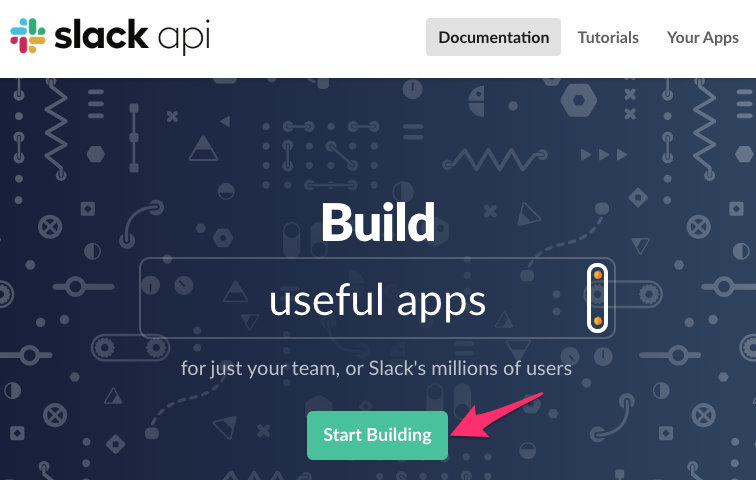
- In the Apps screen, click on Build in the top-right corner and then on the Start Building button.

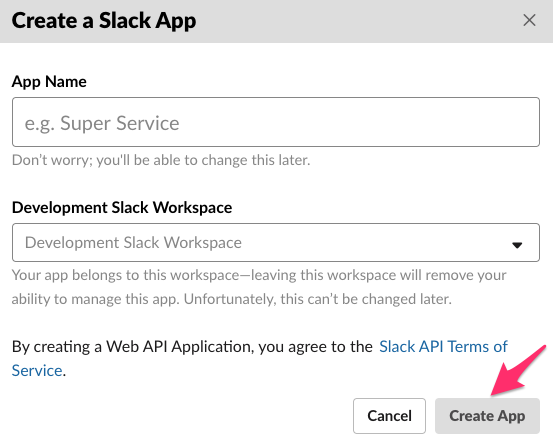
- In the Create a Slack App screen, enter an app name and select your Slack Workspace in the drop-down. Click Create App.
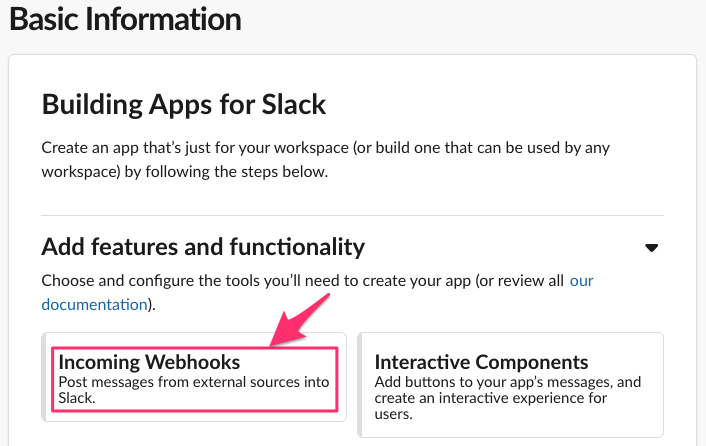
- In the Basic Information screen, click on Incoming Webhooks.
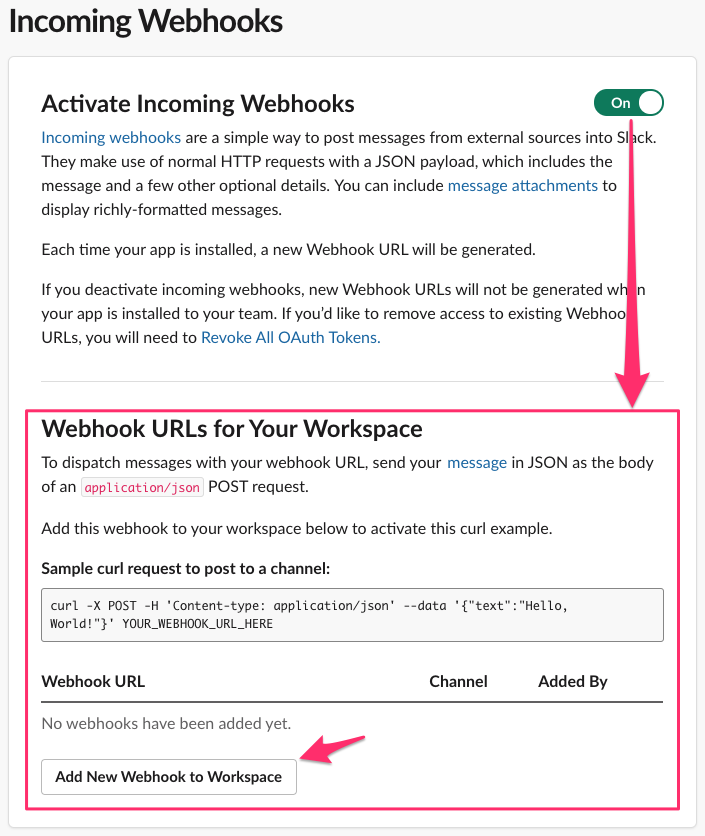
- Click the toggle switch to On beside the Activate Incoming Webhooks section. Once turned on, a Webhook URLs for Your Workspace section will appear. Click on the Add New Webhook to Workspace button.
Create an Incoming Webhook
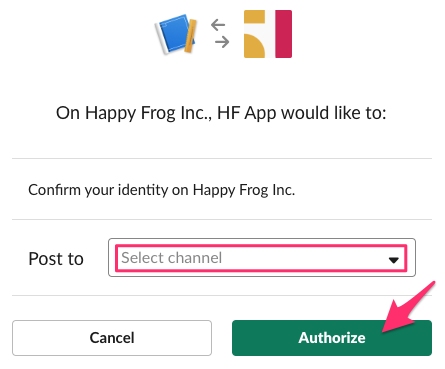
- In the following screen, select a channel that the app will post to and then click the Authorize button.
- You will be sent back to the app settings page. Your new Webhook URL will appear in the Webhook URLs for Your Workspace section that will look something like the below example URL. Then, click the Copy button.
https://hooks.slack.com/services/T00000000/B00000000/XXXXXXXXXXXXXXXXXXXXXXXX

Keep this window open to refer the instructions on how to construct the JSON payload.
Setting up a workflow
- Log in to IT Glue and navigate to Admin > Workflows. Then, click on + New.
- Choose a workflow trigger:
- Documents - Triggers when a document is published or updated
- Flag - Triggers when a flag is added, updated, or removed from a document
- Passwords - Triggers when a password is added or updated
- Domain Expirations - Triggers when the specified lead time is met on a domain's expiration date
- SSL Expirations - Triggers when the specified lead time is met on a SSL expiration date
- Configuration Expirations - Triggers when the specified lead time is met on a configuration's (warranty) expiration date
- Flexible Asset Expirations - Triggers when the specified lead time is met on a flexible asset's expiration date
- Enter the required information for your chosen trigger:
- Trigger Name: Enter a descriptive name for the notification. The name will be shown in the workflows management page and should be globally unique across workflows to make identification easy.

- Notification Failure Email: If there is a bounce back from the notification, an email will be sent to this email address from notifications@itglue.com

- Notify At (Lead Time): Only applies to expiration-based triggers. Specify the number of days in advance that you want to be notified when an asset is nearing its expiration.

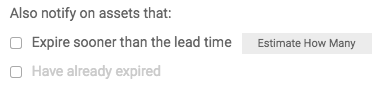
- Also notify on assets that:
- Expire sooner than the lead time: This will schedule a one-time job that will notify you of existing assets that are about to expire. Click the Estimate How Many button to estimate how many notifications will be triggered when the first job runs. Depending on how much data you have, this might be a large number. Estimates may increase slightly if the below is checked as well.
- Have already expired: This will schedule a one-time job that will notify you of existing assets that are already expired. After the first job runs, edit the workflow so that it fits your business needs. For example, you may decide not to be notified when configuration items that are past their warranty date are uploaded.
NOTE This expiration-based trigger is only required in the Domain Expiration, SSL Expiration, Configuration Expiration, and Flexible Asset Expiration workflows.
- Trigger Name: Enter a descriptive name for the notification. The name will be shown in the workflows management page and should be globally unique across workflows to make identification easy.
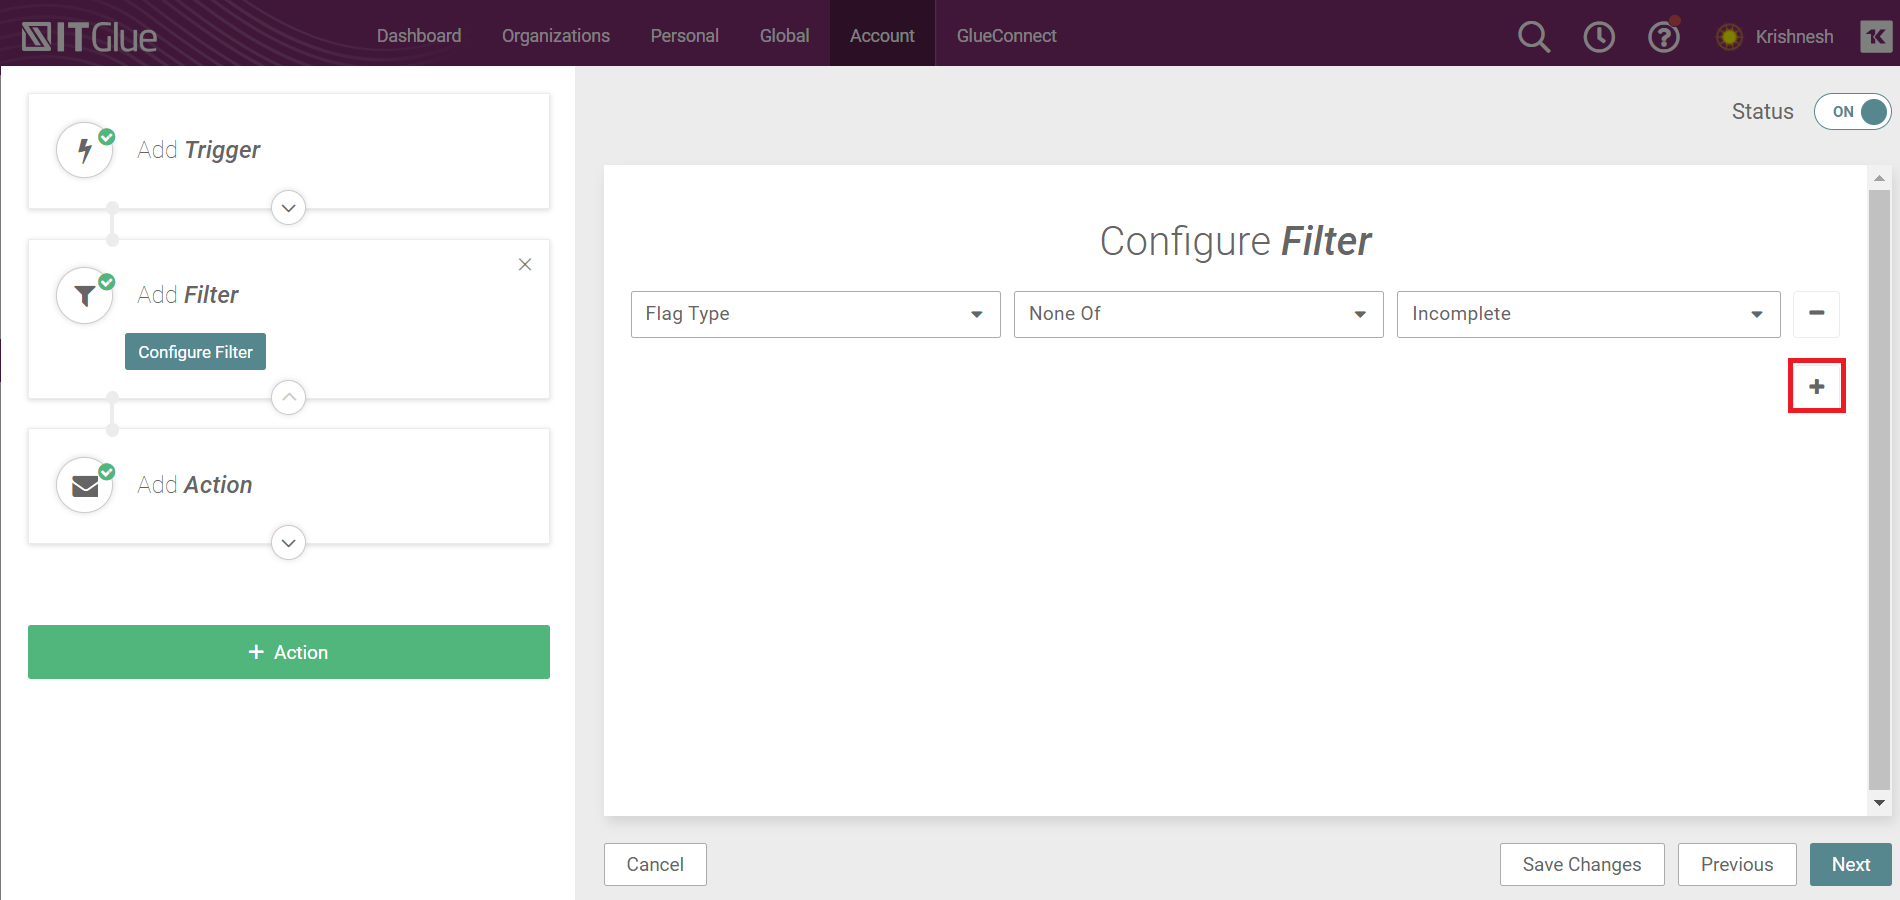
- To add a filter, click the + Filter button (left side of the screen) and select your filter criteria using the drop downs. To add additional filter criteria, click the plus icon.
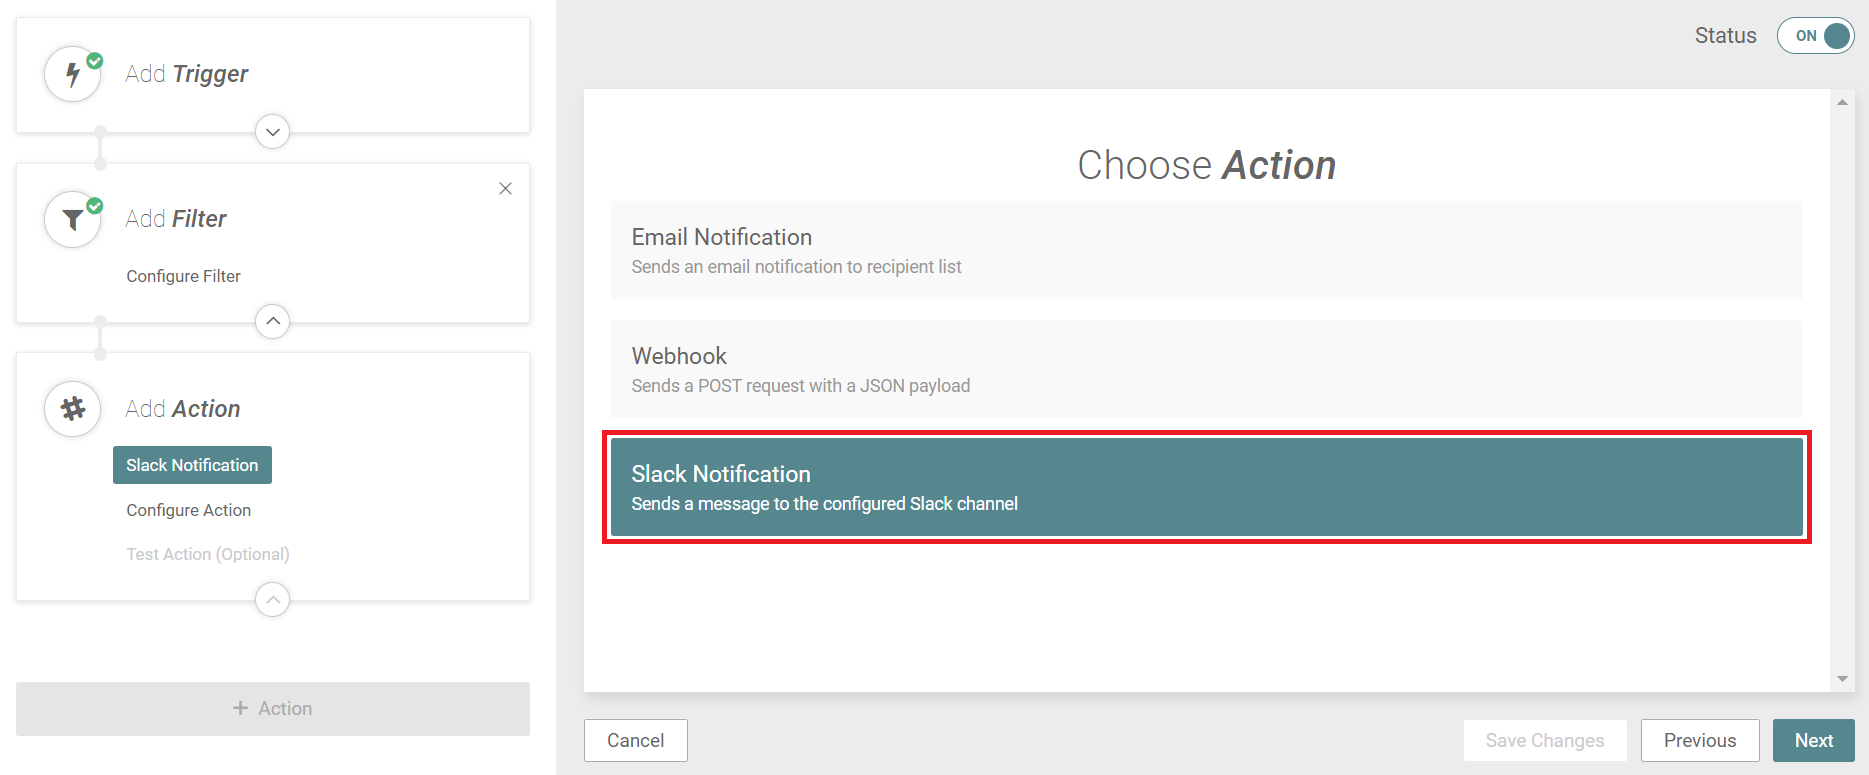
- Click on Slack Notification.
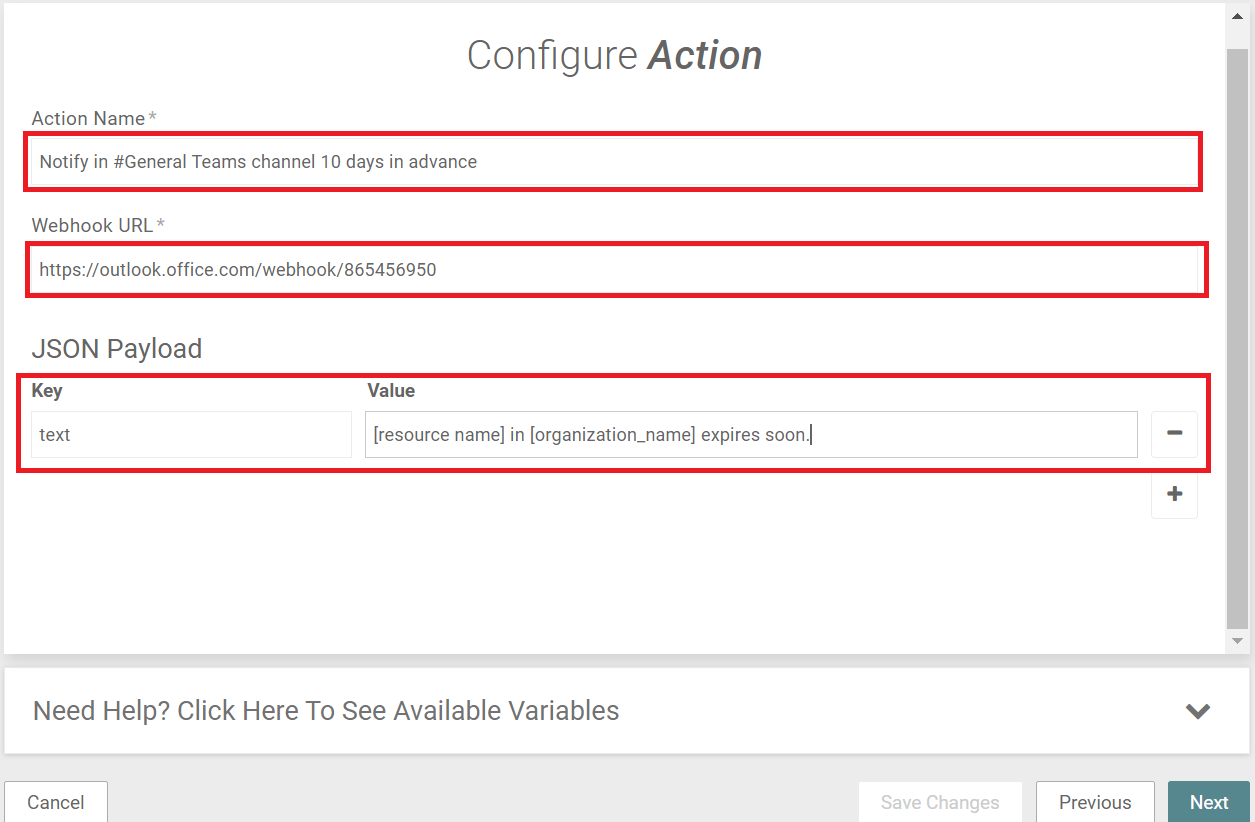
- Configure the action to create the JSON payload that will be passed to the webhook when the trigger condition is met.
- Action Name - Enter a descriptive name for the action (e.g. Notify in Asana task 10 days in advance).
- Webhook URL - Enter the Webhook URL copied from Zapier.
- JSON Payload - Enter a key/value pair. Use multiple key/value pairs to split data across multiple fields (e.g. task name and task notes).
NOTE This key/value pair includes variables that will pull values from the asset that is triggering the notification. The available variables are listed at the bottom of the screen when you click "Need Help? Click Here to See Available Variables". If you're having trouble formatting the message, check out Slack's documentation on formatting messages here. Please note that line breaks are not currently supported.
- Click Next.
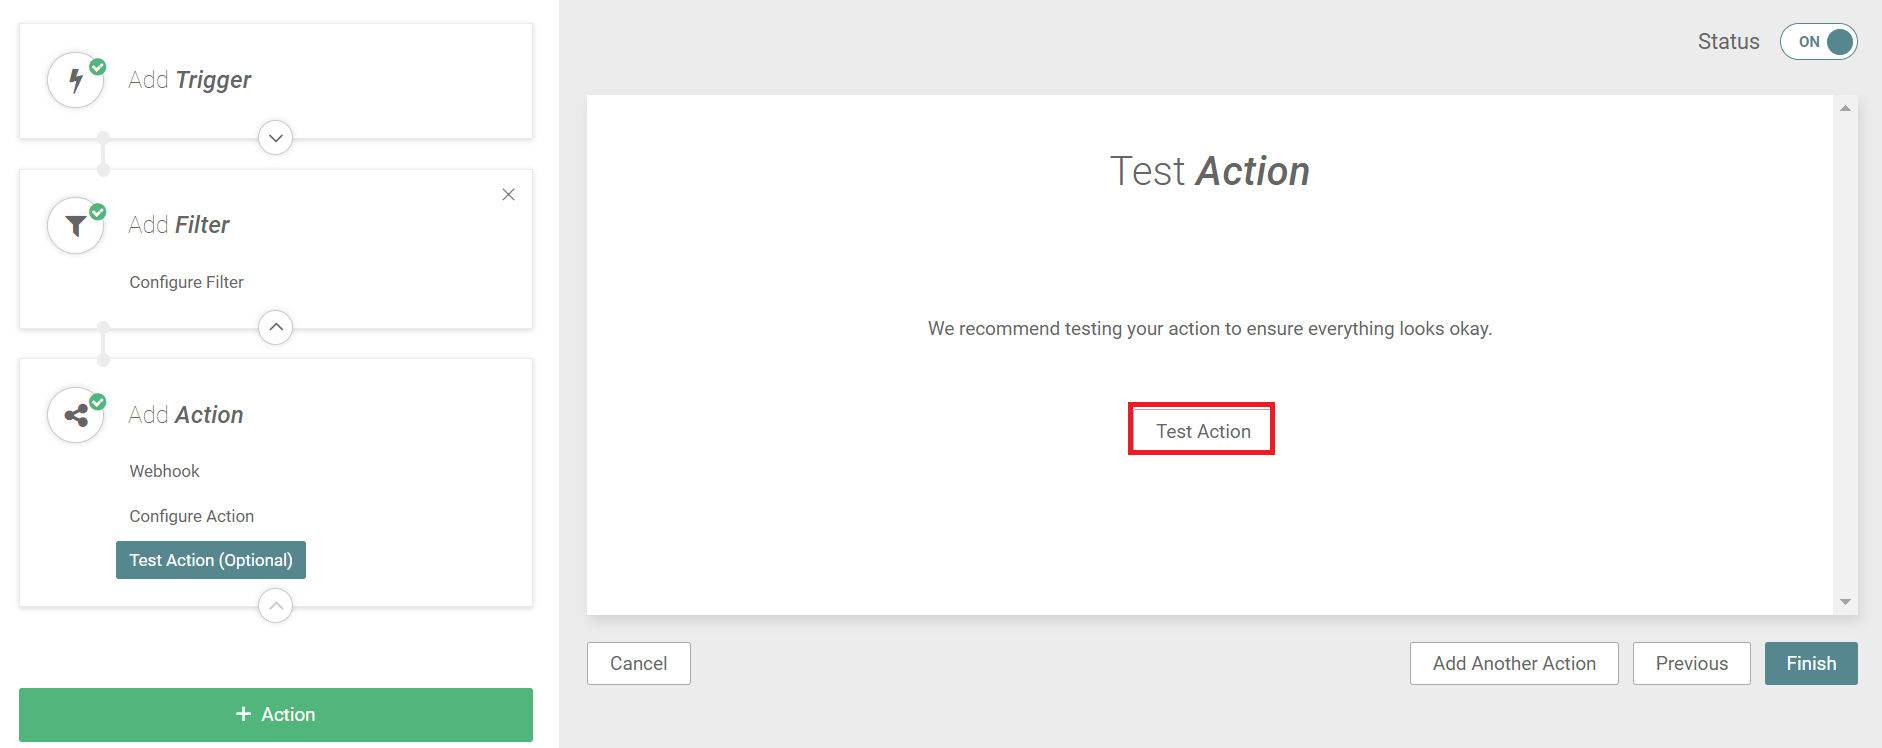
- Click the Test Action button to perform the job your action is set to do with some test data.
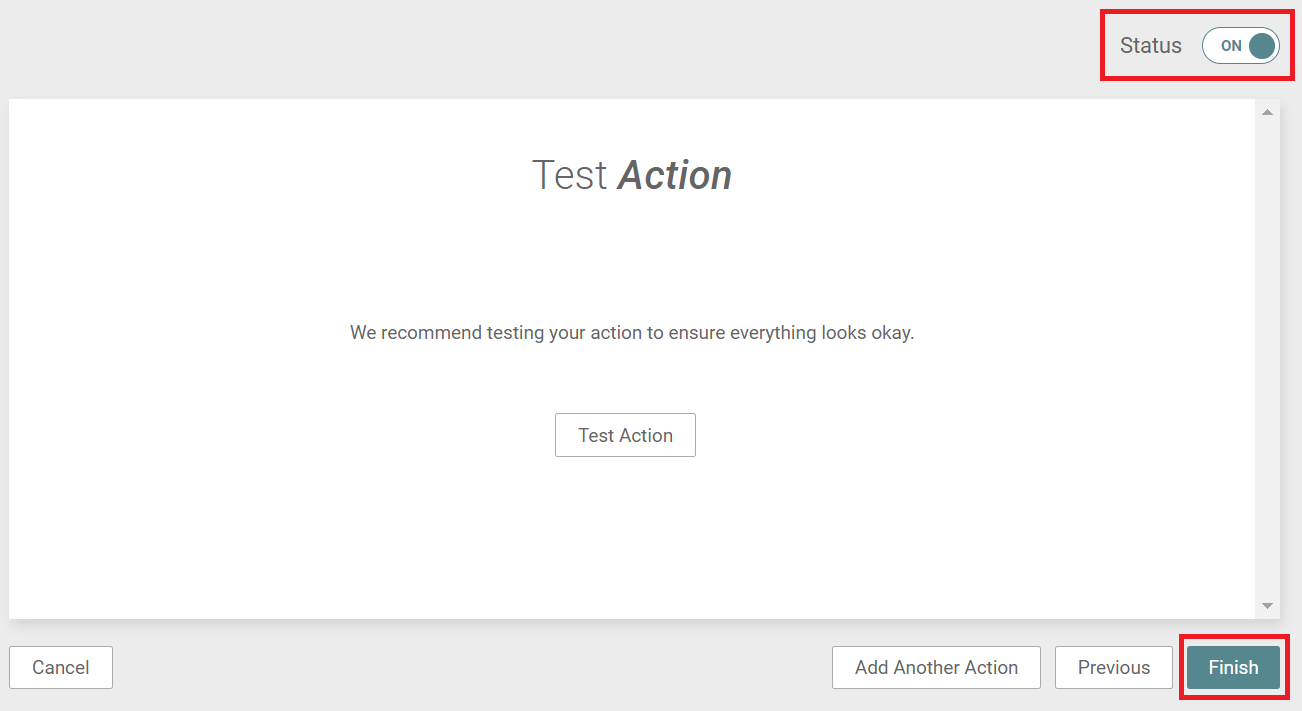
- Turn your workflow ON and then click Finish to save all your changes.
Your team will now start receiving notifications to Slack within the next 24 hours. Note that notifications based on document or password triggers will be sent in real time.
From there, you can use a system of emoji reactions to let team members claim, investigate, and mark problems as resolved, or have conversations about specific notifications.
Common Questions
I have set up expiration notifications for flexible assets. Currently, it seems that the notifications are for all flexible assets. Can different notifications be set for different flexible assets?
Refer to the instructions above to make sure you configured a filter when you set up the workflow. You can use filters to identify which flexible asset type will be notified on.
I can't get links working in Slack. The link is there, but it is not clickable. Annoying!
You can modify the JSON payload in IT Glue to wrap the link in the Slack markdown for creating a link, which is <Link URL|Link Text>.
For example:
- To hyperlink the word Link, you would use this as the link markdown:
<[resource_url]|Link> - To hyperlink the
[resource_name]variable, which is the name of the asset, you would use this as the link markdown:<[resource_url]|[resource_name]> - To hyperlink the URL itself, you would use this as the link markdown:
<[resource_url]|[resource_url]>
Can I use the IT Glue logo in my notifications?
Yes, you can download either of the following icons to upload to Slack. This will help your team visually verify where the messages originated: