Adding groups / group members
Groups allow you to organize users into logical units. Some examples of groups include the level of permission users have in their account, the different departments the users work in, etc.
It is recommended that when you create user accounts you create them within groups. There are many different reasons why you should use groups, including the following:
- You can assign various access permissions to a group instead of each individual user.
- You don’t need to set access permissions for each new person that joins your team. When you set up a new user, just assign them to the relevant groups, and they’ll have the same access permissions as all staff at their level.
- You can apply group permissions to deny access to asset types.
If you're new to IT Glue, creating groups for Tech, Clients, and Senior Tech is a good place to start.
Prerequisites
- You must have a Manager or Administrator role. Keep in mind that Managers can only edit IT Glue groups that they are a member of. Also note that Managers are only automatically added to groups that they themselves have created.
- For an introduction to the settings that allow secure data sharing among your users and groups, make sure you read Controlling access with security permissions.
- Want to provision users and groups to MyGlue? See this article instead.
Instructions
- Navigate to Admin > Groups. Click the + New button in the top-right corner.

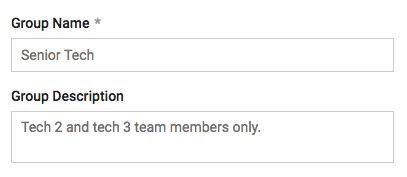
- On the next screen, enter the group's name and provide a description.
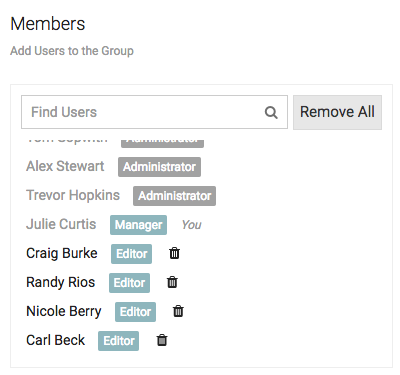
- In the Members section, search for a user you want to add to the group, select them from the list, and then press enter. Repeat this step for each user that you want to add.
- Click Save.
After that's done, the new group appears on the Admin > Groups screen.
Groups display on the Admin > Groups page: 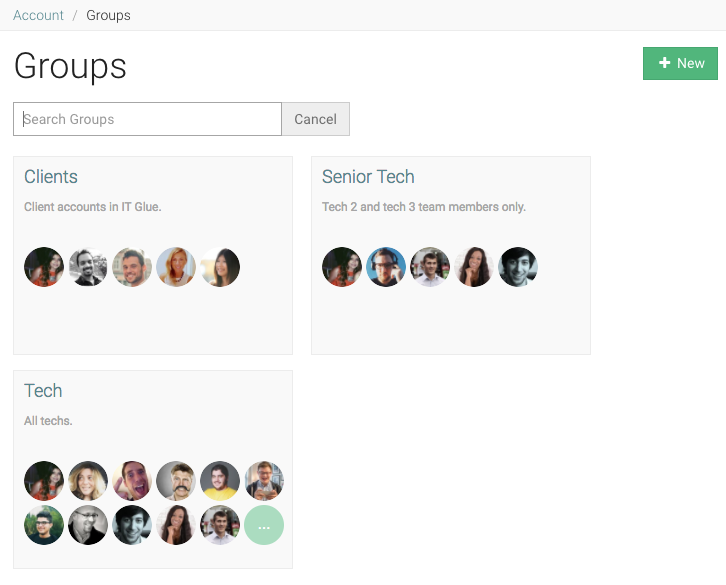
Adding organization access permissions to groups
You can also add organizations to groups. By doing so, a new user can be added to a group to give them access permissions for the various organizations that have been added to the group. This is in addition to any individual organizational accesses that are given directly to that user.
- Go back to the Admin > Groups screen and edit one of your groups (or create a new group if needed).

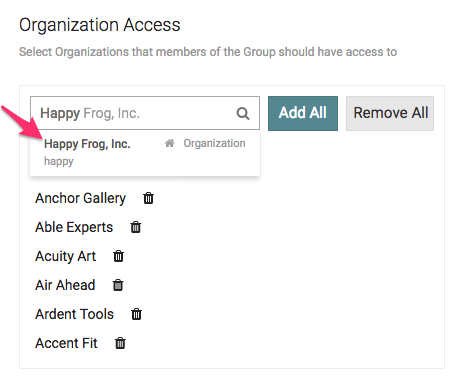
- In the Organization Access section, search for the organization you want to add, select it from the list, and then press enter. Repeat this step for each organization that you want to add.
-
You can select Automatically add any new Organizations to this group if you wish to have all new Organizations, added to the Group going forward.
- Click Save when you're done.
After you click Save, the group members have immediate access to the organizations defined by that group.
Applying group permissions to deny access to asset types
If you are an Administrator, you can set permissions on groups to specify who is allowed or not allowed to work with one or more asset types.
For example, you can tightly restrict who has access to flexible assets that contain confidential finance and agreement details, but widely share other types of assets.
To deny a group access to specific asset types:
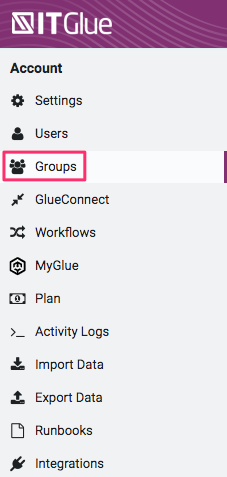
- Click Admin from the top navigation bar.
- Click Groups from the sidebar.
- Edit the desired group.
- In the Deny Asset Type Access section, choose the asset types that members of this group should be denied access to by checking the boxes.
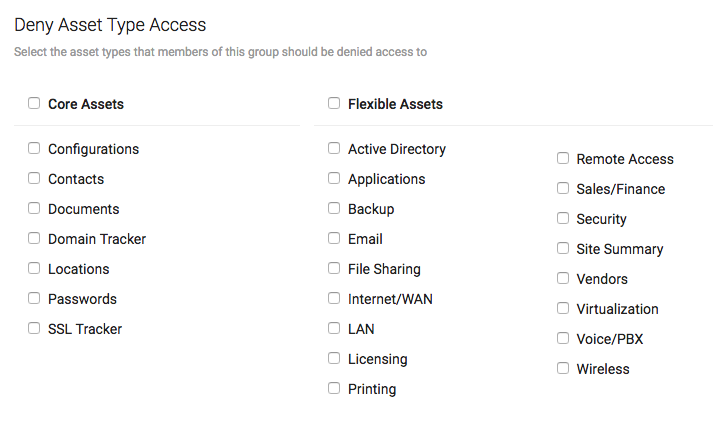
- Click Save.
After you deny an asset type, members of the group can no longer search, view, create, edit, or delete those assets on a global basis, including any embedded passwords connected to those assets.
Note that the names of the denied assets are not removed from activity feeds, but the names will appear without the link to view the asset. Also, if passwords are a denied asset type, flexible assets that contain a Password field will still display the password value when "Show password" is clicked.
For more information about this feature, see About permissions for asset types.
Hiding IT Glue groups from MyGlue
After MyGlue accounts are created, IT Glue groups have a Hide groups from MyGlue users setting.
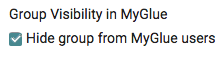
If the checkbox is selected, the group's name will not be visible to your MyGlue users.
If this checkbox is not selected, MyGlue users will see the group's name from MyGlue.
NOTE When this setting is enabled, assets created from MyGlue cannot be shared with the group.


