Integrating with Addigy
Introduction
Use this article as a guide to create and maintain an RMM integration with Addigy, which gives you information about CPU, memory, disk usage, last reboot, etc.
It should only take about one hour to get up and running with Addigy. This is a rough estimate based on our experience with several partners who integrated with their RMM.
The Addigy sync described below will do the following:
- Discovers all policies and devices in Addigy
- Matches 1st-level policies in Addigy to organizations in IT Glue
- Suggests organizations based on name and pattern recognition
- Matches devices to configurations in IT Glue using a MAC address or serial number
- Suggests configurations based on exact name
For more information about the device mappings, see RMM Field Mappings.
Prerequisites
- An SSL connection with a valid certificate (not self-signed) from a trusted authority is required. The following are the certificate requirements:
- Certificate must be signed by a valid issuer (not a self-signed certificate).
- SSL chain including the intermediate certificates must be complete.
- The FQDN for the server hosting the RMM instance must match one of the certificate's common names.
Note: Use an online SSL checker such as SSL Shopper to check your certificate status.
- Manager or Administrator level access to IT Glue.
- An Addigy user account with both the Create Integrations and View Integrations API privileges assigned. These are required to generate an API v2 token in Addigy. Refer to Managing User Privileges Within Addigy.
- If you're integrating with a PSA and an RMM, you will want to first sync your RMM to your PSA and your PSA to IT Glue to make sure that the required data is available for matching.
- A Manager role will only be able to see RMM matched/unmatched data for organizations that they have explicit access to. To grant access to RMM data for all organizations, refer to Step 7 of our Adding and removing users KB article.
Instructions
IMPORTANT As of March 31, 2026, Addigy has deprecated API v1 and removed its functionality. All integrations must now use API v2. If you previously configured the Addigy integration in IT Glue using API v1 credentials, you’ll need to update your integration to use API v2. Refer to Migrating from API v1 to API v2.
IMPORTANT If you previously configured this integration using an API v1 key, you must generate a new API v2 token in Addigy. Refer to Setting up your Addigy API v2 token below. Syncing will remain paused until updated credentials are saved.
Setting up your Addigy API v2 token
When creating a new API configuration in Addigy for use with IT Glue, you must assign the minimum required permissions so that IT Glue can read device and policy information.
Required permissions for the Addigy API v2 token:
-
View Devices: Allows IT Glue to read device information.
-
View Policies Activity: Allows IT Glue to read policies activity.
Configuring these permissions in Addigy
-
Log in to your Addigy portal.
-
Go to your API settings and click New API Configuration.
-
Enter a Name for the configuration (for example, IT Glue Integration).
-
Under Permissions, search for “view” and enable the following:
- View Devices
- View Policies Activity
-
Click Add or Save to create the configuration.
-
Copy the name of the new API and API Key. You’ll paste these into IT Glue when configuring the integration.
NOTE These are the minimum recommended permissions for IT Glue. Only grant broader access (for example, “All permissions”) if this is required by your organization’s security or compliance policies.
Enter your RMM credentials
- Locate your dedicated API v2 token for IT Glue from Addigy. Refer to the preceding section.
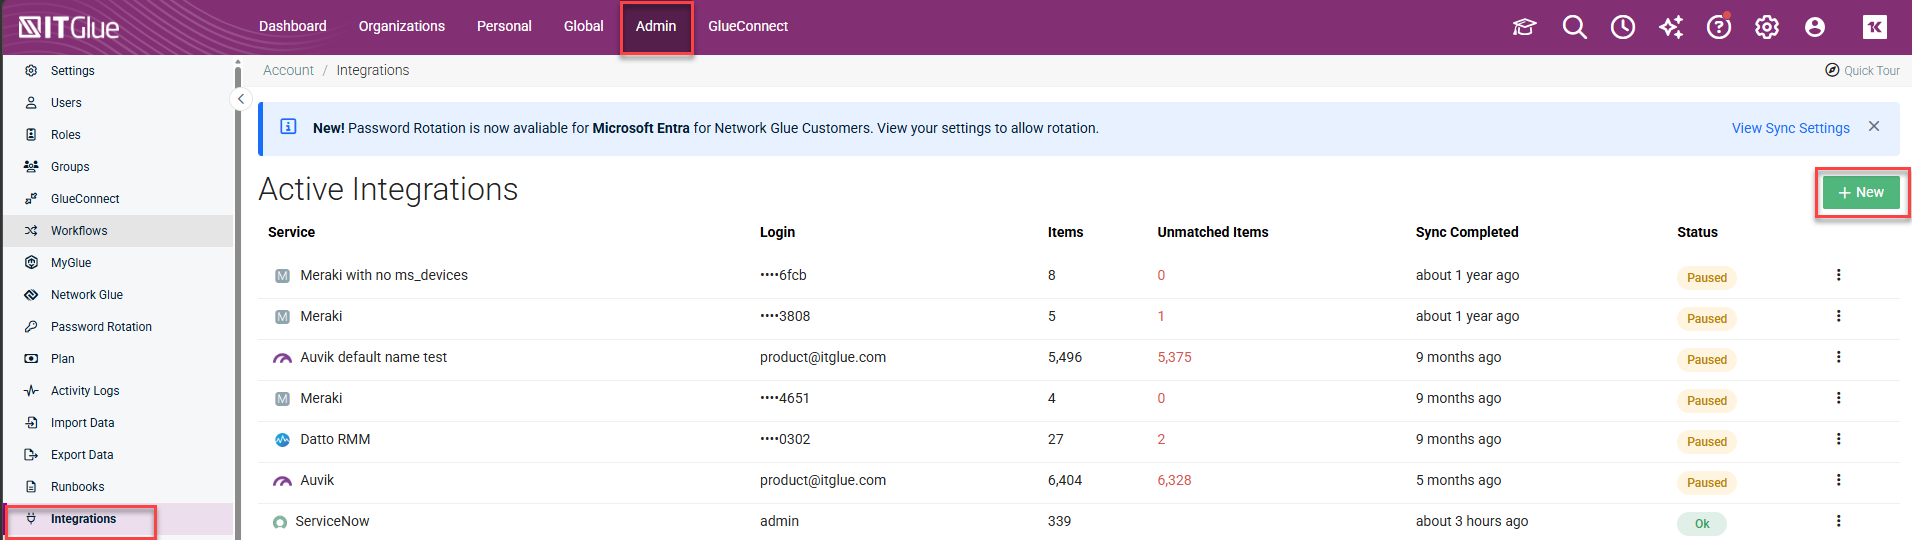
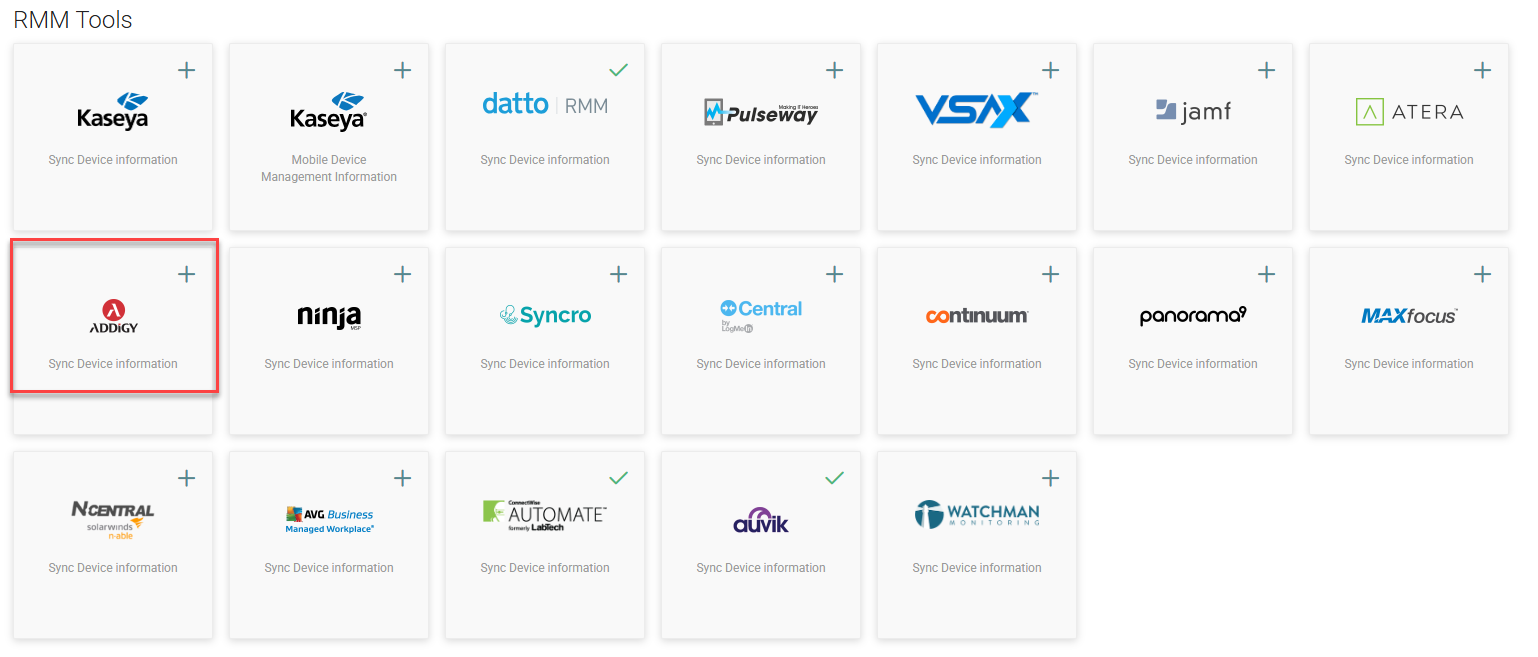
- Log in to IT Glue and navigate to Admin > Integrations. Click + New and then on the Addigy icon.
- The Name field is a display label used to identify this integration within IT Glue. It does not need to match the token name you created in Addigy. Enter your API v2 Name and API v2 API key (API Token) . Then, click Connect.
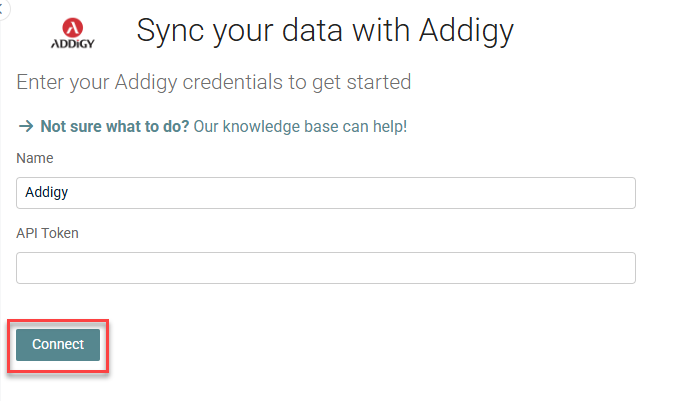
NOTE If the credentials fail for any reason, syncing will stop until you re-enter your credentials.
Migrating from API v1 to API v2
Follow these steps to migrate your existing integration to API v2:
-
In Addigy, create a new API v2 configuration and token with the required permissions (View Devices and View Policies Activity) as described in the Setting up your Addigy API v2 token section above.
-
In IT Glue, go to Admin > Integrations and open your existing Addigy integration.
-
Replace your old credentials with the new API v2 Client ID and API v2 Client Secret.
-
Click Actions > Start Manual Sync to run a new sync.
-
Confirm that:
-
The integration Status shows OK.
-
Devices and configurations from Addigy are syncing as expected.
IMPORTANT Existing organization and configuration matches are preserved when you update the credentials. You do not need to re-match your data after moving from API v1 to API v2.
IMPORTANT If you still see sync errors after updating to API v2, review the sync logs for specific error messages and confirm that the token has both View Devices and View Policies Activity permissions enabled in Addigy.
Syncing Data
- From the Integrations screen, click Actions > Start Manual Sync.
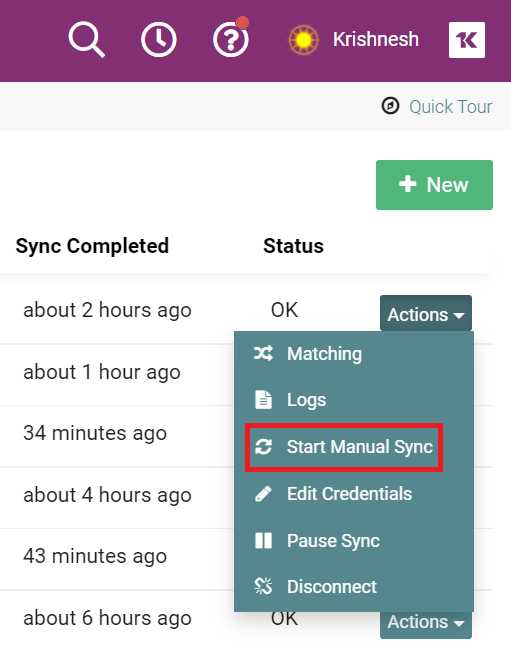
- When the sync is complete, the Status column changes from Syncing... to OK.
Organization matching
IT Glue discovers organizations and configurations and tries to match them to data in your account. The matching logic can be found in the Introduction section of this article. Anything that isn't automatically matched will need to be manually actioned.
- From the Account Integrations screen, find your RMM in the list and click on Actions > Matching.
- In the Unmatched tab, review the unmatched organizations.
- If you're happy with a suggested match, click Accept Suggestion to accept it.
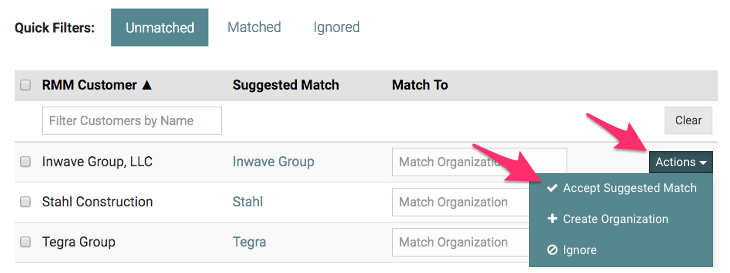
- If there is no suggested match, or it is incorrect, you can search for and choose a different organization using the Match To field.
- If no organization exists in IT Glue, you can choose to create an organization. You can also choose to ignore groups, which means they won't count as unmatched items in subsequent syncs.
IMPORTANT Before creating an organization from the matching screen, ensure that no corresponding organization already exists, otherwise a duplicate will be created.
- If you're happy with a suggested match, click Accept Suggestion to accept it.
- If any matches are incorrect, click on Actions > Change Match and select a different organization to match to.
Configuration matching
Once all organizations have been matched, the same process should be followed for any unmatched configurations.
- From the Matched tab, choose any organization that has unmatched configurations, click the Actions button, and select Match Devices.

- For any unmatched configurations, you can either accept the suggested match, search for an IT Glue configuration by entering the name in the Match To column, or create a new configuration by clicking Actions > Create Configuration.
- Before you create configurations, first match any of the devices based on MAC addresses or serial number, for example, virtual servers. When you're done matching, you can create (in bulk or individually) any of the remaining devices coming in from your RMM.
IMPORTANT We don't recommend that you create configurations from your RMM if you'd like to then have them populate from IT Glue to your PSA. New items created from such data will not sync with your PSA unless you choose to do so manually by editing and saving each and every item. This is absolutely manual and is not recommended.
- Repeat for each organization until all configurations are actioned.
Once everything is matched, the RMM setup is complete. At any time, you can come back to these instructions to discover and match new organizations and configurations from your RMM.
RMM logic
Before an organization, site, location, or company in an RMM tool can sync with IT Glue to create an IT Glue organization, you must add at least one configuration to it. If there are none and the organization does not already exist in IT Glue from any other source, then it will not appear in IT Glue. In this case, you will need to create it manually.
Only RMM companies that have at least one RMM record will sync into IT Glue.


