Microsoft Integration: Entra ID password rotation
NAVIGATION Admin > Integrations > Microsoft > Microsoft 365
PERMISSIONS Manager or Administrator
BEFORE YOU BEGIN To review prerequisites and learn how to fully set up an integration with Microsoft in IT Glue, refer to Microsoft Integration.
Configuring the password rotation to Microsoft Entra ID requires the following steps:
- Assign the necessary permissions. Refer to Connecting the rotation for the main tenant.
- Assign the necessary roles. Refer to Adding roles.
NOTE This is required for both the main tenant (the tenant within which the application was created and used for integration with IT Glue) and for other tenants.
IMPORTANT The main tenant should always be the MSPs tenant that has the GDAP/DAP relationship with its downstream clients (side tenants).
IMPORTANT Network Glue is required to rotate any Entra ID user and/or admin passwords.
Connecting the rotation for the main tenant
To rotate passwords in Microsoft Entra ID, you must add the following delegated permissions for the tenant:
- Directory.AccessAsUser.All
- Directory.ReadWrite.All
- User.EnableDisableAccount.All
- User.ManageIdentities.All
- User.ReadWrite.All
A list of these permissions, provided by Microsoft, is needed to perform a user update.
Assigning the necessary API permissions
- Log in to your Microsoft Entra ID admin center.
- From the left navigation menu, navigate to Identity > Applications > App registrations.
- From the All applications tab on the App registrations page, click the application used for the Microsoft integration in IT Glue.
- Click API permissions in the left navigation menu. A list of all permissions already configured for the application is displayed.
- Click Add a permission.
- From the Request API permissions pane, click the Microsoft Graph tile.
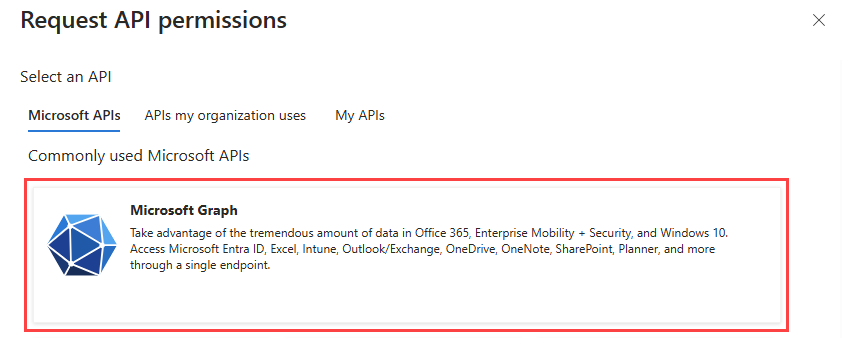
- Click Delegated permissions.
- Expand the following sections:
- Directory: Select the following check boxes:
- Directory.AccessAsUser.All
- Directory.ReadWrite.All
- User: Select the following check boxes:
- User.EnableDisableAccount.All
- User.ManageIdentities.All
- User.ReadWrite.All
- Directory: Select the following check boxes:
- Save the changes by clicking Add permissions.
- On the API permissions page, click Grant admin consent for <company>.
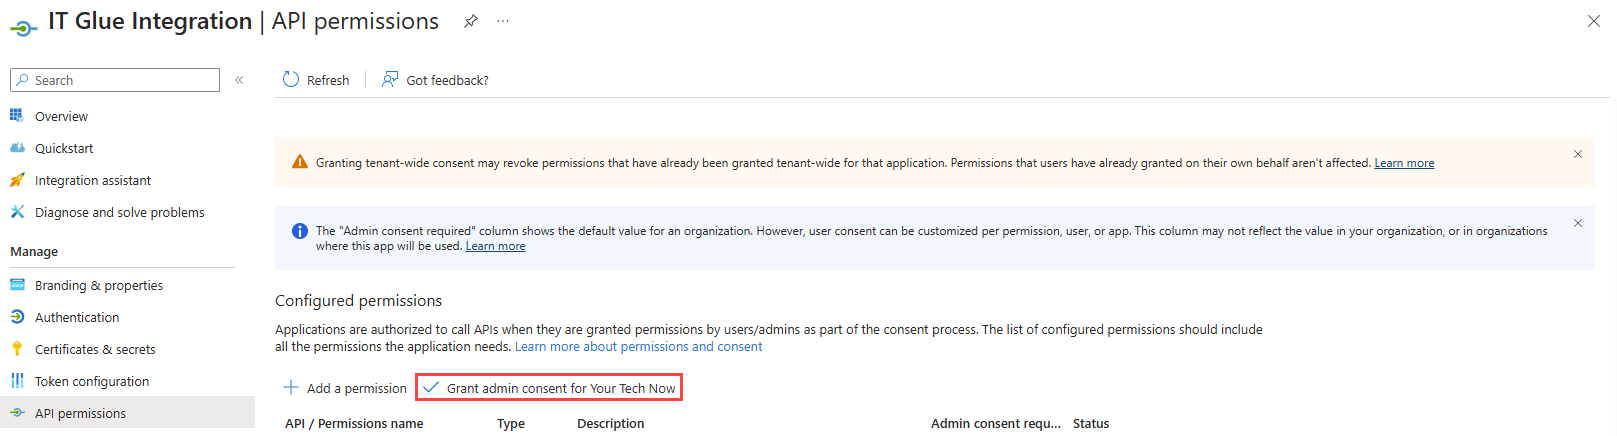
- In the confirmation dialog box, click Yes.
Once consent is granted, you will see a confirmation banner at the top of the page and that the Status column for all permissions displays Granted.
Adding roles
The application must have at least the User Administrator role to update passwords for regular users. The following are the roles that can be assigned:
- User Administrator - to rotate only ordinary users (users who do not have a single role containing "Administrator" in the name)
- Global Administrator - to rotate all admins including the global admin
To assign such a role to the application, the client will need to follow the link.
- Open page https://entra.microsoft.com/#home
- Click Show more in the menu on the left.
- Expand Roles & admins from the sections and click on the sub-section Roles & admins.
- Search for User Administrator role and click on it.
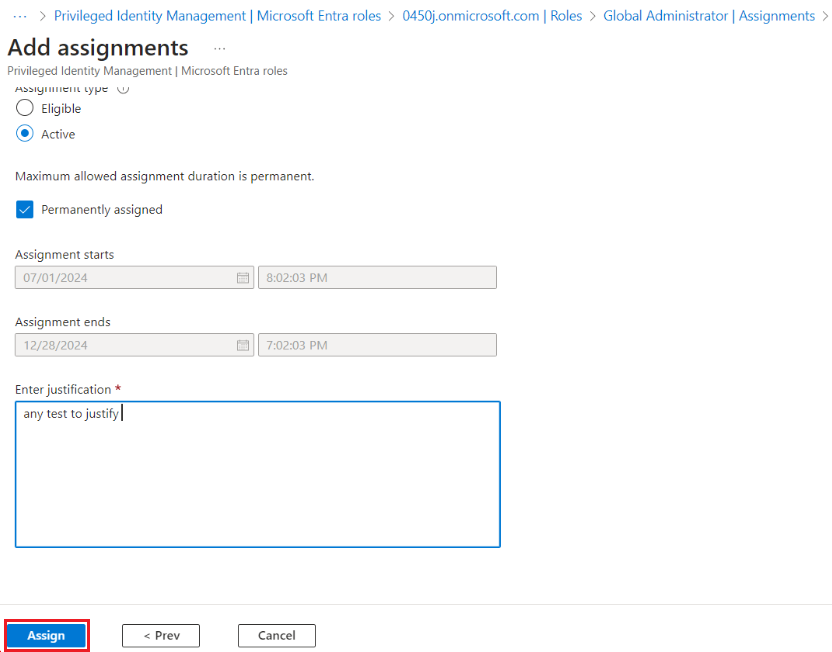
- Click Add Assignments.
- Enter the name of the application that is used for Microsoft integration in IT Glue and click Add.
NOTE You may need to enter "Enter justification" where you need to enter the reasons why this role is given to the application, for example 'to allow it glue to rotate passwords inside the Entra'
To rotate administrator passwords, you need to add the Global Administrator role by repeating all the steps. But only in step 4 select Global Administrator role instead of User Administrator.
After completing these steps, the Microsoft integration in IT glue will have permissions and a role to rotate the passwords of ordinary users in the main tenant.
Connecting among multi-tenants
To connect among multi-tenants, you have the following two connection options:
- When several tenants are connected through the Microsoft admin center
- When several tenants are available in Entra
When several tenants are connected through the Microsoft admin center:
- Open page https://admin.microsoft.com/Adminportal/Home#/homepage
- Choose All tenants in the menu on the left
- Select the tenant in which you want to enable rotation
- Click Show All in the menu on the left.
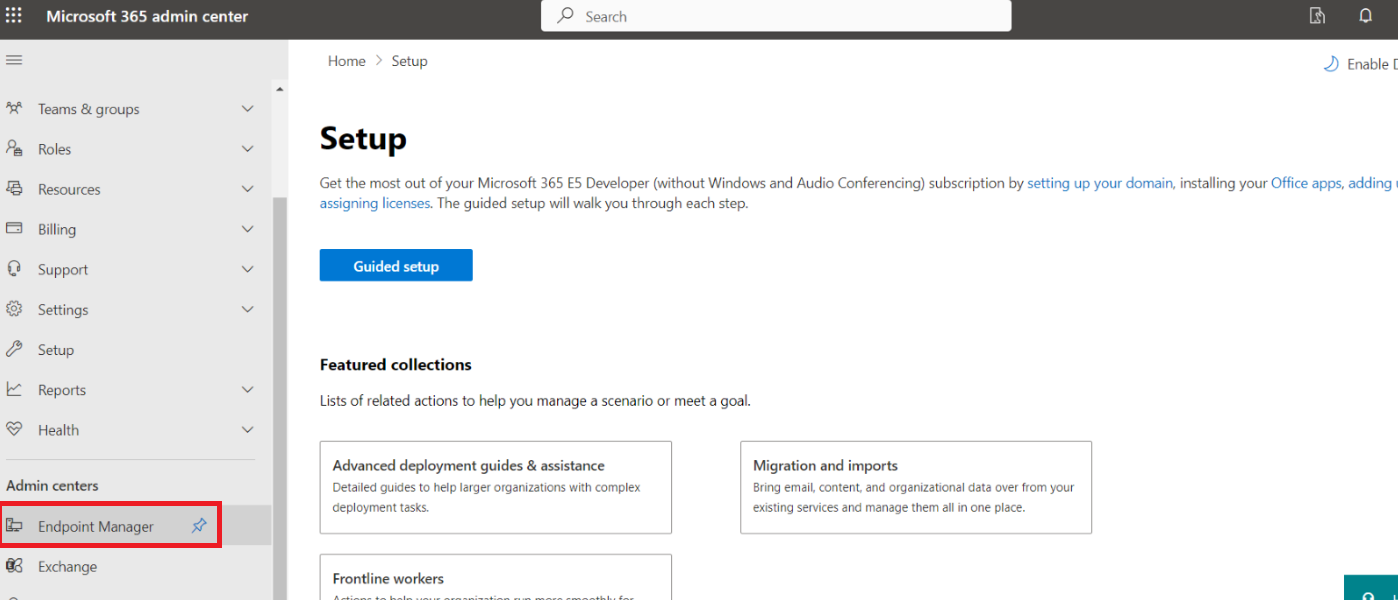
- If you have Admin Center section in the left menu,
- Click Endpoint Manager.
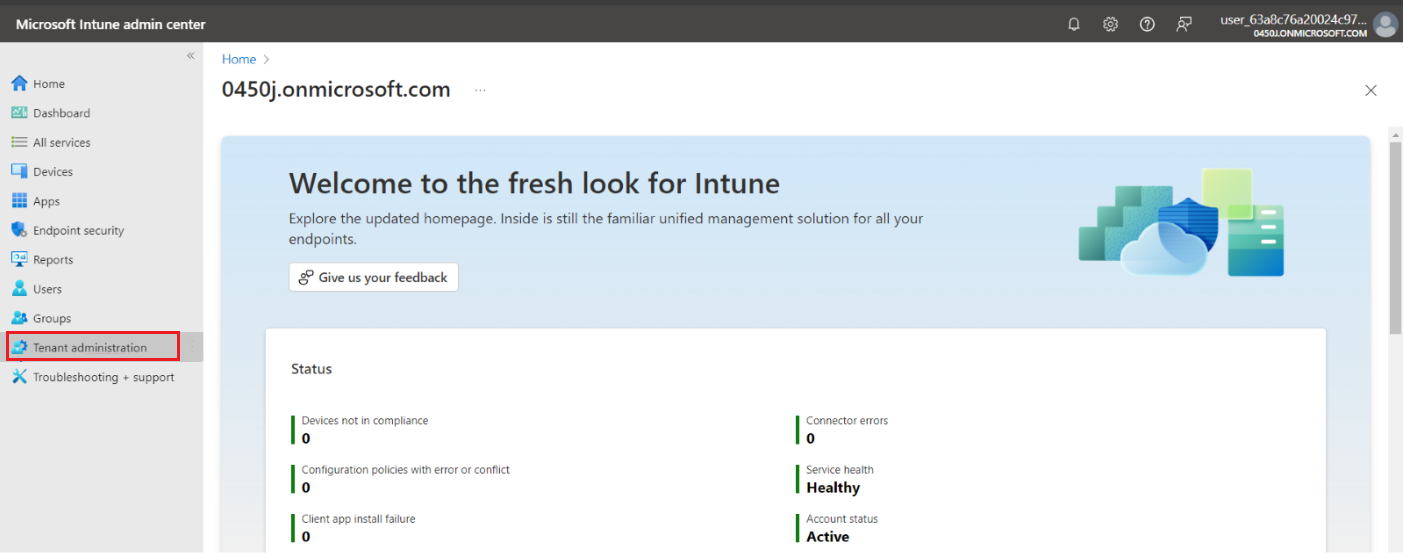
- Go through authentication in the window that appears - as a result, the Microsoft Intune window will open.
- Select the Tenant Administration section in the menu on the left.
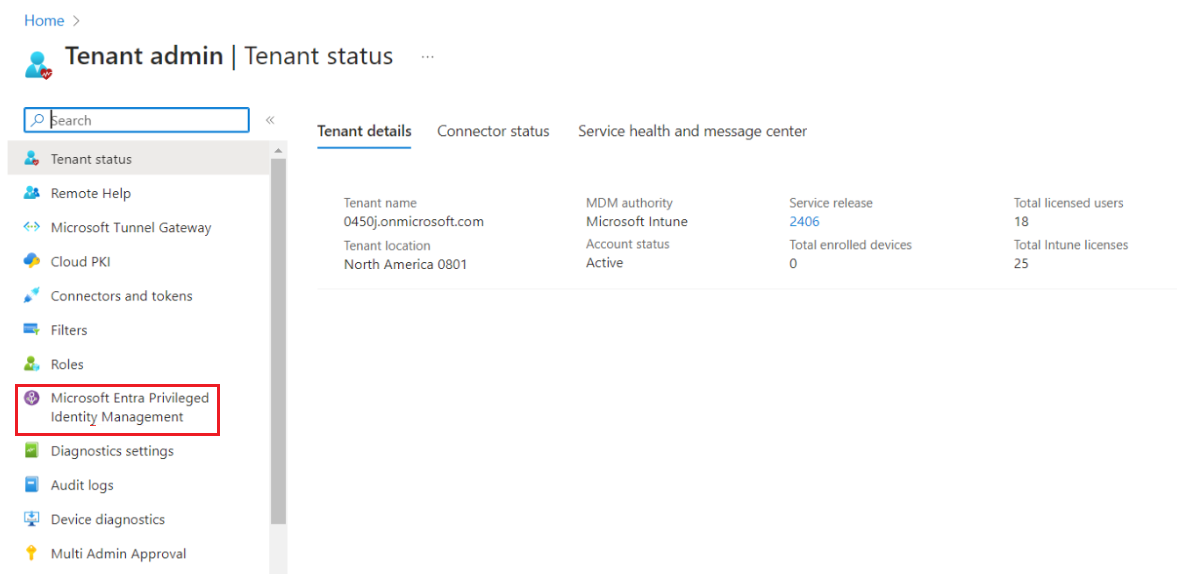
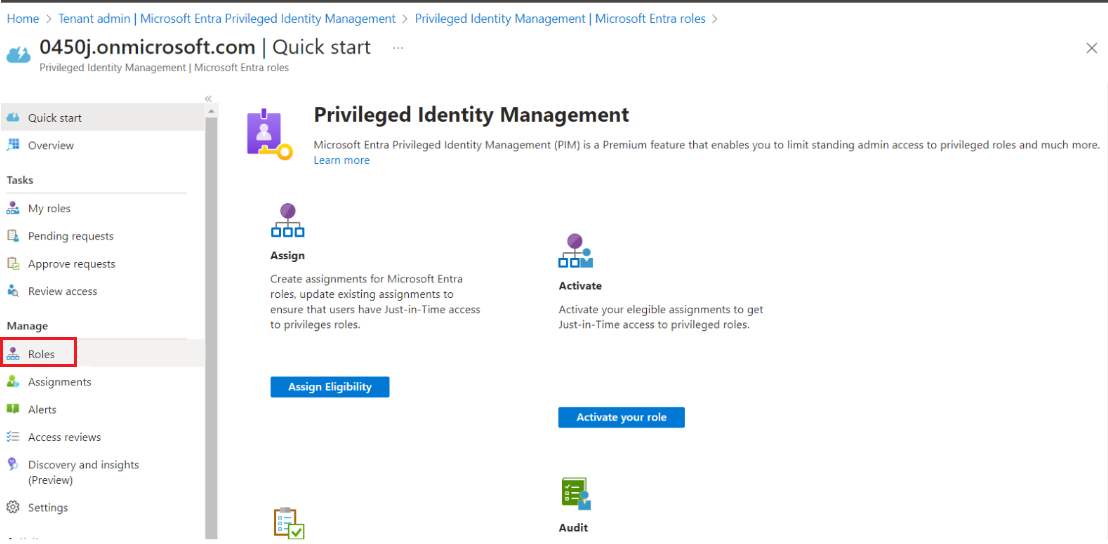
- Choose Microsoft Entra Privileged Identity Management.
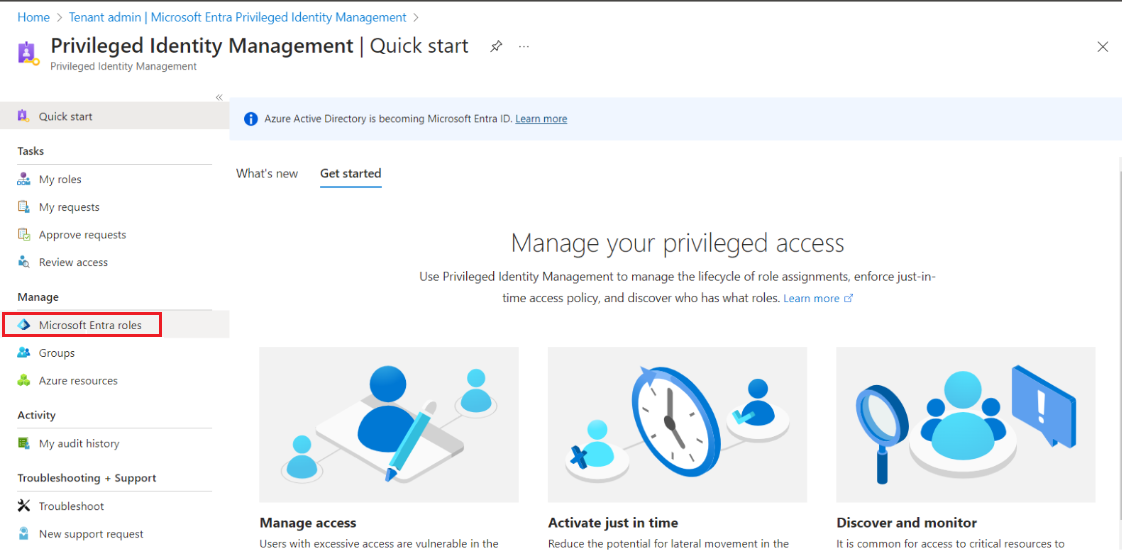
- Select Microsoft Entra roles.
- Select Roles in the Manage section.
- Repeat steps 4 to 6 from the main tenant section for each role (User Administrator and Global Administrator if you want to rotate admin users' passwords)
- In the added role window, the Assignment Licenses tab and in the list click on the uid of the integration.
IMPORTANT DO NOT click on the name, specifically on the uid
- If the Admin Center section does not appear, and if this tenant is not needed in the rotation, skip it and if needed to connect, complete the following steps:
- Expand the Billing section and select Licenses.
In the list of licenses that opens, check whether there is a connected Microsoft 365 E5 Developer license (at least Microsoft 365 E5 Developer(without Windows and Audio Conferencing) or Microsoft Entra ID Governance or Microsoft Entra ID P2 - if at least one of them is available, go to step 6.6.
NOTE If you have a direct access to multi-tenants, you do not need any P1 or P2 Microsoft licenses.
- If there are no licenses from the previous point - select one of them from the list of all licensees. Go through all the steps to purchase it.
- After the purchase, select the Licenses subsection again and assign a new license to the selected user (any user from this tenant)
- Follow the direct link to go to Microsoft Intune - https://endpoint.microsoft.com/domain.com?ref=AdminCenter where instead of domain.com indicate the tenant's domain (Example: ITGlue.onmicrosoft.com)
- Go through the authentication in the window that appears which opens the Microsoft Intune window.
- Repeat steps 5.3-5.10 from point a) of this section (when there is an admin center) for each role.
When several tenants are available in Entra:
Adding permissions and roles follow the same scenario as for the main tenant, only with the few initial steps:
- Open page https://entra.microsoft.com/#home.
- Open section Identity > Overview in the menu on the left.
- Select Manage Tenants from the menu at the top.
- Select the desired tenant. The Entra window for the selected tenant will open, for which you need to repeat all the steps from the main tenant section (all steps starting from step 2) and then do all steps starting from step 2.
To synchronize the rotation between Entra and AD on instances where after rotating a password in one place, it is synchronized to another, the client must configure Microsoft Connect.
Link to all "Microsoft Connect" documentation -
Link with an example of setting up password synchronization -
Link explaining how synchronization works -
how-to-connect-password-hash-synchronization
Adding permissions and roles to multi-tenants in the 'onmicrosoft' domain
Some clients might experience issues in getting the password rotation information for multi-tenants if they have ‘onmicrosoft’ domain. In such cases, to add permission and roles to each tenant, do the following steps:
To add permissions to multi-tenants in ‘onmicrosoft’ domain:
- For each tenant, create the following link:https://login.microsoftonline.com/<tenant-id>/adminconsent?client_id=<app-id>
where <tenant-id> is the ID for tenant for which you possibly wish to grant permission to rotate users' passwords and, <app-id> is the application ID for the integration.
- Login to your administrator account.

- Grant permissions to the tenant.

- Repeat steps 1 to 3 for each tenant for which you want to grant access for password rotation.
Adding roles to multi-tenants
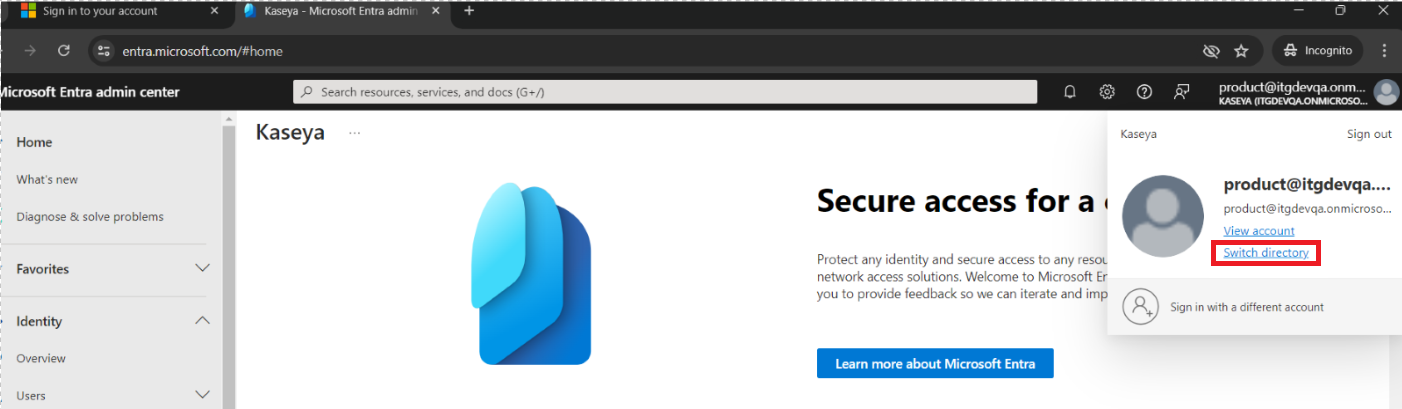
- Login to Entra by accessing https://entra.microsoft.com/
- Click on the right corner on user icon or directory name:
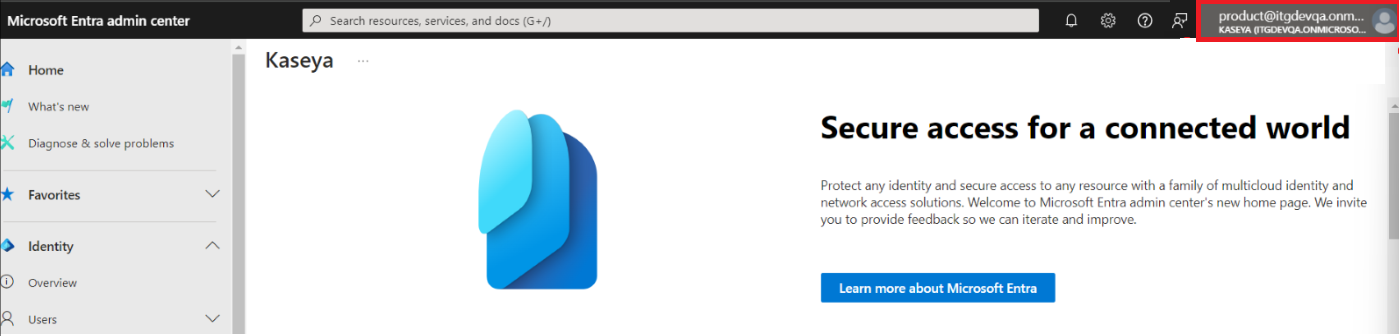
- Click Switch Directory from the dropdown menu.
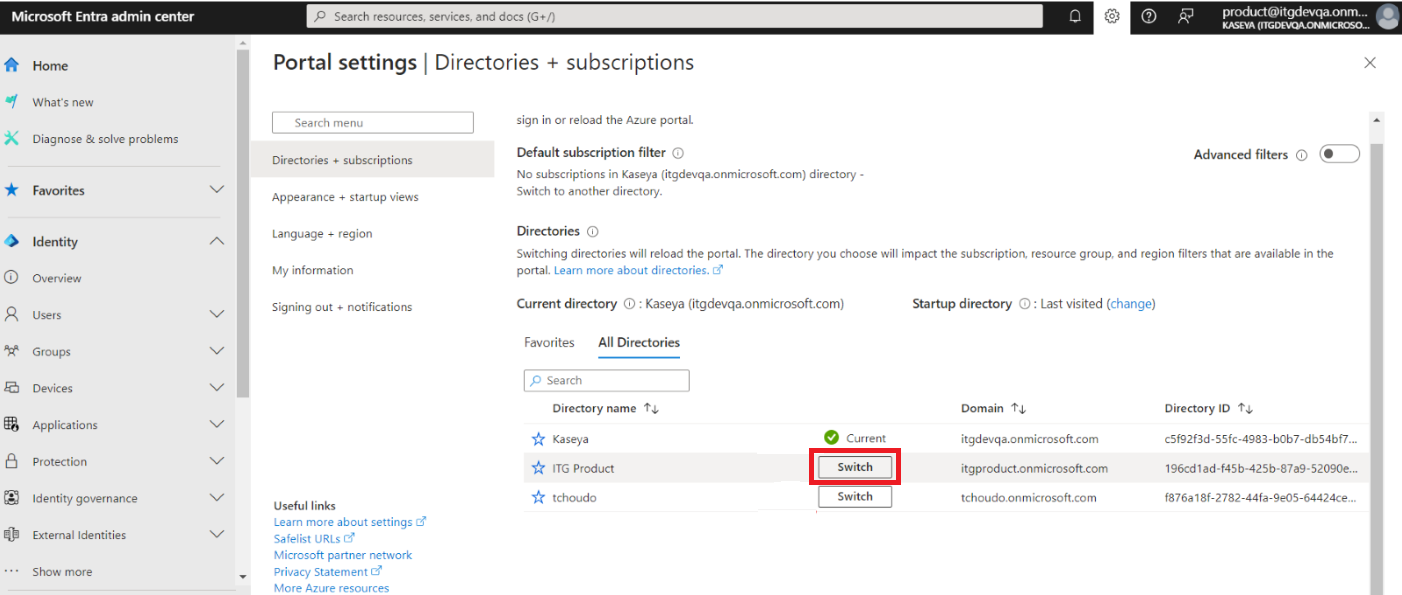
- Click Switch for the chosen client.
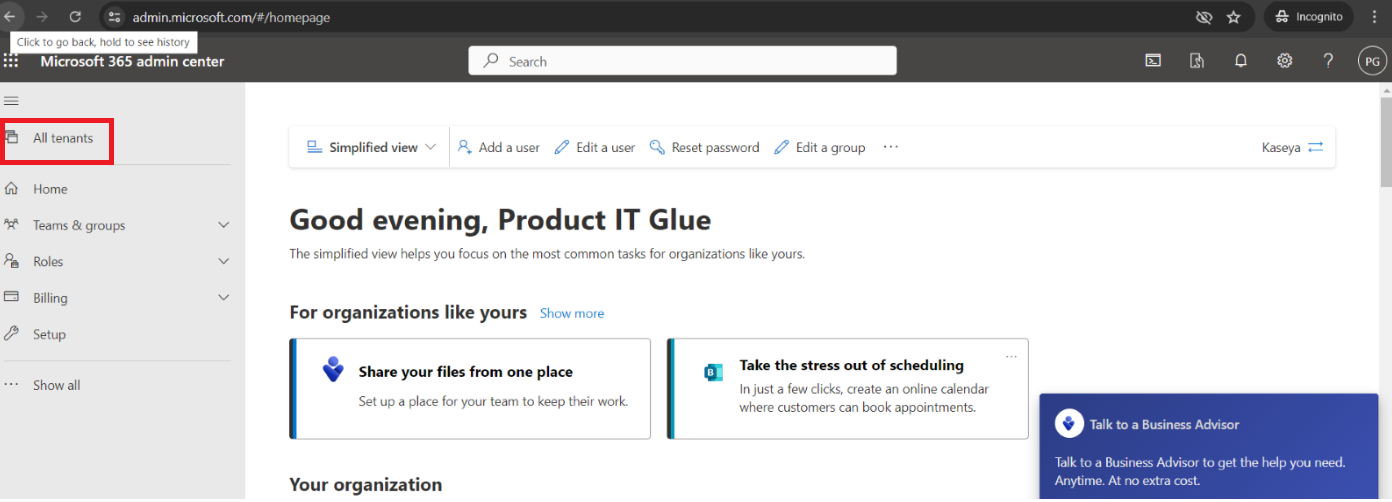
If you could not find the tenant for which you want to add roles, then you will be available to find it from the Microsoft admin center:- Login to https://admin.microsoft.com/
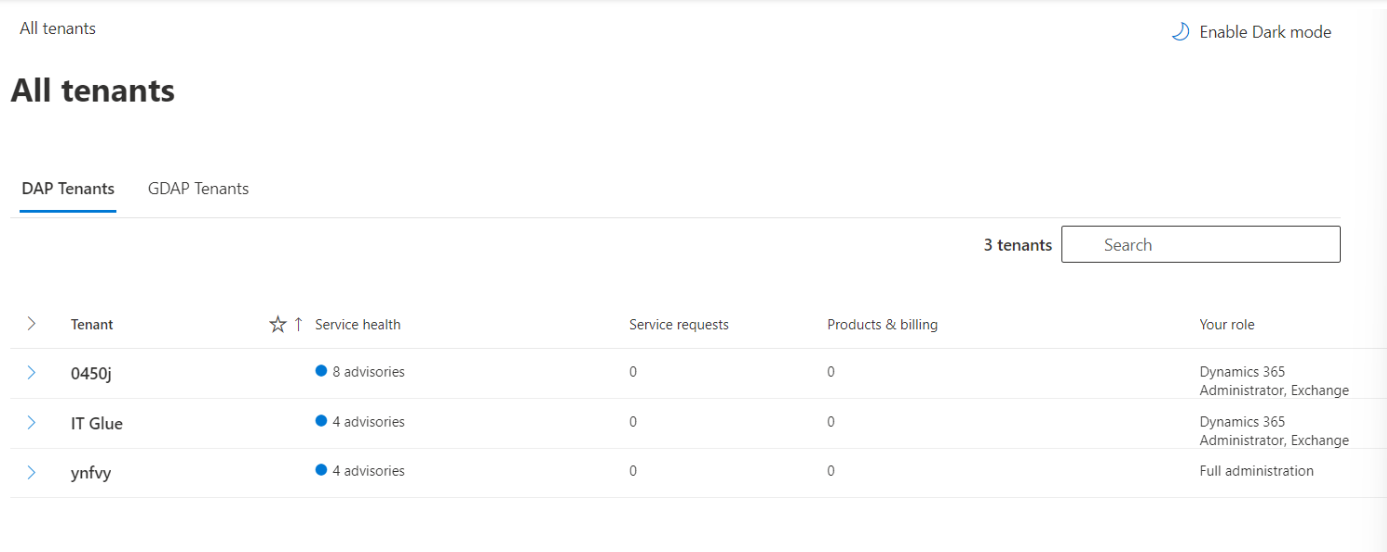
- Choose All tenants in the menu on the left.
- Select the tenant in which you want to add role.
- If you have Admin Center section in the left menu, Click Endpoint Manager.
If not you need to create the URL https://endpoint.microsoft.com/<tenant-domain>?ref=AdminCenter where <tenant domain> is the full domain name of your tenant. - In the Microsoft Intune window, click Tenant Administration.
- Click on Microsoft Entra Privileged Identity Management.
- Click on Microsoft Entra Roles.
- Click Roles.
- Type the role name as Global Administrator in search field and click on the role name in the list.
NOTE If you do not want to add the Global Administrator role and need to rotate only non-admin users in the tenant enter User Administrator role.

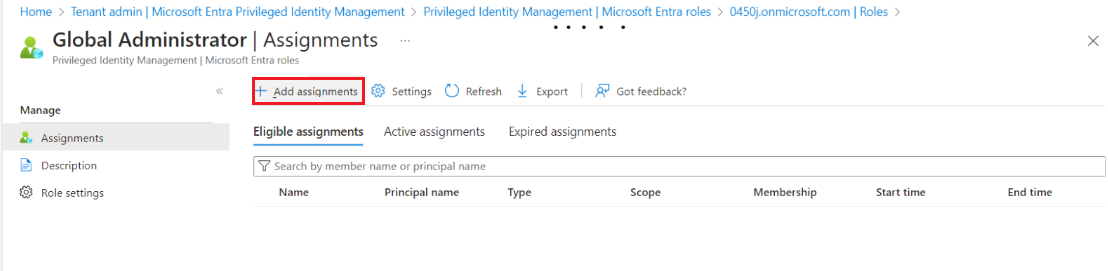
- Click Add Assignments.
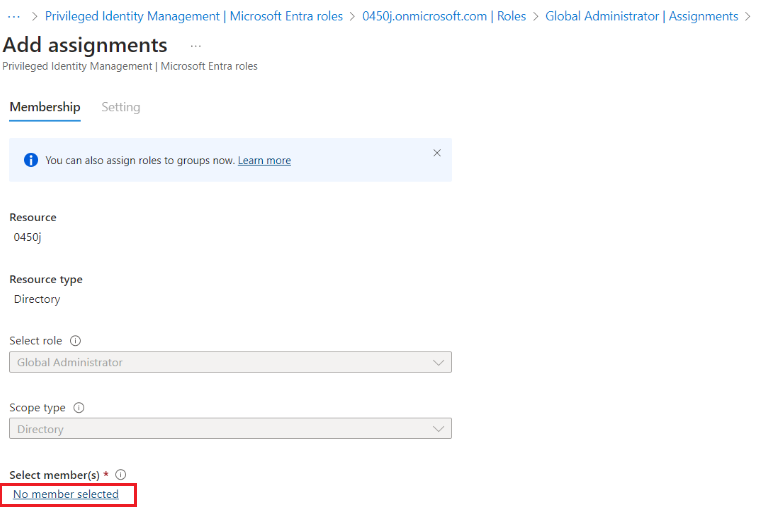
- Click No member selected.
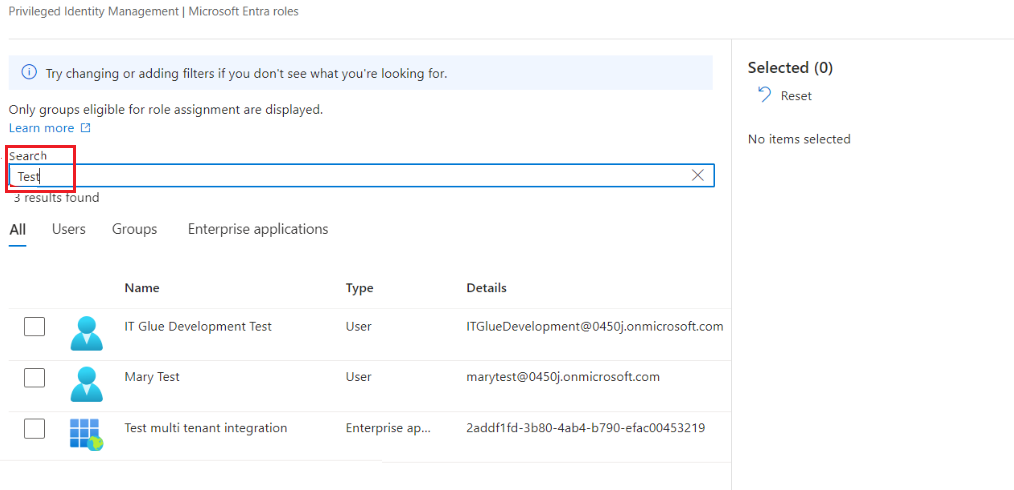
- In the Search field, type your integration name and click on the integration that appears in the list.
- Click on the Add button and provide your justification for adding the role for the integration (this is necessary as the other administrators can view the reason and would not delete it) and click Assign.