Delegating cross-account access using GlueConnect
Introduction
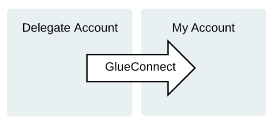
This article explains how to delegate cross-account access to your IT Glue account, so that you can share information in your account with users of another IT Glue account (an "invited account").
With GlueConnect, you don't have to set up individual users from the invited account in your account. In addition, users of the invited account don't have to log out of their account and log in to yours in order to access the shared information.
NOTE This is supported between North America to North America, and EU to EU accounts. North America to EU and EU to North America accounts are not supported.
There are a number of ways you can use this feature. For example, imagine you hire a third-party NOC to support your clients outside of business hours. If the third-party also uses IT Glue, you can invite them to your account. You don't have to create or manage individual accounts. Users in the invited account have permission to work in your account and access information there.
To configure access, there are three basic steps:
- Choose a maximum role
- Grant access
- Send invitation email
Prerequisites
- You must be an Administrator to complete the following steps.
Instructions
Choose a maximum role
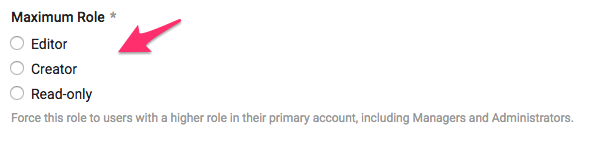
The maximum role is an upper limit. Each user in the invited account will have an effective role that may be different than the maximum role you choose, but not higher than the maximum role.
For example, let's say you set the maximum role to Editor:
| If in the primary account the user has a... | Then their effective role is... |
|---|---|
| Manager or Administrator role | Editor |
| Editor role | Editor |
| Creator role | Creator |
| Read-only role | Read-only |
Please note that Lite users in the invited account cannot access your account. Also, users of the invited account are not able to add or modify any security permissions like they can in their primary account.
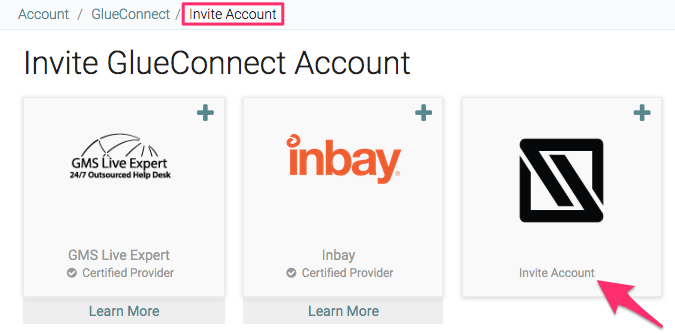
- Navigate to Admin > GlueConnect and click the + New button in the top-right corner.

- On the next screen, click an option to invite one of the existing third-party provider accounts shown (Global Mentoring Solutions and Inbay) or invite a different account.
- Enter the subdomain of the invited account. For example, if the URL is insight-tech.itglue.com, insight-tech is the subdomain.
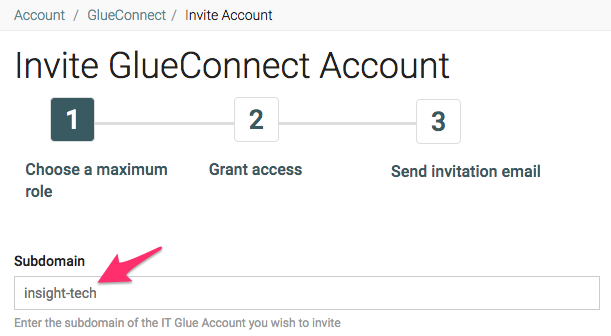
NOTE If you invite a Certified Provider, the subdomain is entered automatically.
- Choose a maximum role and click on the Next button.
Grant access
The invited account will not have any access to information in your IT Glue account until you grant access. You can do this by assigning group memberships and adding specific organizations like you would for any users of your account. If you assign all groups and add all organizations from your account, the invited users will be able to see what your own team can see.
You do not need to have any groups created specifically for GlueConnect, but you may want to review your security design. For example, consider if you want the invited account to have access to everything your senior tech team has access to or, if you want them to only have access to what a level 1 tech can access? Are your groups configured for this?
If you're new to groups or would like to read more, please refer to our Adding groups / group members topic.
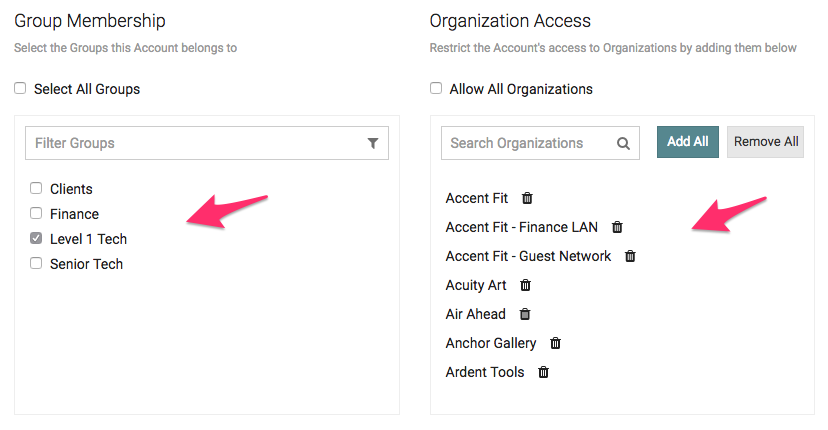
- In the Invite GlueConnect Account page under Group Membership, select the relevant groups that you want users of the invited account to have access to.
- Under the Organization Access, search for the organizations that you want users of the invited account to have access to.
NOTE Organization names populated by a group are greyed out because the permissions are inherited.
IMPORTANT Each user must have access to at least one organization. Select the Allow All Organizations if you want to give the invited account access to all current and future organizations.
Send invitation email
After you specify a maximum role and grant access, the last step is to send an invitation to the users of the invited account. We send an invitation email to all users with an Administrator role. Users can access your account only after one of these Administrators accepts the invitation.
- On the last screen, enter a message to the Administrators to include in the invitation email.
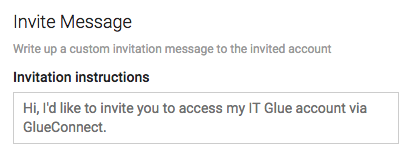
- Click Send.
Once you send the invitation, the invitation will be pending until the Administrator of the invited account clicks the link in the email. After the Administrator accepts the invitation, users of the invited account will have immediate access.
Switching between accounts
The following steps are to be performed by users of the invited accounts.
- Log in with the same URL, email address, and password that you use to access your primary IT Glue account.
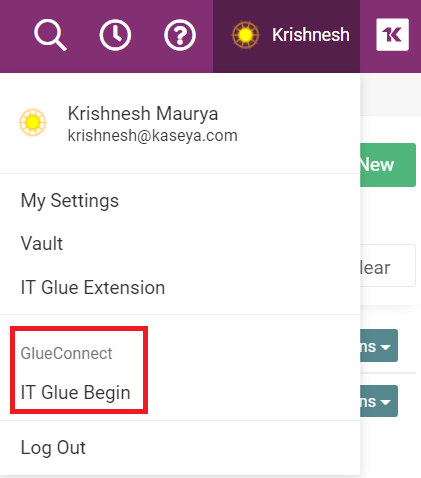
- Click your user icon in the upper right-hand side of the screen.
- In the GlueConnect section of the drop-down menu, click on the account you want to access.
In the navigation bar, you will see a GlueConnect header. When you GlueConnect in to another account, the GlueConnect header will change color and the name of the account is displayed.
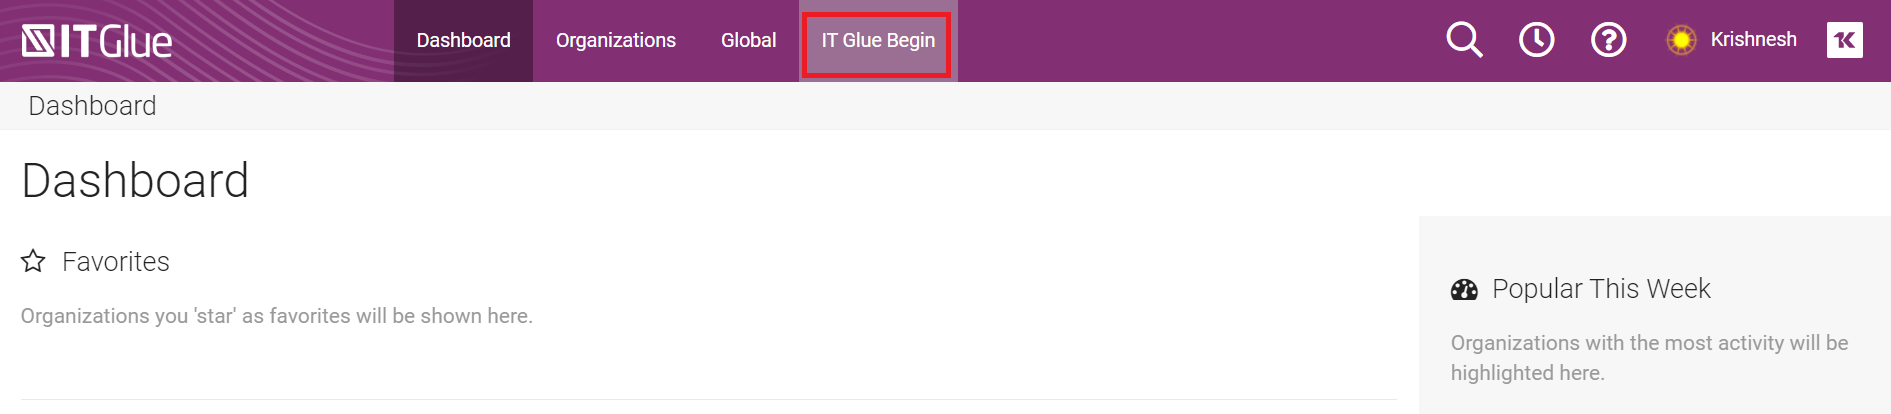
You can return to your own account at any time by clicking the GlueConnect header.
Common Questions
Will the invited account be billed as an "active" user?
No, when you use GlueConnect, the invited account does not count as a user and is not billed. Users of the invited account also won't count against the number of users you are allowed to have in your pricing plan.
Can I see what the users of the invited account are doing in my account?
Everything that happens within your IT Glue account is tracked in the Activity Logs. To view them, go to Admin> Activity Logs and you'll be shown a list of all action events (create, read, update, delete). You can filter by the action, the account, and the user.
NOTE The Account column is only displayed after you start giving delete accounts access to your account.


