Using the IT Glue widget in Kaseya BMS
Introduction
Now that you have setup the IT Glue widget in Kaseya BMS, this article provides instructions on how to use the IT Glue widget in Kaseya BMS to view IT Glue data.
Prerequisites
You must have Administrator or Manager access to IT Glue.
Instructions
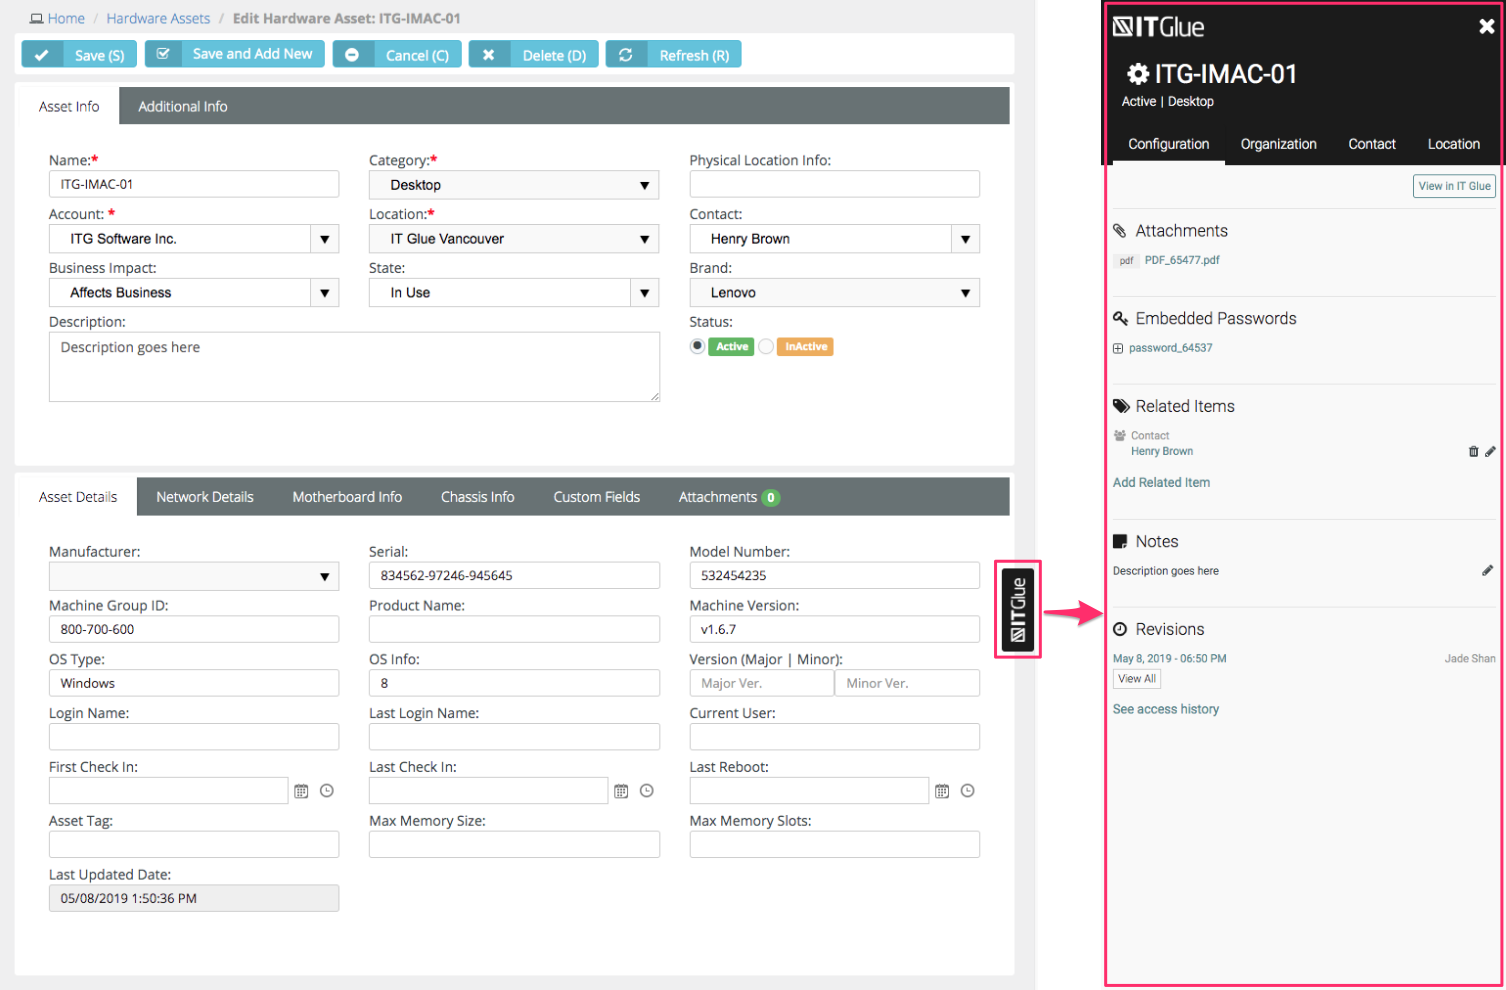
Once fully integrated, the IT Glue widget provides the following information about each ticket in Kaseya BMS:
| Asset | Information Shown |
| Configuration |
|
| Organization |
|
| Contact |
|
| Location |
|
There are four different areas in the Kaseya BMS platform where you can use the IT Glue widgets.
- Assets
- Tickets
- Accounts
- Contacts
Assets
- Click on Service Desk > Assets Management > Hardware Assets to view the Search Hardware Assets screen.
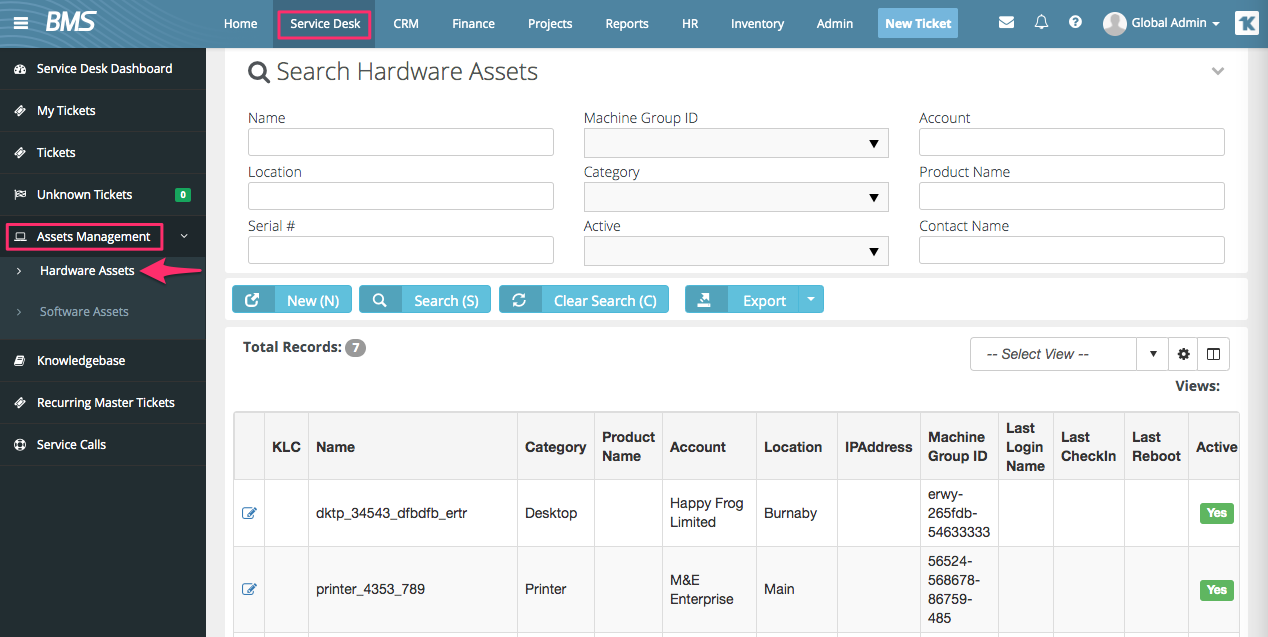
- Open any hardware asset and click on the IT Glue widget on the far right side of the screen. This will open the IT Glue column.
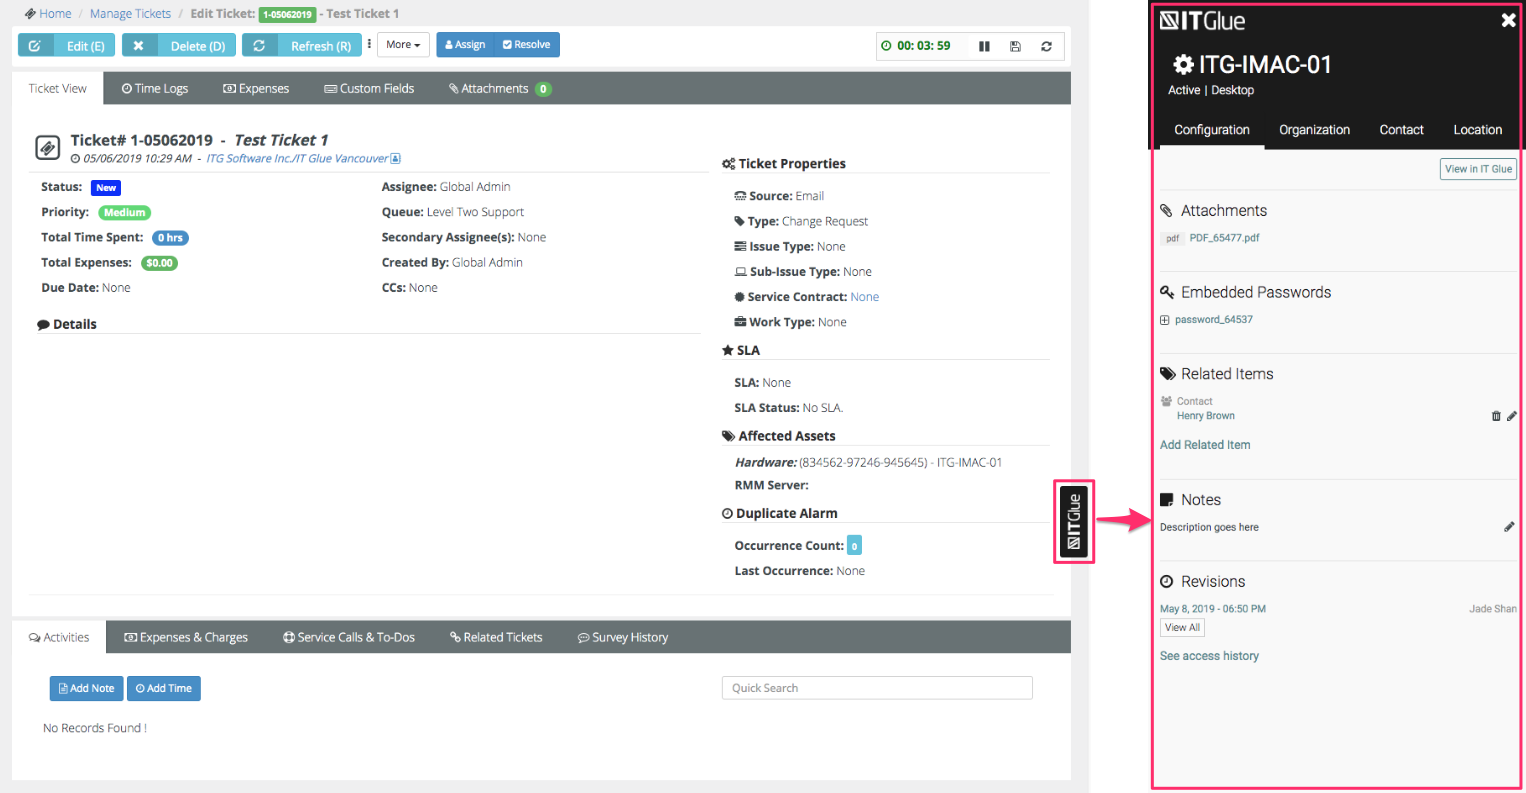
Tickets
- Click on Service Desk > Tickets to view the Manage Tickets screen.
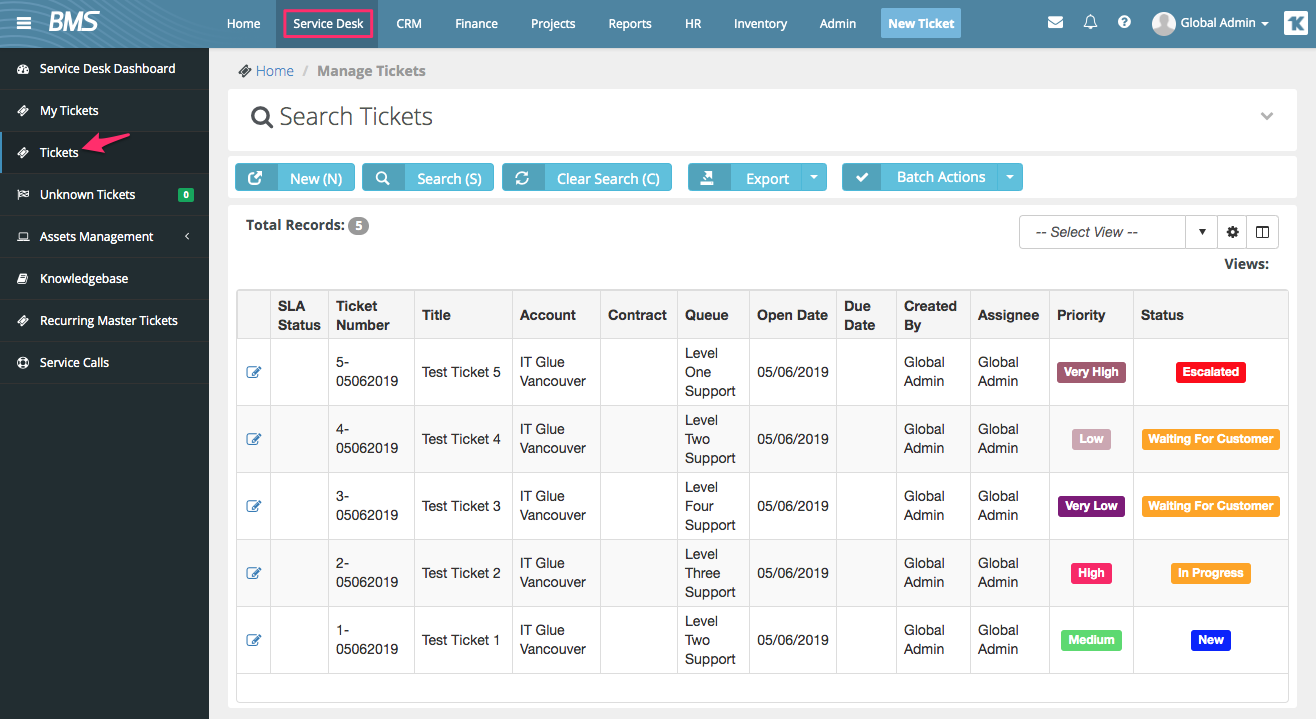
- Open any ticket and click on the IT Glue widget on the far right side of the screen. This will open the IT Glue column.
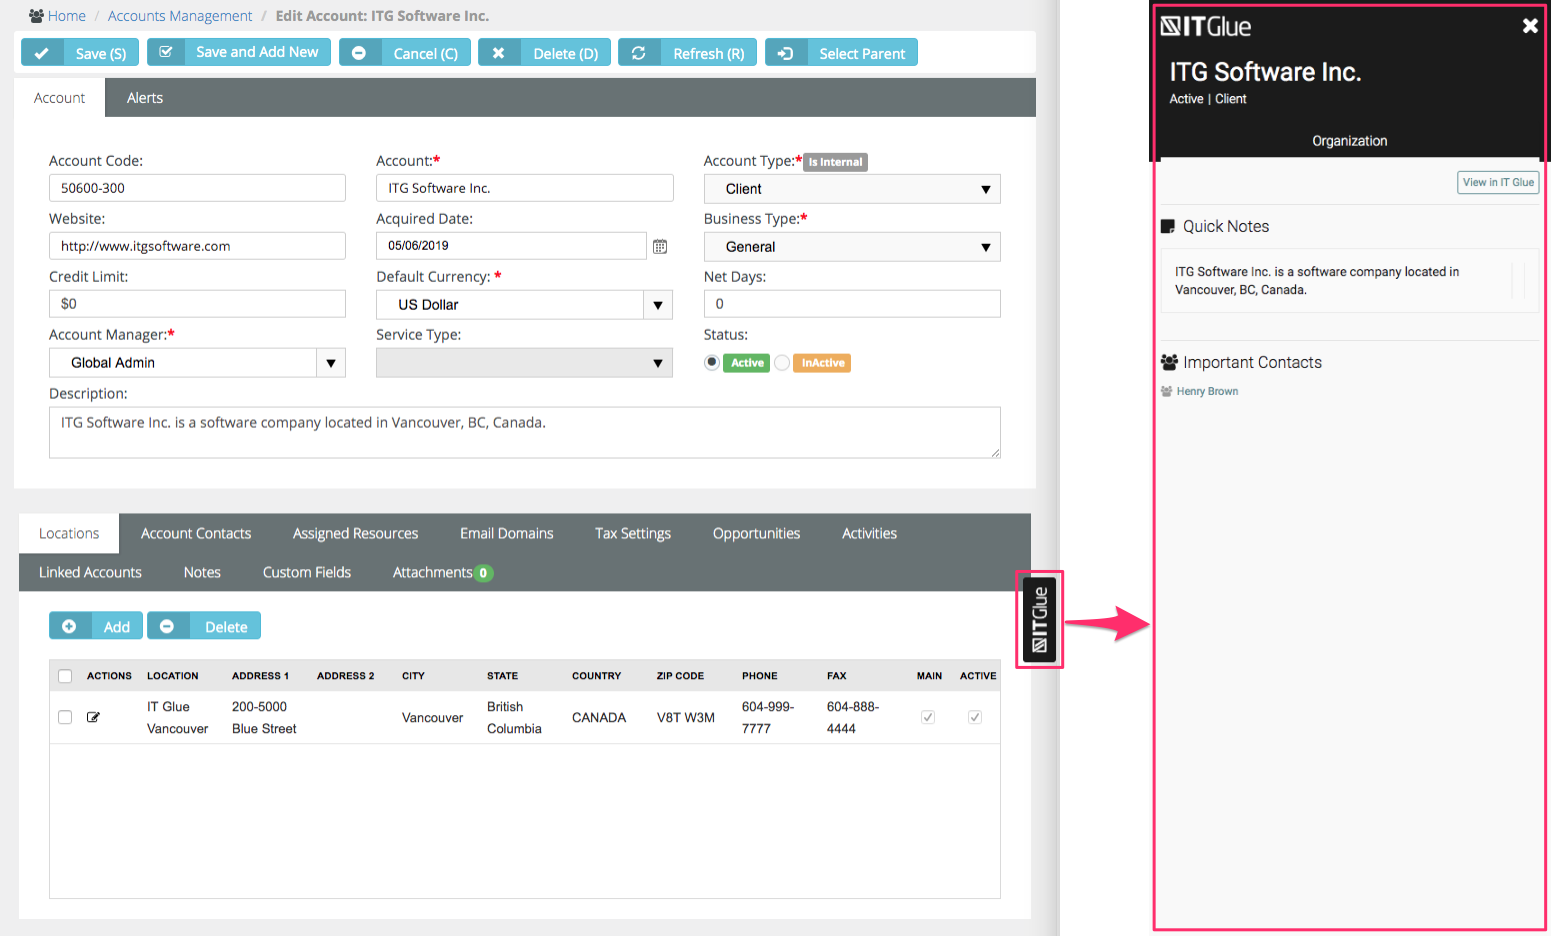
Accounts
- Click on CRM > Accounts to view the Accounts main screen.

- Open any account and click on the IT Glue widget on the far right side of the screen. This will open the IT Glue column.
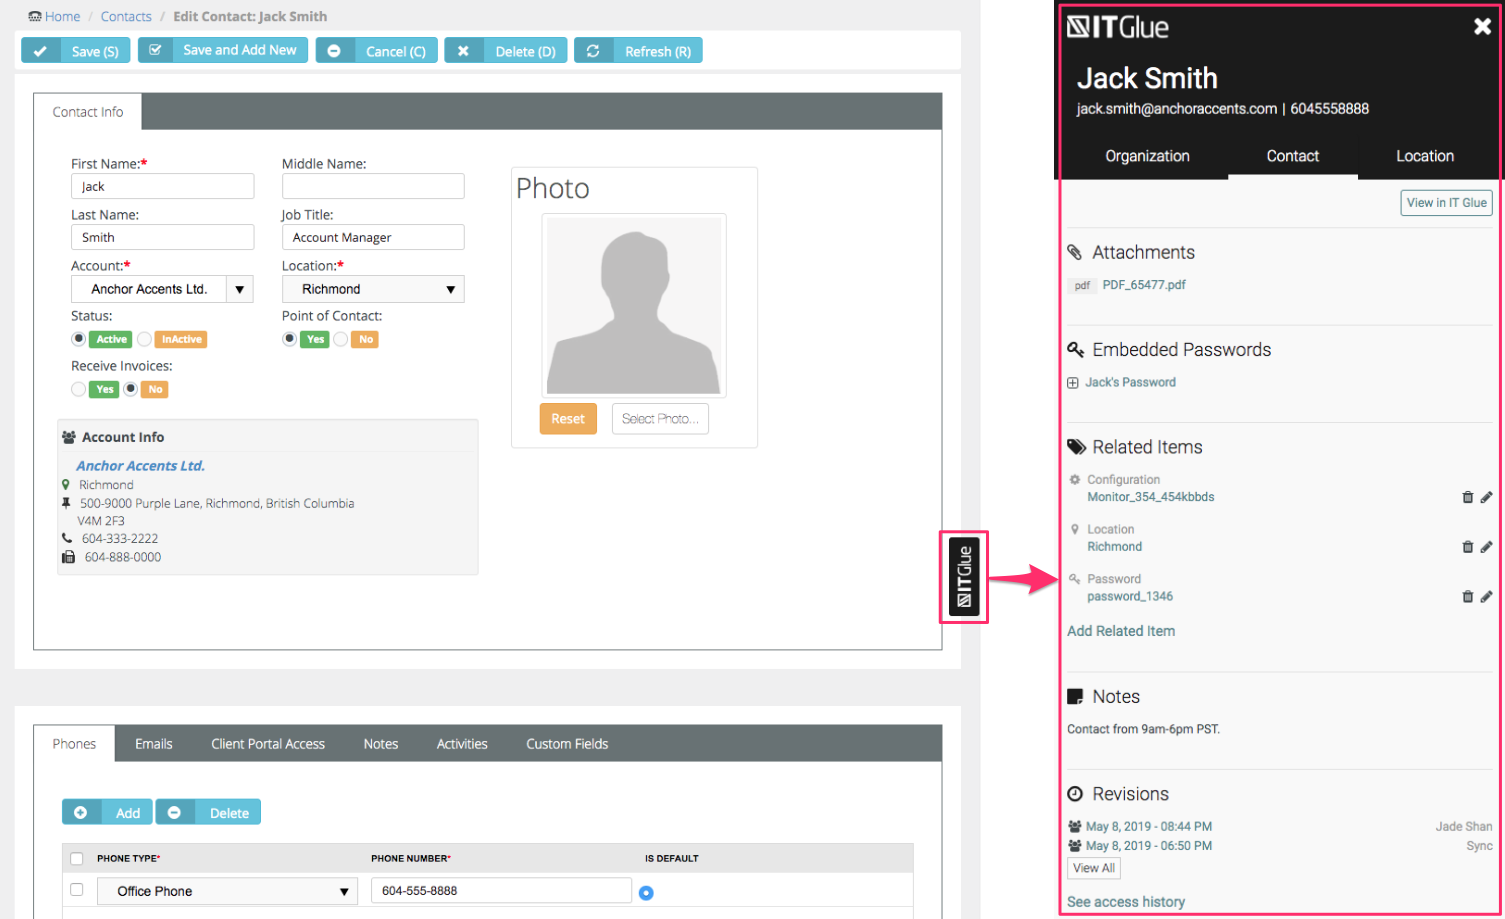
Contacts
- Click on CRM > Contacts.
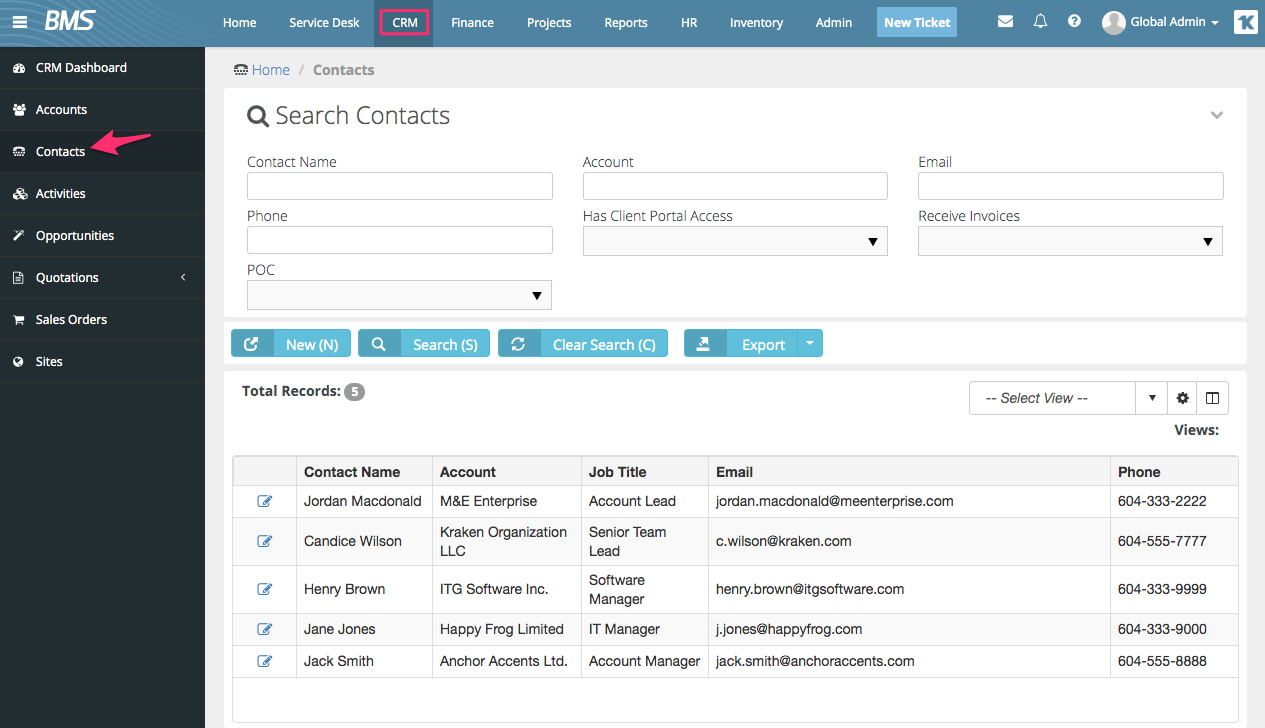
- Open any contact and click on the IT Glue widget on the far right side of the screen. This will open the IT Glue column.
Changing the authentication account for integrations
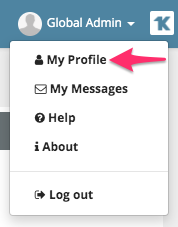
- Click on your profile icon in the top-right corner of the screen and then on My Profile.
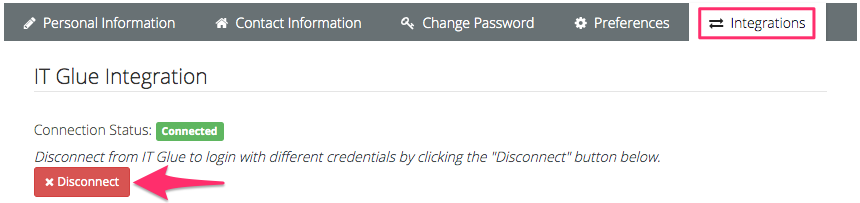
- Click on the Integrations tab in the My Profile screen and then on the Disconnect button.
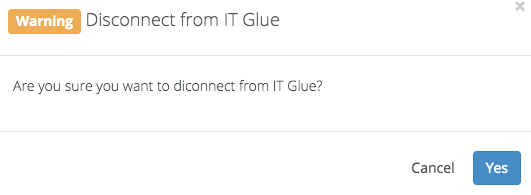
- A Warning pop-up will confirm that you want to disconnect from IT Glue. Click on the Yes button.
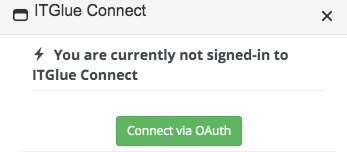
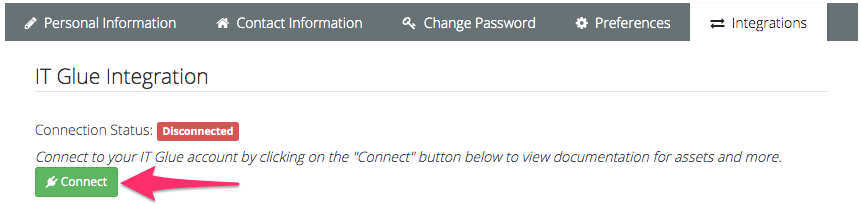
- To reconnect with IT Glue, click on the Connect button.
- Click on Connect via OAuth in the pop-up to complete the reconnection.